How to Grow and Care for Xanthosoma (Elephant Ears)
Learn how to grow Xanthosoma indoors with practical guidance on light, watering, soil, humidity, winter slowdown, propagation, pests, and plant safety.
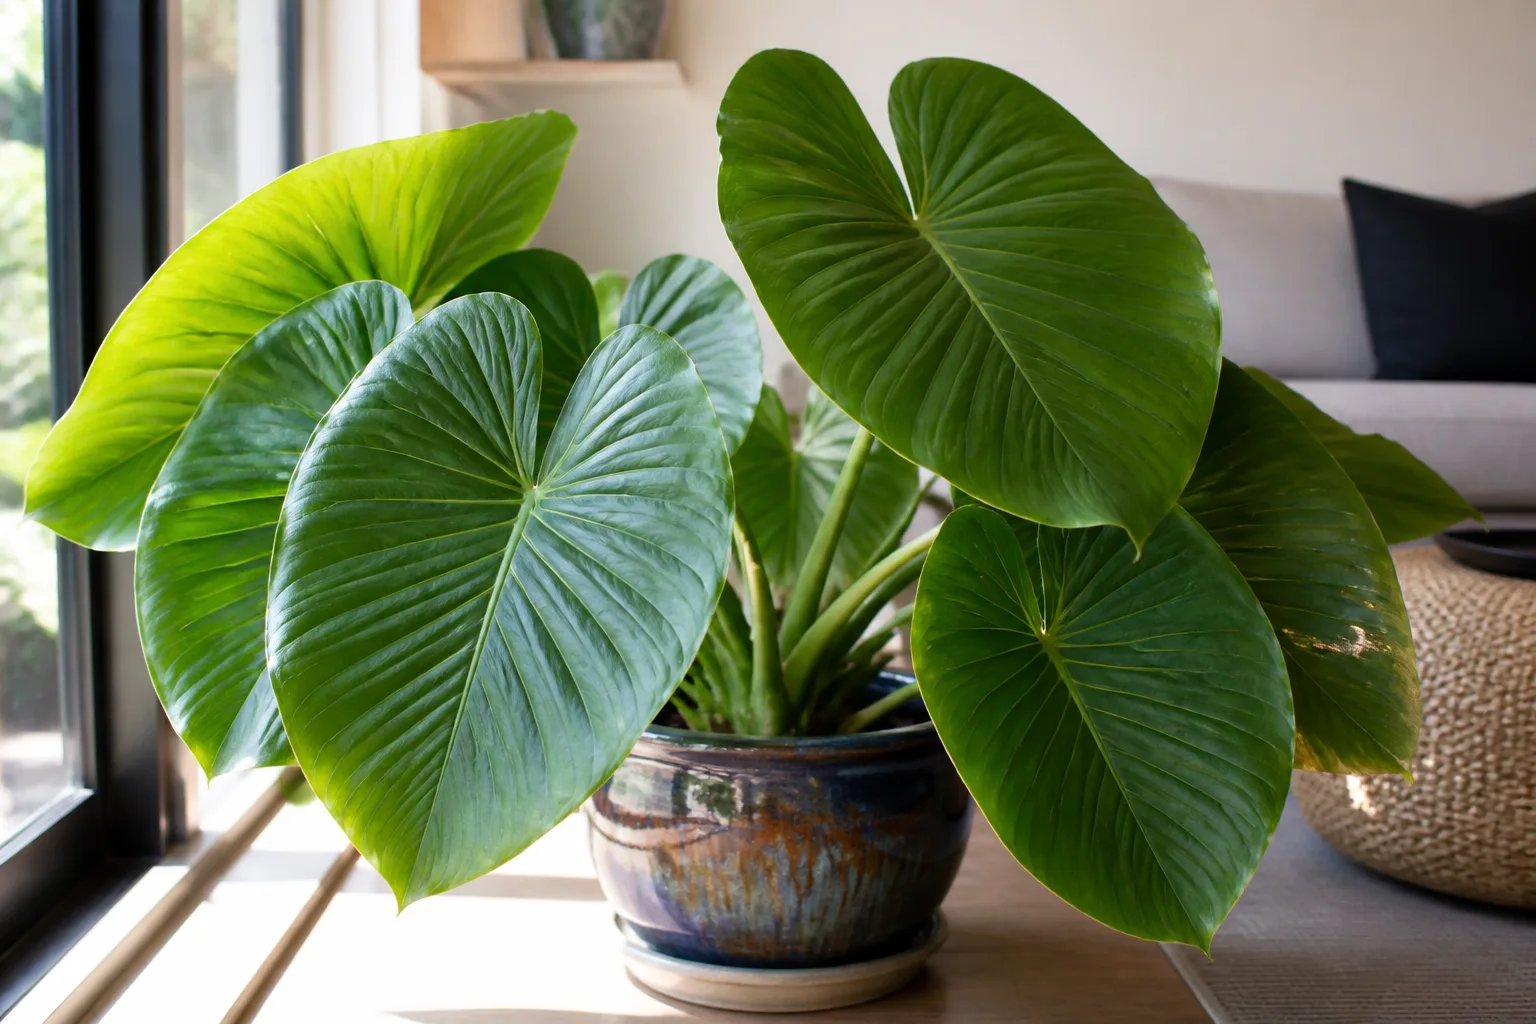
Xanthosoma brings broad, tropical foliage to a room, but “elephant ear” is a shared common name rather than a precise plant ID. It is used for Xanthosoma, Alocasia, Colocasia, and sometimes Caladium, plants that overlap in appearance but do not all have identical growth habits or growing needs.
For a potted Xanthosoma, begin with the conditions you can control: strong filtered light, a mix that holds moisture without staying soggy, warm temperatures, and a pot with clear drainage. Then adjust watering and feeding to the plant’s growth rate. That approach is more reliable than following a weekly schedule designed for a different elephant ear or climate.
Understand the plant behind the “elephant ear” label
Xanthosoma is a genus in the aroid family, Araceae. Commonly grown examples include the large, green X. sagittifolium, the pale-veined X. lindenii, and the chartreuse ‘Lime Zinger’; their size, leaf color, and vigor can differ substantially. A large species that becomes a landscape plant in the tropics may be a challenging long-term fit for a small indoor corner, while a compact ornamental cultivar may suit a container better.
The name on a nursery tag matters because it sets expectations for mature size and the way the plant grows. A label that says only “elephant ear” tells you little about the species, whether the plant is being sold for foliage or as a food crop, or how large it may become. Ask the seller for the botanical name and cultivar, keep the label, and compare several traits rather than treating one leaf as conclusive proof.
How Xanthosoma differs from Alocasia and Colocasia
The three genera are related aroids with large leaves, so an online photo or common name can be misleading. Xanthosoma leaves are often arrow-shaped, while Alocasia leaves commonly stand more upright and Colocasia leaves often angle or droop downward; these are tendencies, not a foolproof key. Leaf attachment, leaf posture, petiole shape, mature habit, and a reliable nursery label are more useful together than any single visual clue. A broad overview of elephant-ear types and their differences shows how easily the shared name spans several genera.
For day-to-day care, the overlap is helpful: all are tropical-looking aroids that generally prefer warmth and consistent moisture. But don’t copy a care instruction that was written for a pond-grown Colocasia or a small jewel Alocasia without checking whether it suits your Xanthosoma. The plants’ labels and visible response should guide adjustments, especially for sun exposure, final size, and winter behavior.
Choose a healthy plant or corm to start
If you are new to the genus, a rooted, actively growing plant gives you immediate feedback about leaf size, color, and vigor. Choose one with firm stems and a new leaf or healthy unfurling spear, without widespread yellowing, mushy growth, visible insects, or a sour smell from the pot. Inspect leaf undersides, stem joints, and the soil surface before you bring it near other houseplants.
Corms and offsets can be a more affordable starting point, but they require patience. Buy from a reputable nursery that identifies the plant, and reject a corm that feels soft, leaks, or has extensive dark, wet decay. A dry outer skin is not necessarily a problem; active rot is usually soft and may smell unpleasant. If the corm is dormant, it may take time and warm conditions to produce a shoot, so do not keep adding water to an apparently inactive pot.
Give Xanthosoma bright, filtered light
Set the plant near a bright window where it receives strong ambient light for much of the day. A few feet from an east-facing window or behind a sheer curtain at a brighter exposure often works better than a dim corner. Light needs vary by species and cultivar, but weak light commonly shows up as slow growth, smaller leaves, and stems that lean toward the window.
Direct midday sun through glass can scorch leaves, particularly after a plant has been grown under shade or transported from a greenhouse. If you want to move it into a sunnier spot, increase exposure gradually over a week or two and watch the older leaves. Pale, dry patches on the window-facing side suggest the change was too abrupt; shift the pot back, then acclimate more slowly.
Rotate the container a quarter turn every week or two if the plant is leaning. Outdoors in warm weather, some Xanthosoma tolerate more direct sun than they do indoors, but the exact tolerance depends on the species, local heat, and how the plant was grown. Morning sun with afternoon protection is a safer starting point than moving a shade-grown houseplant straight into hot exposure.
Use an airy potting mix and a draining pot
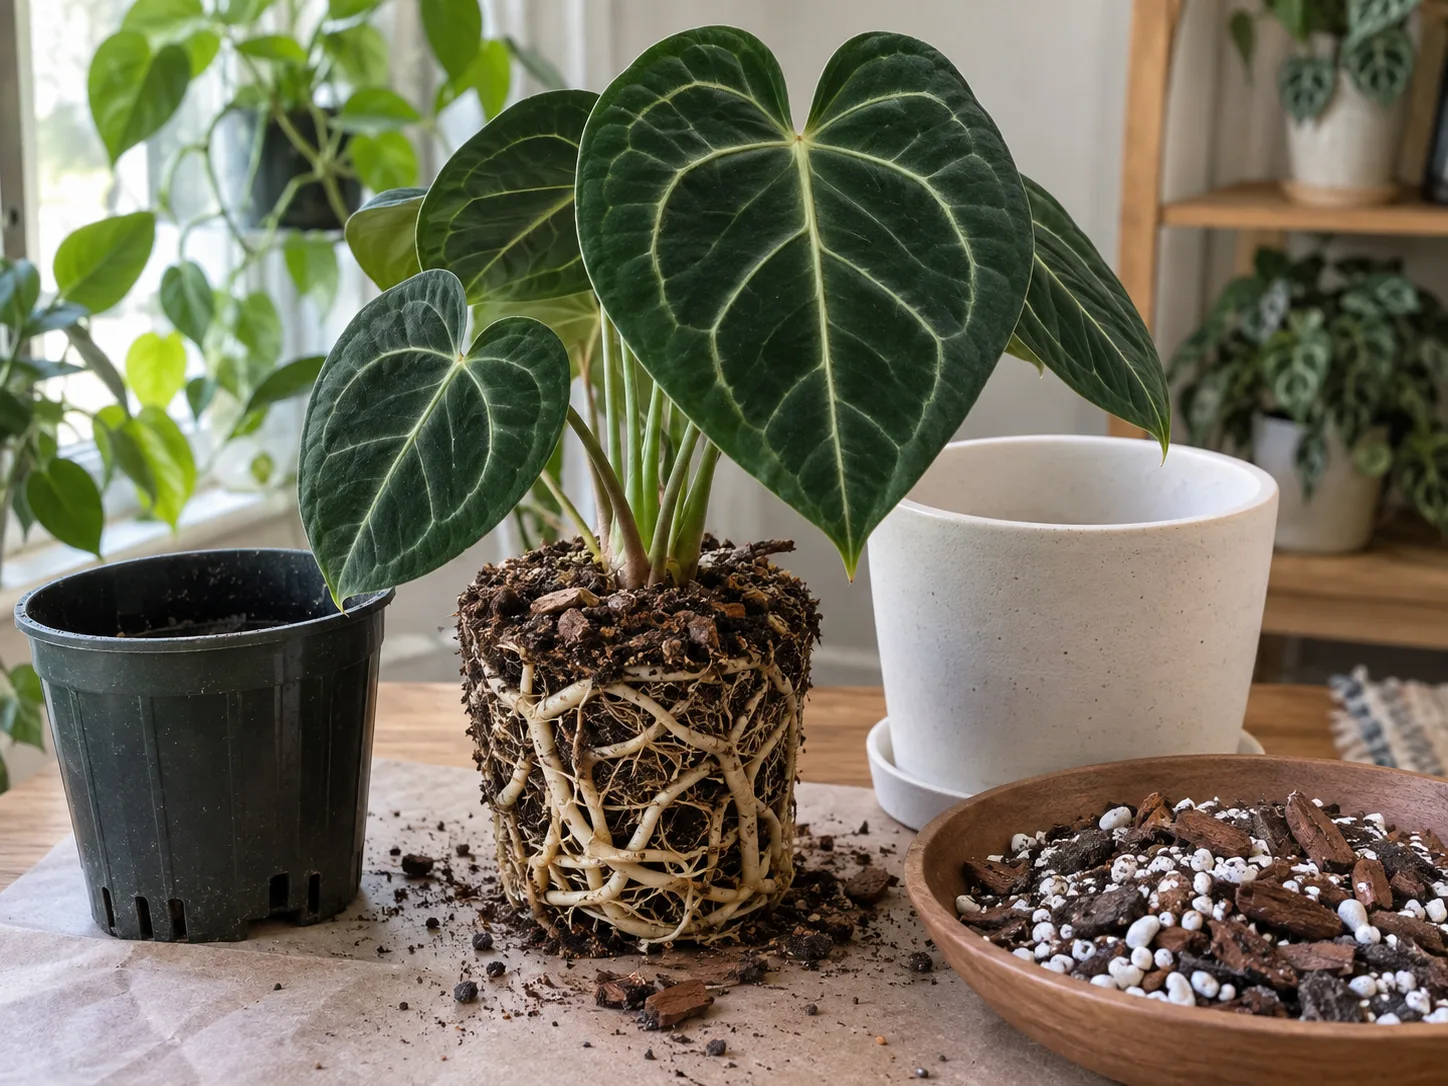
Xanthosoma roots need reliable access to moisture and oxygen at the same time. Use a quality indoor potting mix amended with chunky material such as orchid bark and perlite or pumice, so water can move through while the mix still holds enough moisture for broad foliage. If the medium collapses into dense, wet sludge after repeated watering, refresh it rather than trying to fix the problem by watering less and less often.
Choose a pot with at least one unobstructed drainage hole and a stable base that will not tip as the canopy grows. A pot only modestly wider than the current root ball is easier to manage than an oversized container: the extra volume takes longer to dry, raising the chance that the corm remains wet. Do not add a layer of gravel to the bottom as a substitute for drainage; the hole and the texture of the mix do the useful work.
Aim for a substrate that feels like a wrung-out sponge after watering: evenly damp, with no standing water or swampy odor. A chunky mix is especially helpful in a bright, warm room where the plant is actively growing; in a cool, low-light room, use a little less organic moisture-retaining material and be more cautious with water. An aroid mix display illustrates the balance between roots, bark, and other airy potting components.
Water from soil cues, not a calendar
During active growth, water thoroughly when the upper layer of mix has begun to dry, rather than giving small sips on a fixed weekday. For many indoor pots, checking the top inch or two with a finger or wooden stick is a useful starting point, but pot depth, room temperature, light, and root density change how quickly the mix dries. Water until it exits the drainage hole, then empty the saucer or cachepot.
That check-based approach also appears in Brittany Goldwyn’s elephant-ear care guide. Her article covers several elephant-ear genera, so the transferable advice is to inspect the potting mix; a specific weekly interval reflects that writer’s plant and growing conditions, not a universal schedule.
If the soil is still cool and wet below the surface, wait and check again in a day or two. If it is dry through much of the pot and the container feels light, water slowly until the root ball is evenly moist. A plant that droops in dry mix needs water; one that droops while the mix stays saturated may have damaged roots and will not improve by adding more.
In brighter, warmer months, a growing plant may use water quickly. In winter or during a low-light pause, the same pot can take much longer to dry, so reduce frequency instead of pouring the summer amount on schedule. If water runs immediately down the gap between mix and pot, the medium may have become hydrophobic; rewet it slowly in several passes and consider repotting if water still cannot soak in evenly.
Balance warmth, humidity, and airflow
Keep an actively growing Xanthosoma in a warm room, away from cold window glass, exterior doors, and heating or air-conditioning vents. A practical indoor range is about 65–80°F (18–27°C), with stable warmth more valuable than chasing a precise thermostat number. A sudden chill can stall growth and contribute to leaf loss even when the soil is wet.
Tropical leaves often look better when household humidity is moderate to high, especially in winter when heating dries indoor air. If new leaves emerge with ragged edges or the leaf tips dry while the mix is evenly moist, check humidity and drafts before increasing watering. A room humidifier helps raise moisture in the surrounding air; misting the leaves gives only a brief change and can leave persistent droplets where airflow is poor.
Humidity should not come at the expense of stagnant air. Leave space between leaves and nearby walls, and avoid clustering the pot in a cold, sealed corner. If the room is humid, keep foliage from remaining wet overnight and make sure excess irrigation can drain freely; a warm, airless root zone is still a good setting for rot.
Feed during active growth
New leaves and expanding stems use nutrients, so feed only while the plant is growing. A balanced houseplant fertilizer at a diluted label rate every few weeks during the brighter growing season is a cautious starting point; the right interval depends on the product, mix, and growth rate. Apply fertilizer to already moist soil rather than to a bone-dry root ball.
Pause or sharply reduce feeding when growth slows in winter, when the plant has dropped its leaves, or after repotting into fresh potting mix. More fertilizer will not correct poor light, damaged roots, or a cold room. If leaf tips turn brown after a period of frequent feeding, flush the mix thoroughly with plain water when drainage is good, then resume at a lower frequency once active growth returns.
Adjust care when growth slows in winter
Indoor Xanthosoma may keep growing if it has enough warmth and light, or slow down when days shorten and indoor conditions cool. A plant that stops producing leaves is not automatically dormant; first check whether it is too dark, too cold, waterlogged, or rootbound. If leaves yellow gradually while stems and corm remain firm, seasonal slowdown may be part of the pattern.
When growth slows, let the mix dry farther between waterings and stop routine fertilizer. Keep the corm warm enough to avoid chilling, and do not force a dormant plant to resume growth with extra water. If all foliage dies back, remove collapsed leaves with clean pruners, keep the pot on the dry side, and check occasionally so the corm neither stays wet nor shrivels completely.
Resume more frequent watering and feeding only after the plant begins to grow again and light and temperature are improving. A new leaf is a better signal than the calendar. If the corm is soft or foul-smelling instead of firm, treat that as possible rot, not normal dormancy.
Repot only when the root system needs room
Repot when roots circle densely, protrude from drainage holes, or the mix dries unusually fast despite appropriate conditions. Spring or early summer is usually the least disruptive time because a growing plant can re-establish roots more readily. Move up just one pot size and use fresh airy mix; a dramatic jump in container size creates a larger wet volume without making the plant grow faster.
Slide the root ball out gently and check for firm, healthy roots. Trim only dead, mushy material with a clean blade, then place the corm at approximately its previous depth and backfill without packing the mix hard. Water once to settle the mix, let it drain, and hold fertilizer until the plant is growing again. A brief pause after repotting is normal; persistent limpness plus wet soil is a reason to inspect the root zone.
Propagate by dividing offsets or corms
The most practical home method is to separate an offset or a naturally divided corm from a mature plant. Do this during active growth, when the parent can recover and the new division has the best chance to establish. Some plants produce offsets readily; others form one main corm and may not be good candidates for division every year.
Before separating anything, identify a distinct growing point and enough roots to support it. A leafless fragment without a viable bud may not regrow, and cutting the main corm into many small pieces can set back or kill the parent. Use a clean, sharp knife, keep the cut surfaces as small as practical, and do not divide a plant merely because it has become tall.
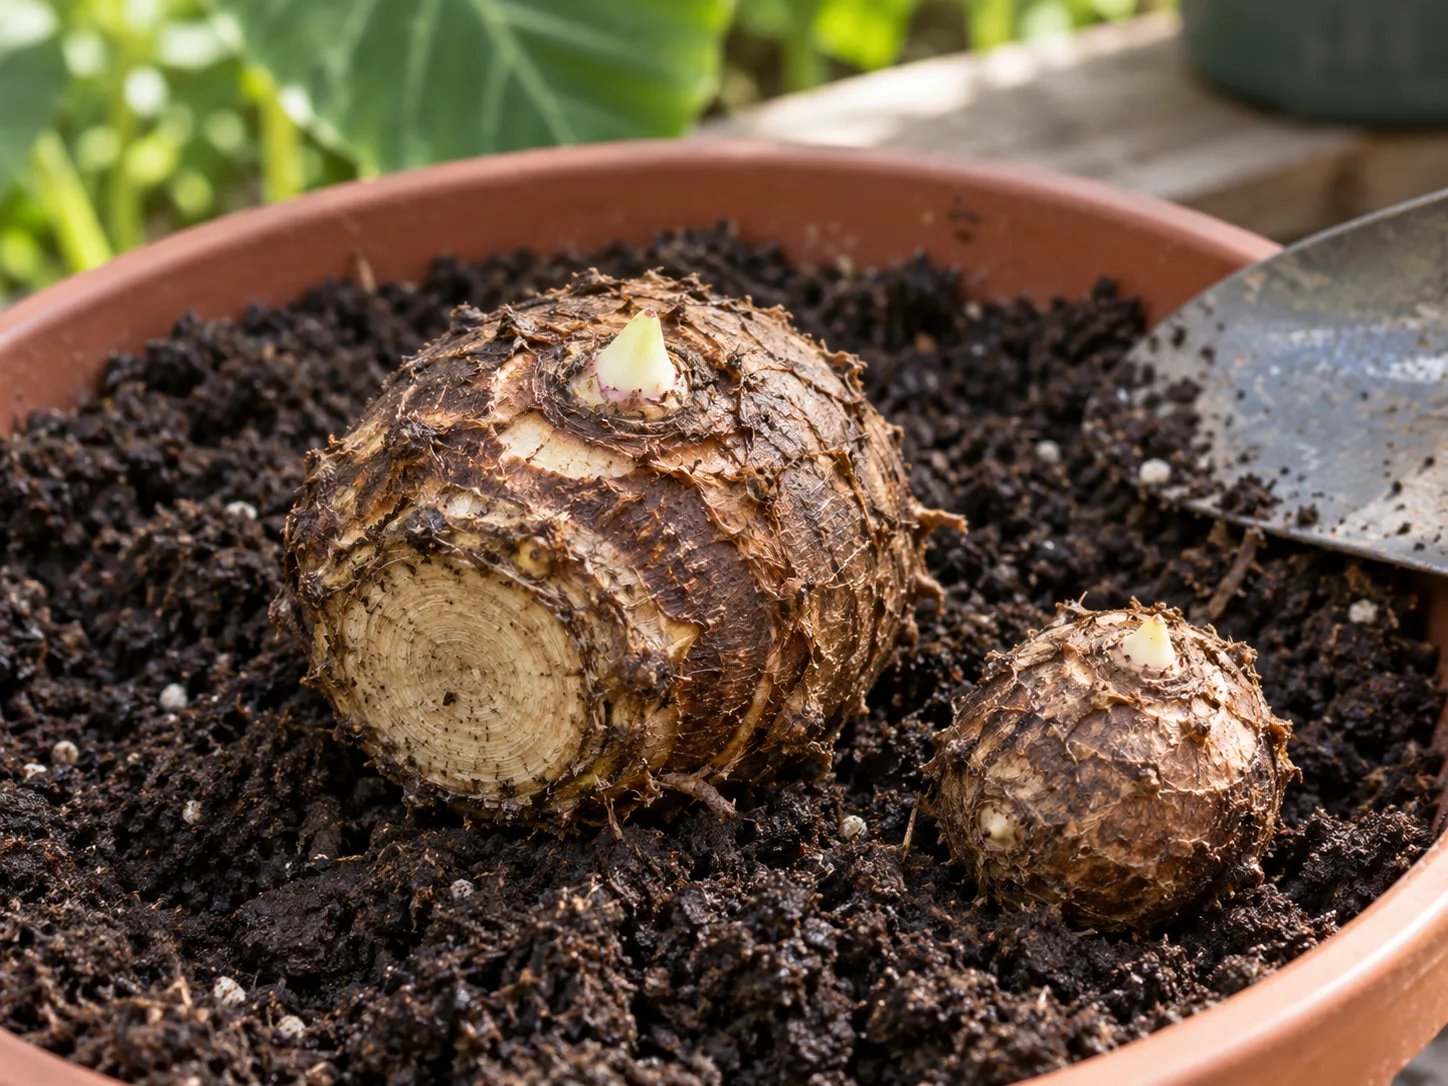
Plant each division in a small pot with drainage and fresh, lightly moist mix. Keep it warm in bright indirect light, then water when the top layer begins to dry rather than leaving the pot constantly saturated. A corm may take several weeks to show a shoot, so keep the medium lightly moist and check for firmness instead of digging it up repeatedly.
A careful division sequence
Remove the plant from its pot and brush away enough mix to see where the offset joins the parent. Separate a naturally attached offset by hand if it comes free with roots; if not, use a sterile blade to make one clean cut through the connection. Keep gloves on, avoid touching your face, and wash tools and hands when you finish.
Set the parent back at its original depth and pot the offset separately, with its growth point facing upward and uncovered. Water to settle the medium, allow it to drain completely, and place both pots in warm filtered light. Do not put a fresh division into a very large decorative pot or fertilize heavily to “push” roots; steady warmth and careful moisture give it a better start. A sprouting elephant-ear corm can help illustrate the upward-facing growing point before it is covered with mix.
Diagnose leaf changes before changing care
One old lower leaf turning yellow as a new one appears can be normal turnover, especially if the plant is otherwise firm and producing growth. Several leaves changing at once, a soft petiole, or a sudden collapse deserves a closer look. Note which leaves are affected, where the symptoms appear, what the soil feels like, and whether the plant recently moved or experienced a temperature change.
Make one correction at a time and give the plant a little time to respond. Changing light, watering, fertilizer, and humidity all on the same day makes it hard to tell which condition was the actual problem. Remove only leaves that are fully yellow, dead, or damaged; green leaves still contribute energy while the plant recovers.
Yellow leaves, drooping, and brown edges
Yellowing across several leaves with persistently wet mix points first to poor drainage or excessive watering, not a need for more fertilizer. Let the pot drain, inspect the roots if the corm is at risk, and replace compacted mix. If the mix is dry and the leaves hang limp, water thoroughly and check that the root ball actually absorbed it.
Brown, crispy margins are less specific. They can follow dry air, missed watering, hot sun, or fertilizer salts, so compare the pattern with recent conditions instead of treating the symptom alone. If only the side facing a window has pale, dry patches, reduce direct sun; if tips browned after repeated feeding, flush the pot and reduce fertilizer. If new growth is small and stretched, improve light before increasing water or feed.
Prevent pests and root problems
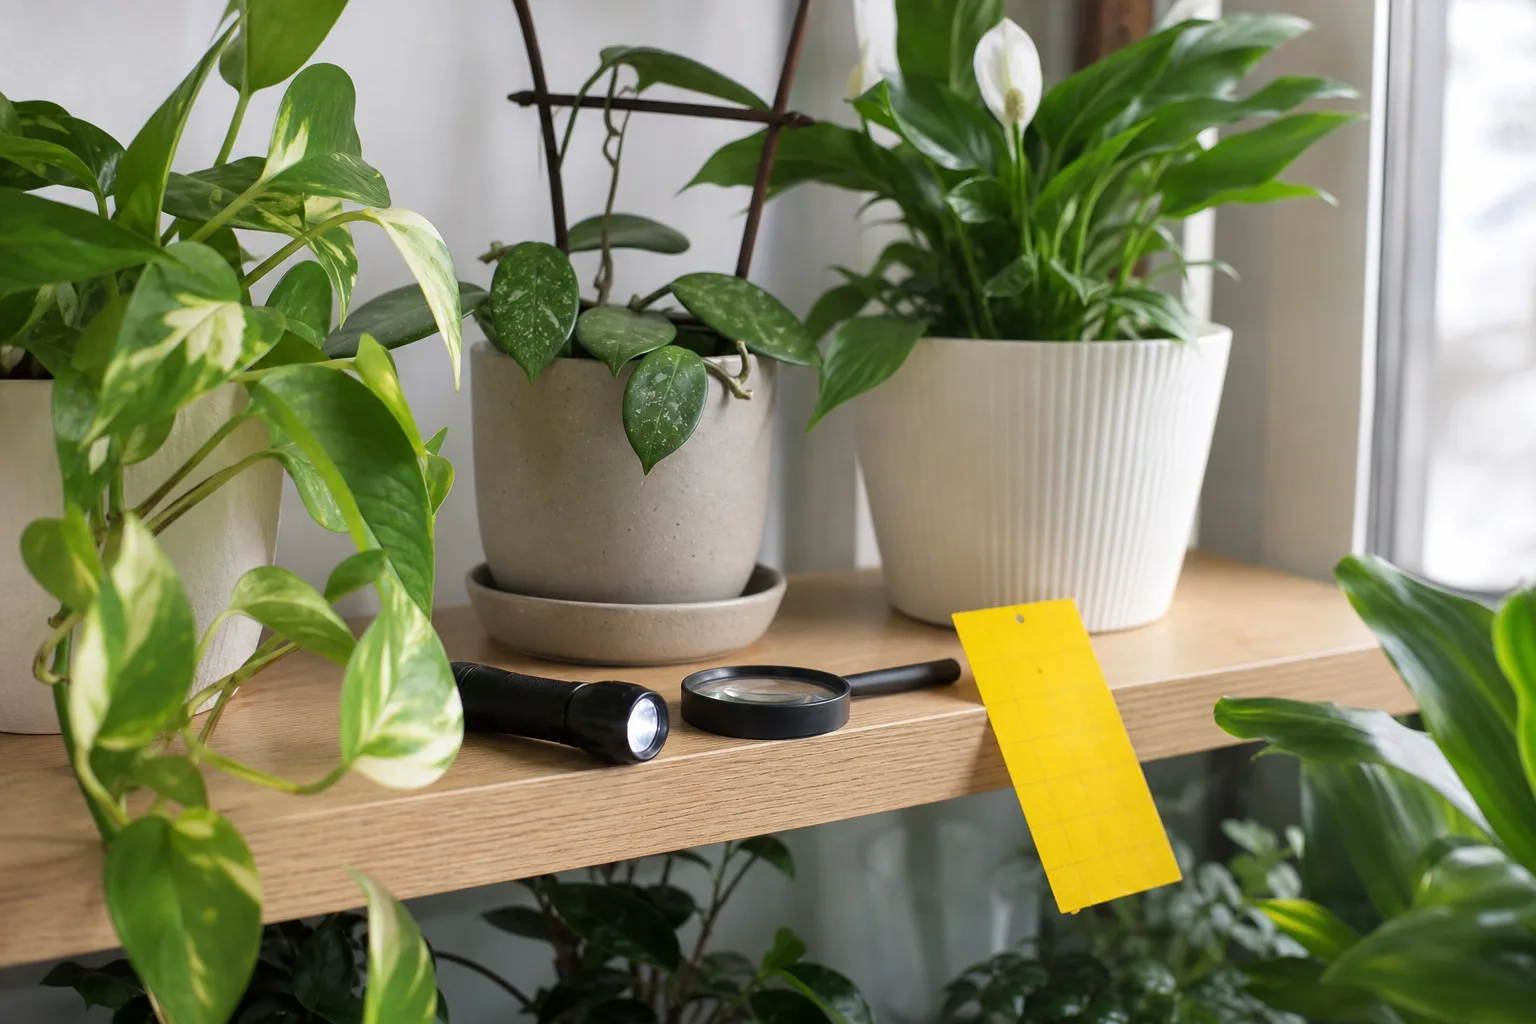
Inspect both sides of leaves and the stem bases every time you water, especially after bringing a plant home or moving it outdoors. Aphids, mealybugs, and spider mites can build up on sheltered foliage; telltale signs include clusters of insects, cottony residue, fine webbing, or stippled leaves. Isolate an affected plant promptly so pests do not spread to neighboring houseplants.
For a small infestation, remove visible pests and rinse foliage where the plant can dry well afterward. If you use a treatment, choose one labeled for the pest and the plant, follow its label, and test a small leaf area first. The better prevention for root trouble is more basic: use an airy medium, keep drainage open, and do not let the pot sit in runoff.
Grow Xanthosoma outdoors with regional caution
In warm, frost-free climates, Xanthosoma can become a substantial landscape plant in a sheltered site with fertile soil and steady moisture. Check the species label for mature size, give it room away from paths, and acclimate a houseplant to outdoor light gradually. In a container, move it back inside before cool nights and cold weather threaten tender foliage or corms.
Outdoor growing also changes the environmental stakes. The Invasive Plant Atlas lists X. sagittifolium as exotic and identifies Florida’s invasive plant list among the sources for its invasive status; that regional finding should not be stretched into a claim about every Xanthosoma everywhere. Check current state and local invasive-plant guidance before planting a vigorous species, and do not discard corms or plant pieces in natural areas, waterways, or green waste where they could spread.
Handle the plant safely around pets and children
Treat Xanthosoma as an ornamental plant that should not be chewed or eaten. Pet Poison Helpline explains that elephant ears across several genera contain insoluble calcium oxalate crystals that can irritate the mouth and gastrointestinal tract when plant material is chewed; rarely, upper-airway swelling can make breathing difficult. Place the pot out of reach, clean up fallen pieces, and wash hands after pruning or dividing it.
Some Xanthosoma are grown as food crops, but that does not make an unidentified houseplant corm safe to taste. Species, growing conditions, and preparation matter, and ornamental nursery stock may not be grown or labeled for food use. If a pet chews the plant and develops persistent vomiting, drooling, or oral pain, contact a veterinarian or a pet-poison service; seek urgent veterinary care for breathing difficulty. For a child who has chewed the plant, contact a poison-control center or medical professional promptly.
Conclusion
Xanthosoma is easier to manage when you identify the plant as closely as possible and respond to its growing conditions instead of its shared “elephant ear” label. Give it bright filtered light, warm temperatures, an airy mix, and a thorough drink when the upper soil begins to dry; then reduce water and fertilizer as growth slows.
The details that prevent most setbacks are simple: avoid a pot that stays wet, do not force growth during a winter pause, divide only a healthy plant with a clear offset, and keep the foliage away from curious pets and children. With those boundaries in place, the plant’s large, distinctive leaves can be a rewarding feature indoors or, where climate and local rules allow, outdoors.