When and How to Sow Sweet Pea Seeds by Climate
Time sweet pea seed sowing around winter cold and spring heat. Get practical steps for seed prep, planting depth, root trainers, and young-plant care.
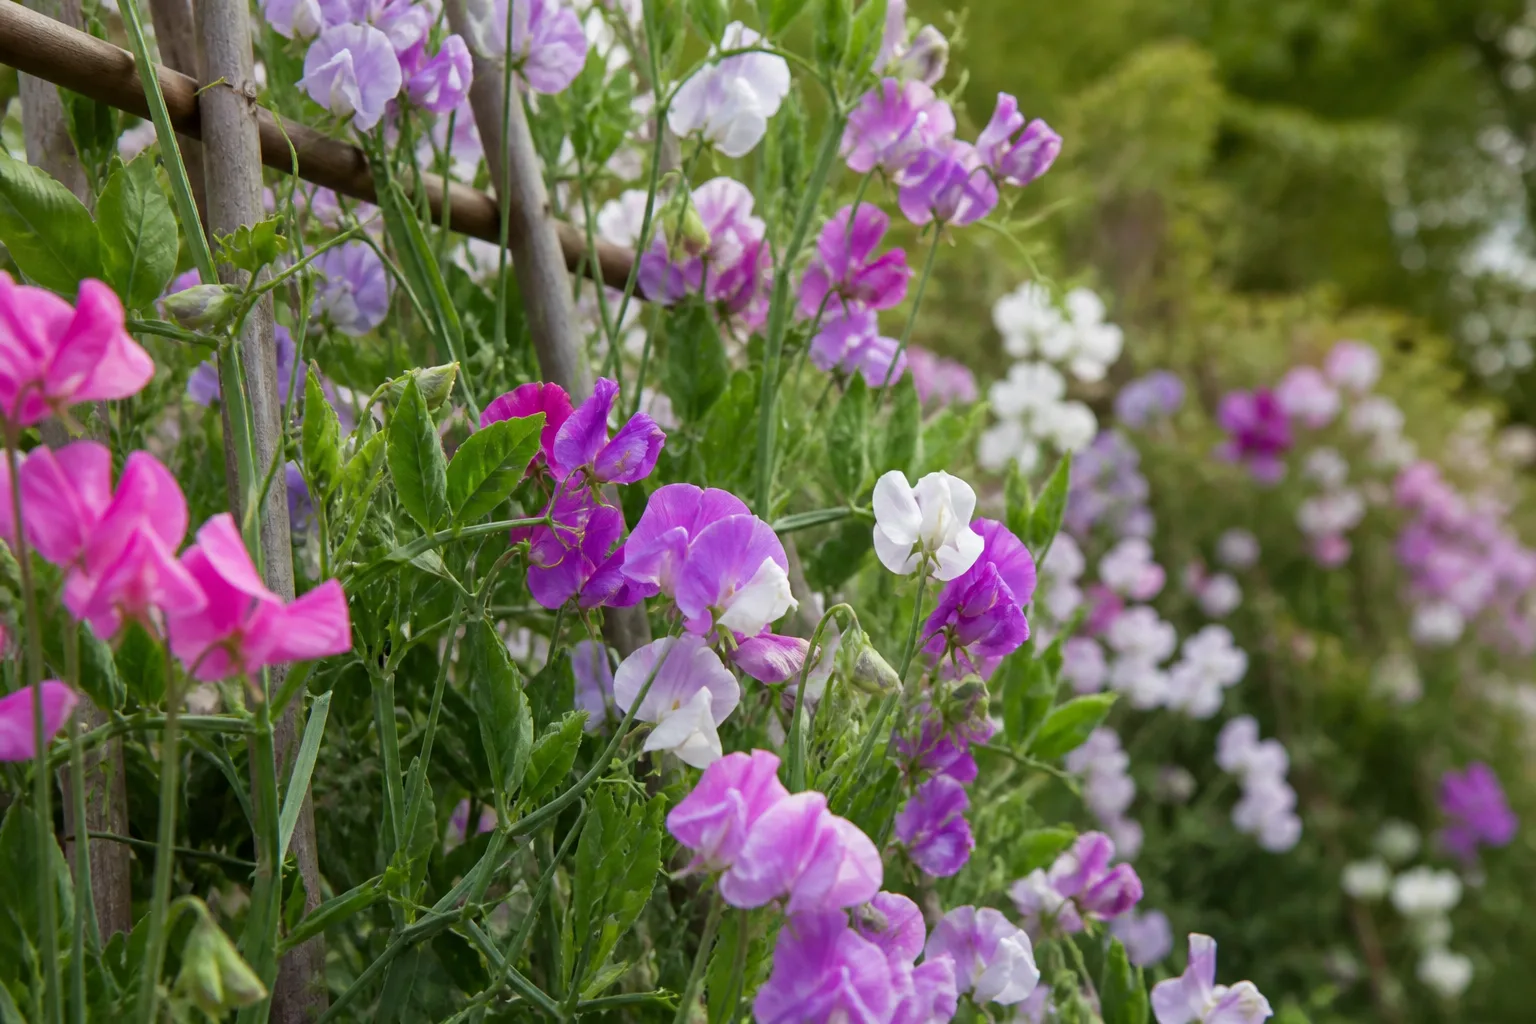
Sweet peas are cool-season annuals, so the best sowing date is the one that gives roots time to establish before heat arrives without leaving young plants trapped in cold, waterlogged soil. In a mild-winter garden, an autumn sowing can give you a head start. In a colder or wetter garden, spring sowing—or autumn sowing under cover—usually gives you more control.
The garden sweet pea is Lathyrus odoratus, an ornamental climber grown for scented flowers, not an edible pea. Its seeds and pods should not be eaten; NC State Extension lists the plant as poisonous. Choose your sowing route first, then adjust the calendar to the soil and weather you actually have.
The quick answer: choose a sowing window by winter and spring conditions
| Your conditions | Best starting point | Main trade-off |
|---|---|---|
| Mild winter, free-draining bed, few prolonged hard freezes | Sow in autumn outdoors or in deep pots | Earlier growth, but seeds face rodents, slugs, and wet spells |
| Cold or persistently wet winter | Sow in deep pots under an unheated, bright shelter in autumn, or wait for spring | Protected starts take more attention; spring starts may flower later |
| Frozen ground in winter and a cool, workable spring | Direct sow as soon as the bed can be prepared, or start in pots before then | Direct sowing is simple but less protected |
| Spring warms quickly and summer heat arrives early | Start toward the early end of your local sowing window | A late start can leave too little cool weather for a long display |
Use the month names on seed packets and local calendars as a starting point, not a guarantee. Sweet peas can be sown in autumn or spring, but the right month shifts with winter severity, drainage, and how quickly your spring turns hot; the RHS describes both October–November and late January–April sowing windows in its UK guidance. In the southern United States, experienced growers may start in December or January to take advantage of the cooler season, a regional practice described by Fine Gardening’s Alabama growers. (RHS growing guide; Fine Gardening)
Why timing matters more than a fixed planting date
Sweet peas make their best growth in cool weather and often lose momentum when sustained heat arrives. An early start gives them time to make roots and stems before the warmest part of the year, but starting too early in a warm room can produce long, pale seedlings that are difficult to keep compact. The goal is not simply “as early as possible”; it is an established plant entering the cool growing season with a healthy root system.
The seed itself does not need a default refrigerator treatment just because the plant prefers cool weather. Cool-season growth and cold stratification are different things: the former describes the conditions in which the plant grows well, while the latter is a chilling treatment some species require before germination. The RHS recommends sowing annual sweet peas in autumn or spring and softening difficult seed coats with moisture, not putting packets through a fixed 50-hour chilling schedule. Keep seeds cool and dry in storage, then use the sowing window that fits your climate.
USDA hardiness zones can help you compare winter lows, but they do not tell you whether your bed stays saturated, when the soil becomes workable, or how fast spring heat arrives. A gardener in a wet coastal zone and one in a dry inland zone can face different sowing risks despite sharing a zone number. Make the decision from those local conditions as well as the calendar.
Choose an autumn or spring window for your climate
Use two questions: will the seedbed drain and remain workable through the sowing window, and can young plants survive the coldest stretch before spring? If the answer to either is no, move the seed into a deep container under cover or wait until the soil is workable. The benefit of an autumn start is real only if the seedlings make it through winter in good condition.
Mild winters: sow in autumn for an earlier start
Autumn sowing suits places where winter is cool but not persistently severe, and where soil drains after rain. You can sow directly outdoors if mice and slugs are not a recurring problem and the bed will not sit waterlogged. For a more dependable start, sow in root trainers or deep individual pots and keep them in a cold frame or unheated greenhouse; this separates the early sowing advantage from the gamble of exposed winter soil.
In many temperate gardens, autumn means a window around October or November, but that is only a broad example. In warmer parts of the South, Fine Gardening’s growers sow in December or January because that is when their cool season is beginning. The calendar should move with your local pattern: sow when there is enough mild weather for germination and root establishment, but not so much warmth that seedlings become tall and soft before winter. (Fine Gardening; Ashridge Trees)
Cold or wet winters: protect autumn seedlings or wait for spring
Where winter brings prolonged hard freezes, frozen beds, or cold rain that keeps soil saturated, do not leave a large seed investment exposed just to claim an autumn start. Sow in deep cells under an unheated shelter instead, and keep seedlings cool and bright so they grow slowly rather than stretching. A cold frame is a buffer against wind and abrupt weather, not a heated greenhouse; ventilate it on mild days and close it before a severe frost.
If you do not have protected space, wait until late winter or early spring, when the soil can be worked without smearing into mud. You do not have to wait until every frost risk has passed to sow hardy cool-season flowers, but a seed placed in frozen or waterlogged soil is unlikely to benefit from the calendar advantage. Spring-sown plants can still flower well; RHS guidance gives roughly 12–14 weeks from spring sowing to bloom under suitable conditions, with local temperatures and cultivar changing the result. (RHS growing guide)
Hot springs: start early enough to use the cool season
If your region goes from cool weather to sustained heat quickly, prioritize an early start. Autumn or winter sowing may work best in a mild-winter climate; in a colder region, start in deep pots under cover and plant out as soon as the soil is workable and seedlings are acclimated. A late spring sowing can germinate perfectly and still disappoint because the plants reach flowering just as heat shortens the season.
Do not compensate for a missed window by raising seedlings in a hot indoor room. Give them strong light and cool conditions after emergence, and accept that a late sowing may provide a shorter flush. In the next season, use the date when your local heat usually becomes persistent as the planning deadline, then count backward to allow your selected method to establish plants before that period.
Decide between direct sowing and root trainers
Direct sowing keeps the roots in their final bed from the beginning, which avoids transplant disturbance and saves potting work. Protected pots give you a safer, more predictable germination environment when birds, mice, slugs, heavy rain, or frozen ground make outdoor sowing unreliable. The RHS considers pot sowing generally more reliable than sowing straight into soil, while noting that it takes more time; neither method is universally better. (RHS growing guide)
Direct sow when the bed is workable and protected
Choose direct sowing if the soil is crumbly rather than saturated, the bed drains well, and you can protect the row from seed-eating pests. It is especially convenient for a long row or a trellis planted in place, because you can sow along the support and avoid carrying young plants outside later. Install the support before sowing so you do not push stakes through established roots.
Direct sowing is a poor fit for heavy clay that stays wet, a bed that floods after spring rain, or a spot where mice routinely dig up seeds. If those risks are temporary, wait for a drier spell or use pots for the vulnerable germination stage. If they are chronic, choose containers or a raised bed with better drainage rather than repeating the same sowing and losing the seed again.
Use deep pots when winter or pests make beds risky
Sweet peas form roots quickly, so use root trainers or individual pots with enough depth instead of shallow plug trays. Root trainers are long, narrow cells designed to let roots extend downward and release the seedling with minimal disturbance. A deep pot also works if you can slide out the root ball intact, but avoid leaving plants cramped until the roots circle the bottom.
One seed per cell is easy to manage. If you sow several seeds in a larger pot, separate seedlings while they are small and handle them by the leaves, not the fragile stem; the goal is to disturb roots as little as possible. Move emerging seedlings to a bright, cool place. A warm windowsill can help a cold seed start, but once shoots appear, prolonged warmth and weak light encourage leggy growth.
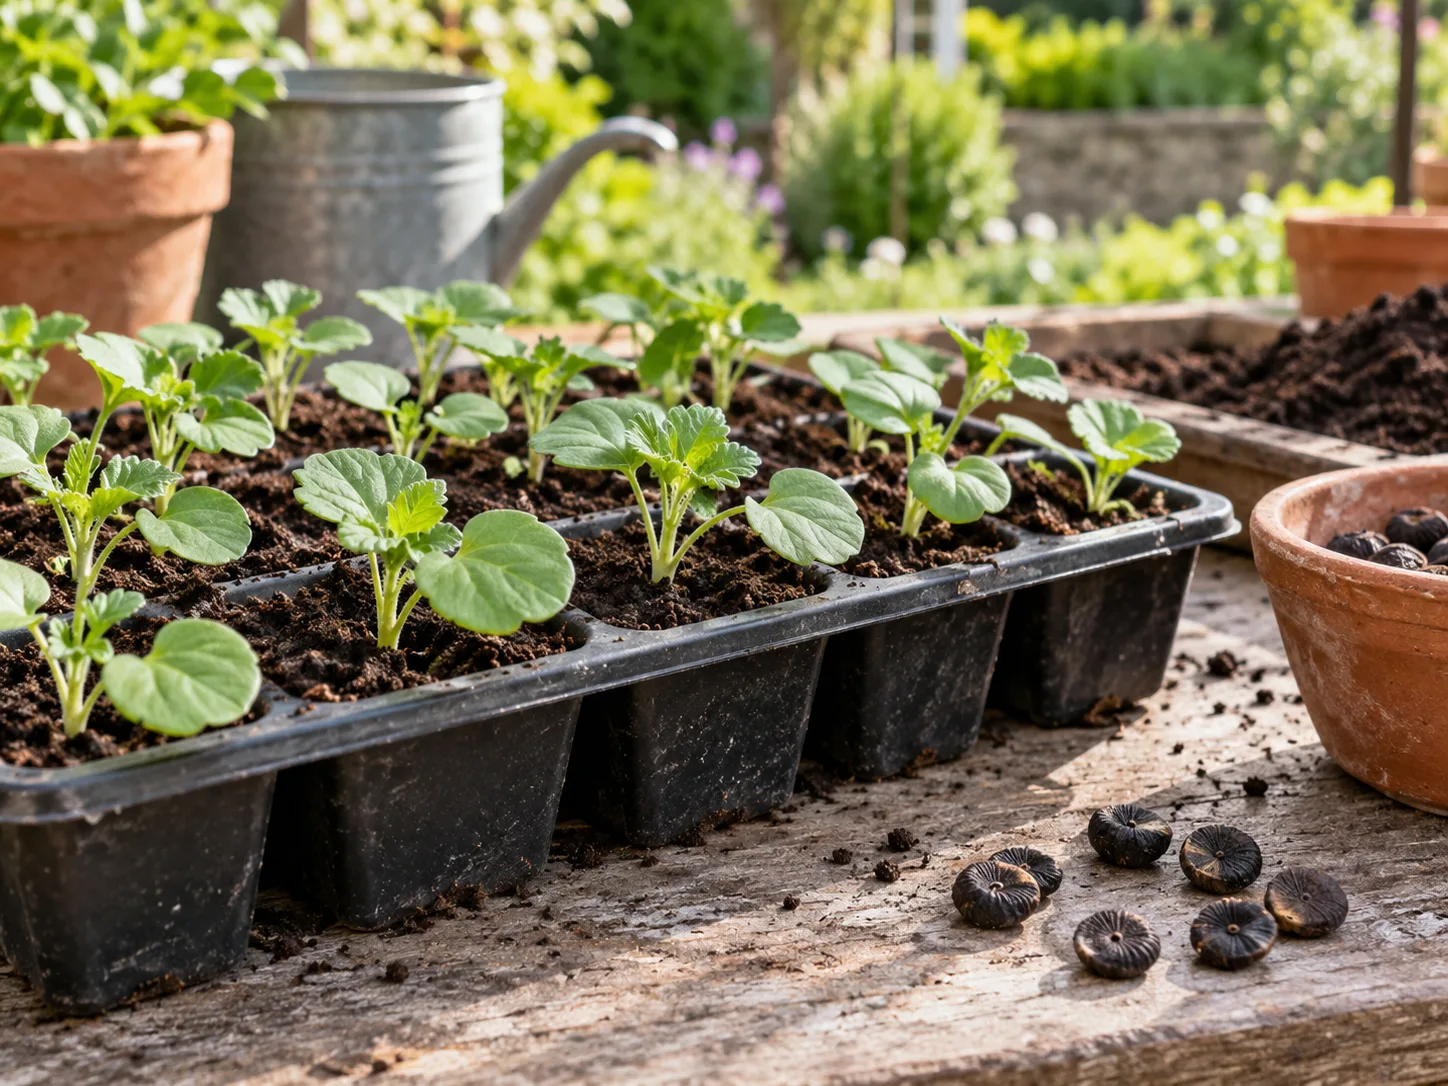
Prepare the bed, drainage, and support before planting
Sweet peas want a bright site and soil that holds some moisture without staying soggy. Work mature compost into the bed before sowing if the soil is poor or compacted, then avoid walking on the prepared row. Do not add lime, bone meal, or high-nitrogen fertilizer by habit; only amend pH based on a soil test, and use a balanced, modest feeding plan if the bed needs it. NC State Extension describes sweet peas as cool-climate plants that prefer fertile, well-drained soil and can struggle in hot, humid summers. (NC State Extension)
Set a trellis, pea netting, or other support in place before the vines need it. The thin tendrils catch on narrow mesh, strings, and twiggy supports; a smooth, wide pole alone may not give them much to grip. Put the support close to the row, check that it will not lean after rain or wind, and leave enough room behind it to reach for tying or harvesting later.
If you have only a small garden, compact varieties can be grown in containers, but choose a deep pot and stable support. A container dries and warms faster than a garden bed, so it requires more frequent checking once the weather turns mild. The broader sweet pea growing guide covers cultivar choice, support, and care after establishment.
Soften the seed coat without treating it like a bulb
Sweet pea seeds sometimes have a hard coat that slows water uptake, but every seed does not need the same treatment. The RHS suggests placing seeds on moist kitchen tissue in a covered container in a warm room, then sowing them as soon as they swell or begin to sprout. This lets you see which seeds have taken up water without leaving the entire batch submerged. (RHS growing guide)
An overnight soak is another option, and some experienced growers use it, but sow seeds promptly after they swell. Seeds left soaking for too long can rot, especially if the water is warm or the seed coat has already cracked. If a seed remains hard after moist-tissue treatment, you can lightly nick or file the coat on the side opposite the small scar called the eye; stop as soon as you expose a lighter layer, because cutting into the seed can injure the embryo.
You do not need to soak and nick the same seed, or chill it first. If the seed packet provides a cultivar-specific instruction, follow that; otherwise, sow a small untreated portion as a comparison before you put extra work into the whole packet. A simple side-by-side test can show whether your saved or older seed actually benefits from pre-treatment.
Sow sweet pea seeds step by step
Once the method and timing are chosen, sowing is straightforward. The main details to control are depth, moisture, spacing, and keeping the support available before the roots and shoots are established.
- Label the row or pots. Write down the cultivar and sowing date, especially if you are testing untreated and pre-moistened seed separately.
- Moisten the growing medium first. Use free-draining seed compost in pots, or water the bed if it is dry. It should feel evenly damp, not saturated or sticky.
- Sow to the right depth. In pots, cover seeds with about 1 cm (roughly ½ inch) of compost. For a shallow outdoor drill, sow about 2.5 cm (1 inch) deep; follow the packet if its directions differ. (RHS growing guide)
- Space seeds so you can thin them. Sow one seed per root-trainer cell. In an outdoor row, place seeds about 5–7.5 cm (2–3 inches) apart, then thin the strongest seedlings to roughly 20–30 cm (8–12 inches) apart as they grow.
- Water gently and protect the surface. Use a fine rose or a gentle stream so seeds do not wash into a clump. Keep the medium damp through germination; if you sow outdoors, cover the row with mesh or another safe barrier where birds and mice are a problem.
- Set the pots in the right place. Keep them cool and bright, with protection from hard weather. If you use a clear cover to retain moisture, remove it after seedlings emerge and ventilate the frame on mild days.
For a row grown around a wigwam or obelisk, sow a pair of seeds at the base of each support, then thin to the stronger seedling once it is established. Avoid crowding a narrow container with every seed in the packet; dense seedlings compete for light and air and are harder to transplant cleanly.
Care for seedlings after they emerge
Germination speed depends on seed age, moisture, and temperature, so a few empty cells do not mean the whole batch has failed. Under suitable conditions, sweet peas may emerge in about one to two weeks, while cold soil can take longer. Keep the medium evenly moist but not waterlogged, and do not keep digging up seeds to check them; that breaks emerging roots and disturbs seeds that are still swelling.
As soon as shoots appear, give them strong light and cool air. A bright unheated greenhouse or cold frame can work well; an indoor seedling under weak light may stretch toward the window. If seedlings lean, move them to brighter light and rotate the tray, but do not keep the compost saturated to compensate for indoor dryness.
Keep autumn seedlings cool, bright, and just moist
Autumn seedlings should grow steadily, not race upward. Keep them in a cold frame or unheated greenhouse, ventilate when the weather is mild, and protect them during severe freezes. Water when the compost begins to dry rather than maintaining constant wetness; cold, wet roots are more vulnerable to rot than roots in a cool but airy mix.
When seedlings reach about 7.5–10 cm (3–4 inches), pinching the growing tip can encourage side shoots and a fuller plant. The RHS recommends this size for young spring-sown sweet peas; autumn seedlings can be pinched later if the plant is still small or the season is too cold for useful regrowth. Do not pinch a stressed, newly transplanted, or barely rooted seedling simply because it has reached a particular height. (RHS growing guide)
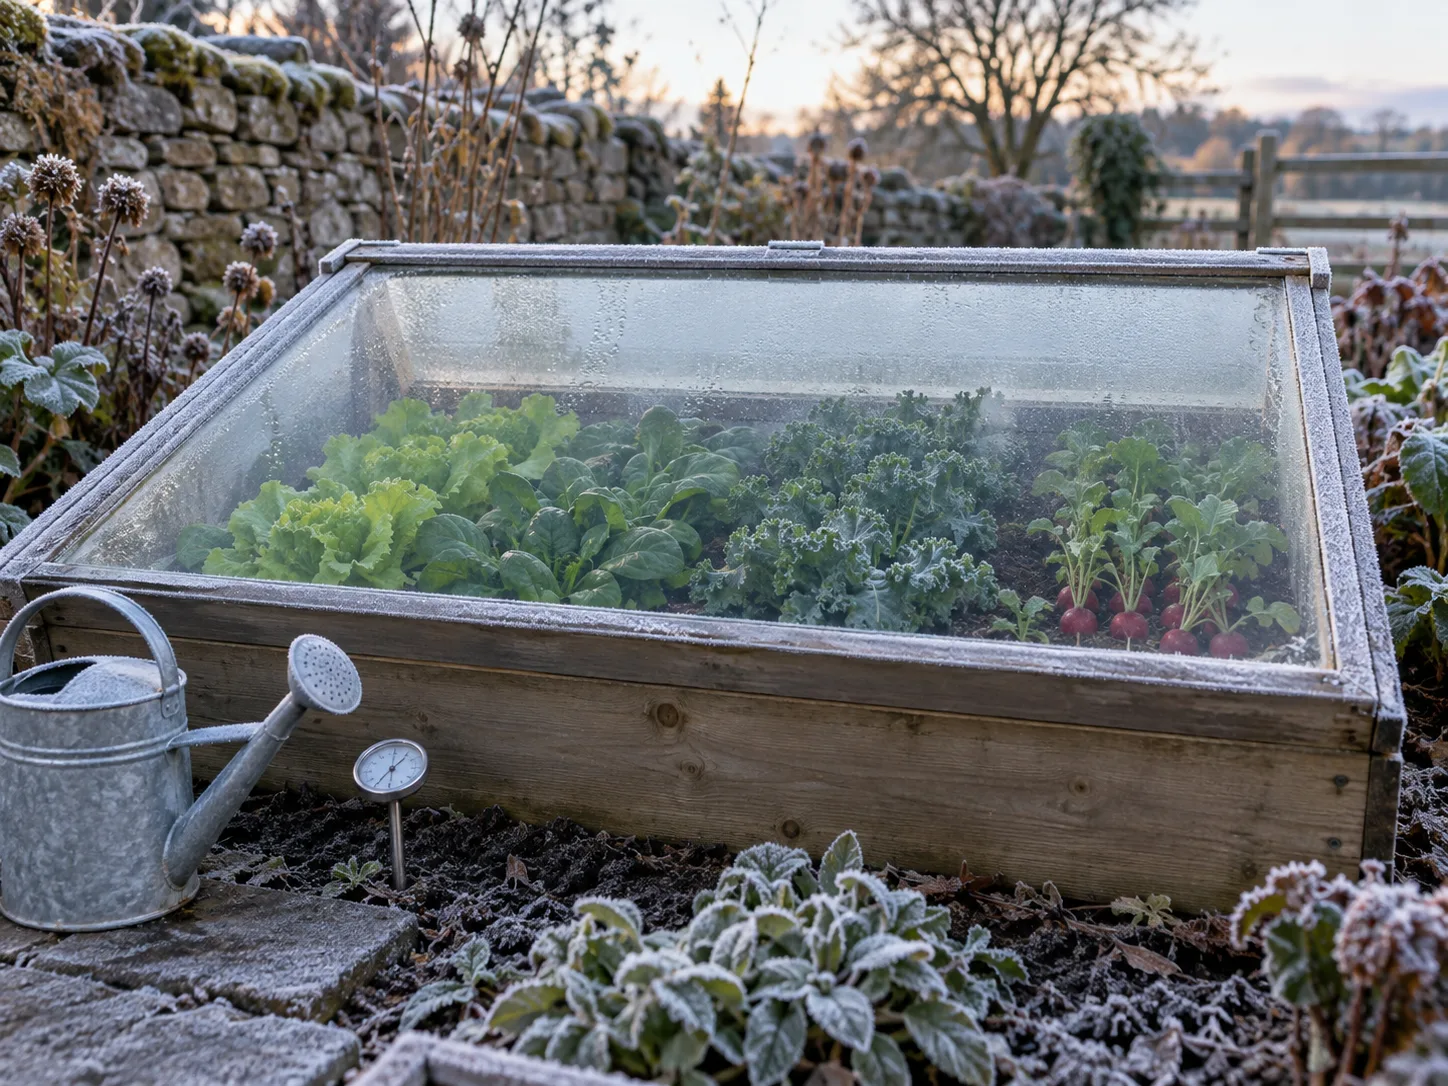
Harden off and transplant with minimal root disturbance
Before moving indoor-raised plants to an exposed bed, acclimate them over about one to two weeks. Start with a few hours outdoors in a sheltered spot, add time each day, and bring them back under cover if a hard freeze or strong wind is forecast. Plants grown in a cold frame are already partly acclimated, but still benefit from a gradual move into full wind and sun.
Plant into workable, drained soil and water the root ball in so it settles without becoming a puddle. Slide the seedling from its pot rather than pulling on the stem, keep the root ball intact, and place it near the support. If the ground is still cold and saturated, keep the pots growing under cover a little longer; a short delay is usually safer than transplanting into mud that will stay wet.
Troubleshoot slow or failed germination
If seeds have not appeared after the packet’s expected window, check conditions before resowing everything. Sweet pea seed needs moisture and air; a dry surface can stop swelling, while saturated compost can deprive the seed of oxygen and invite rot. The first test is to lift one seed carefully from an edge cell or row and inspect it.
A firm, unchanged seed may be old, too dry, or slow because its coat has not softened. Re-sow a few after moistening the coat, but do not scarify aggressively. A soft, discolored seed has likely rotted; reduce watering, improve drainage, and discard it rather than putting it back in the tray.
Seeds that vanish from outdoor rows may have been eaten or displaced by heavy rain. Cover newly sown beds with mesh, use a sheltered container for the next batch, and mark the row so it is not accidentally hoed. If seedlings emerge and then collapse at soil level, look for persistently wet compost, poor airflow, or stem damage before blaming temperature alone.
Avoid the sowing mistakes that cost a season
The most common timing mistake is using a month from another climate as if it were universal. A calendar that works in a mild English garden or the American South may leave seeds exposed to a long frozen winter somewhere else. Match the method to the risk: open-bed sowing when the soil and pest pressure are manageable, deep protected pots when they are not.
Other preventable problems include sowing too deep in a pot, leaving seedlings in a warm dim room, transplanting a tangled root ball, and watering by schedule instead of checking the medium. Do not treat a little frost as a reason to delay every sowing, but do protect young plants from prolonged severe cold and from cold, saturated soil. Keep the seed packet for spacing and cultivar notes, and use a small test sowing if you are unsure how old seed will respond.
Remember that sweet peas are ornamental. Store seed in its labeled packet away from food and children, and never taste seeds or pods to distinguish them from edible peas. NC State Extension identifies Lathyrus odoratus as poisonous; careful labeling also prevents the garden sweet pea from being confused with edible peas or perennial sweet peas. (NC State Extension)
Conclusion
For an early display, sow sweet peas in autumn only when you can give them a cool, bright, well-drained start and a realistic plan for winter protection. If your garden freezes hard or stays wet, choose root trainers under cover or sow outdoors in spring as soon as the soil is workable; the plants can still flower well before heat closes the season.
Soften hard seed coats only when needed, use the correct depth for pots or open ground, and keep the young roots evenly moist without leaving them waterlogged. With a climate-matched window, deep growing space, and support ready before the vines climb, sowing sweet peas becomes a predictable sequence rather than a gamble. For the next steps after sowing, see the full sweet pea growing guide.