Mums Not Blooming? Check These 10 Causes
Mums not blooming can mean a late cultivar, disrupted dark hours, late pinching, or plant stress. Diagnose the cause and see which fixes still help this season.

A leafy mum with no flowers is not automatically dying. It may be following a later cultivar schedule, receiving light at the wrong time of day, recovering from a late pinch, or struggling with water or root stress. The first useful question is not “What fertilizer makes mums bloom?” but does this plant have buds, and does it otherwise look healthy?
Garden mums and florist mums also behave differently. Many fall display pots have been grown under controlled greenhouse conditions and arrive with buds already set; hardy garden mums in a border follow the local season and need months of spring and summer growth. A correction that helps a perennial in May cannot reliably make an October porch pot rebloom by the weekend.
Before treating a nonflowering mum, check its stage
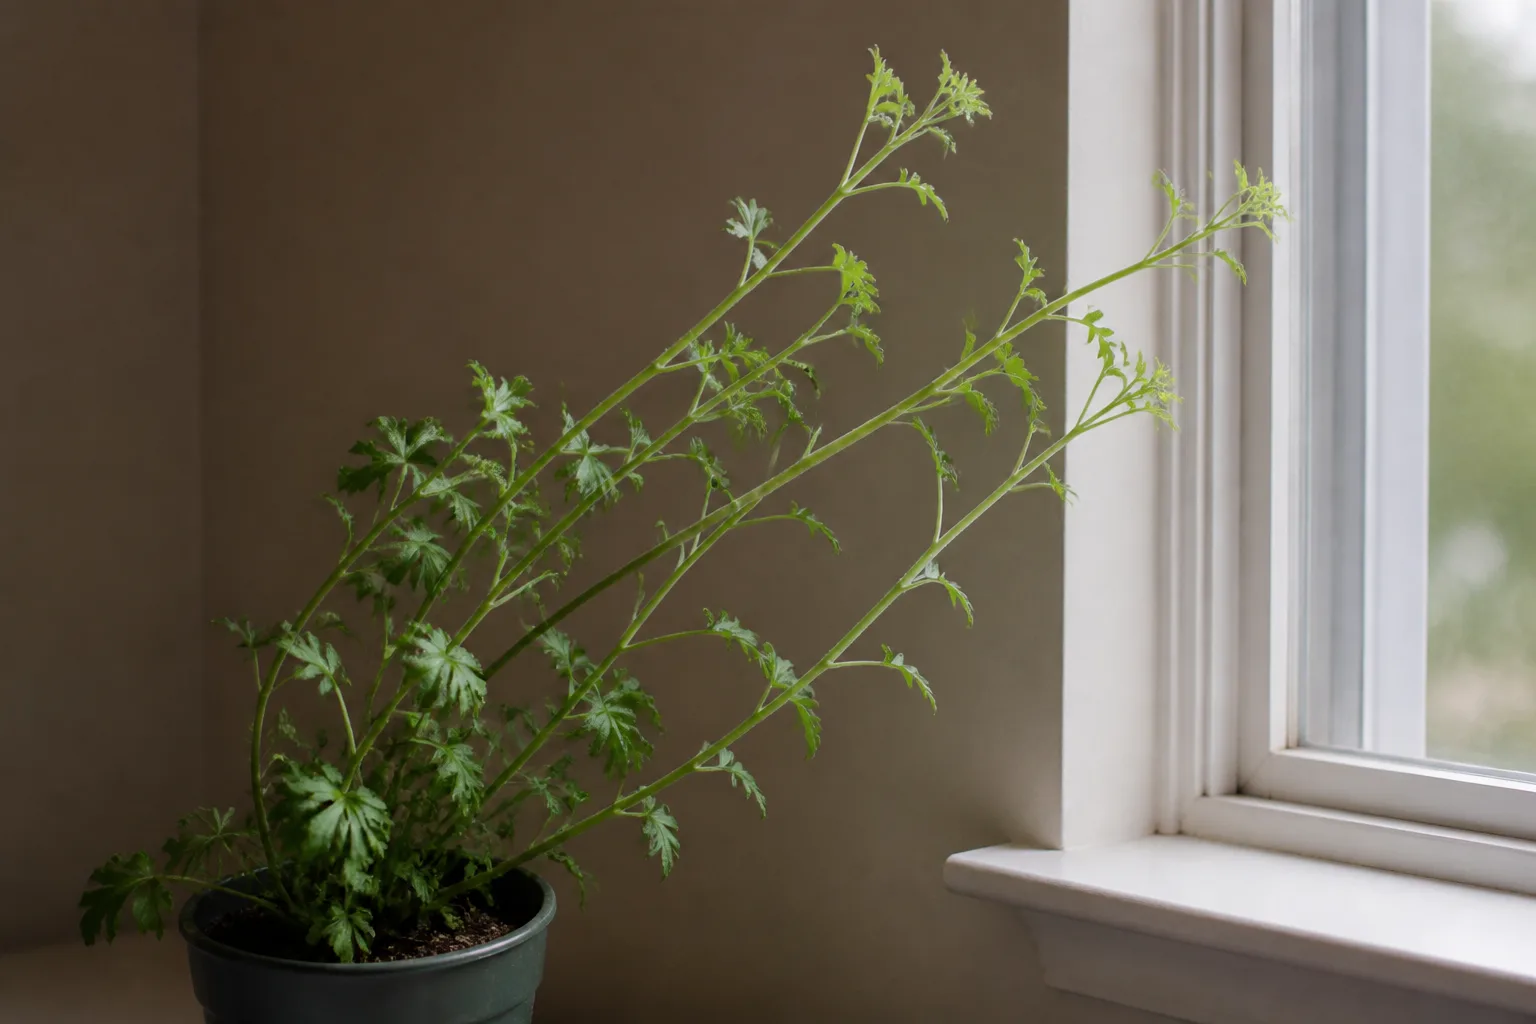
Look closely at the growing tips. No buds on a healthy, leafy plant points first toward cultivar timing, interrupted nights, late pinching, or insufficient direct sun. Visible buds that are still tight suggest the plant has started flowering; it may simply need more time, especially if it is a later cultivar or the weather has turned cool.
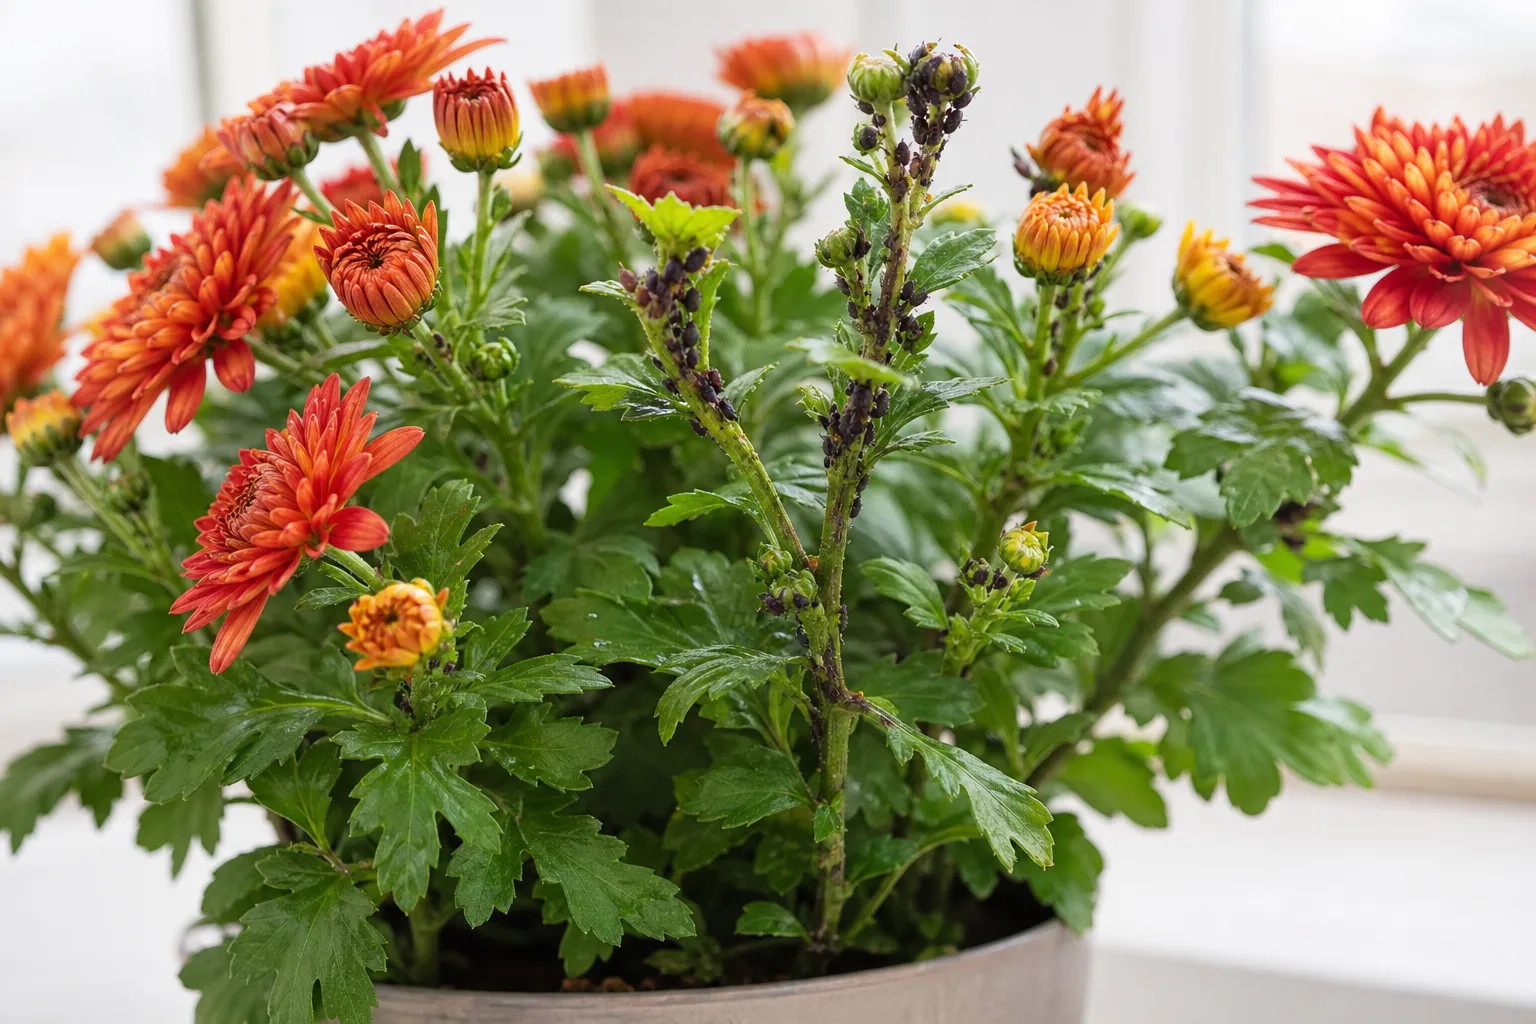
Other clues move water and health higher on the list. Long, weak stems often indicate inadequate light or too much nitrogen. A plant that wilts repeatedly, yellows from the bottom, or sits in wet soil needs a root-zone check. Sticky leaves, curled tips, or clusters of tiny insects point toward aphids rather than a missing fertilizer dose.
| What you see | Check first | A sensible first move |
|---|---|---|
| Healthy green mound, no buds | Cultivar label, last pruning date, light after dark | Stop pruning; inspect the site at night and wait for the cultivar’s window |
| Buds are present but remain closed | Cultivar and recent weather | Keep moisture steady; do not add fertilizer or cut the tips |
| Tall, sparse stems with few buds | Direct sun and feeding history | Measure sun at the plant and pause high-nitrogen fertilizer |
| Wilt, yellow leaves, or soggy soil | Root-ball moisture and drainage | Correct the water problem before changing light or feeding |
| Sticky or distorted new growth | Aphids and other pests | Inspect leaf undersides and buds; use a targeted, label-following response |
Compare plants that share a bed, not a mum in your yard with a retail pot from another region. If only the plant beside the porch lamp has no buds, that is a useful clue; if every variety is behind after a hot summer, weather or the local bloom window may explain more. Change the most plausible condition first and give the plant time to respond. Changing light, pruning, water, and fertilizer all at once may add stress while making it impossible to tell which cause mattered.
10 mistakes that keep mums from blooming
1. Expecting every mum to flower on the same schedule
“Fall mum” describes a broad season, not a precise date. Chrysanthemum cultivars differ in when they initiate buds and how long those buds take to open; early types can show color before later selections. A retail pot may also have been deliberately timed by a greenhouse, so its current bloom stage does not tell you when an unmanipulated garden plant should flower. Gardening Know How’s chrysanthemum bloom-season guide notes that varieties span different flowering windows and that growers can time plants by adjusting light exposure (Gardening Know How).
Check the plant tag for the cultivar name, whether it is a hardy garden mum or florist mum, and any stated flowering season. Compare it with other varieties in the same bed before deciding it has failed. If buds are forming and the plant is healthy, a late cultivar may simply be on schedule; changing fertilizer or digging it up will not make its genetics flower earlier.
Tags are often discarded, so use the purchase location as a clue, not proof. A compact plant bought from an outdoor nursery as a garden perennial is more likely to have been selected for landscape performance than a heavily forced pot sold indoors for decoration. Either can be a chrysanthemum, but they may differ in hardiness, natural bloom timing, and how reliably they return. If the label is gone and the plant came home already in flower, judge this season’s display by its buds and health rather than expecting an exact repeat date next year.
2. Letting outdoor lights interrupt long nights
Mums respond to photoperiod—the balance of light and dark—as well as to daytime growing conditions. They are commonly described as short-day plants, but “long-night” is more precise: the length of uninterrupted darkness helps signal flowering. Penn State Extension explains this response and notes that commercial mum production manipulates day length to schedule blooms (Penn State Extension’s photoperiod guide).
If one healthy plant stays leafy while nearby mums form buds, inspect it after sunset. A porch fixture, security floodlight, illuminated sign, or landscape lamp shining directly on the canopy for much of the night is worth investigating. Not every distant or dim streetlight will prevent flowering; brightness, distance, duration, cultivar, and the surrounding darkness all matter. Where practical, switch off or redirect the light, shield the plant from it, or move a container to a bright daytime site with darker nights. Do not wrap an in-ground plant in an opaque cover every evening: that can trap heat and moisture, and it is easy to get wrong. Flower initiation takes time, so a change now may not produce a quick flush.
3. Giving garden mums too little direct sun
A plant can grow leaves in partial shade and still make a poor flower display. Penn State Extension recommends a sunny planting site with roughly five to six hours of daily sun; for a practical garden target, aim for at least six hours of direct sunlight where the climate allows. Bright open shade is not the same as direct sun, and sunlight filtered through a tree canopy may shift as the season changes.
Track the light at the plant’s height for a full day rather than guessing from a morning glance. Note when direct sun reaches the foliage and when a building or tree blocks it. If the bed is consistently too shaded, plan a move during a cooler, suitable planting period rather than disturbing a stressed plant in midsummer. A container is easier to relocate, but moving it into a darker garage or indoors is not a flowering fix; mums still need strong daytime light.
The sun pattern can change between spring and fall as trees leaf out or the sun drops lower in the sky. A bed that seemed open in April may be shaded by a neighbor’s maple in late summer, precisely when the plant is building stems and preparing to bloom. If you relocate an established garden mum, choose the new site for drainage as well as sun and move it when temperatures are moderate enough to limit transplant stress. Do not cut the stems back just to make the plant easier to move while it is forming buds.
4. Confusing summer heat with too much sunlight
Garden mums need plenty of light, so “too much sun” is not a reliable diagnosis for a plant that will not bloom. What can interfere is heat stress, particularly when high temperatures overlap with the early stages of flower initiation. Horticulturist Erik Runkle describes heat delay in early-season potted mums and explains that cultivar and temperature change how strongly a plant responds to short days (Greenhouse Management). That production research does not mean every backyard mum needs blackout cloth or greenhouse treatment; it does show why bloom dates can shift after a hot spell.
Look for other signs before moving a plant out of sun. A dry container against hot paving, afternoon wilt that persists into evening, scorched leaf edges, and very warm root media suggest combined heat and water stress. Preserve bright light while reducing the stress around the roots: water when the mix begins to dry, move a pot a short distance away from heat-reflecting masonry if possible, or use light afternoon shade during extreme heat. Do not put a garden mum in all-day shade to avoid warm weather; that trades one stress for a likely shortage of light. Heat-related delay is not fixed by a heavy dose of fertilizer or another round of pruning.
This distinction helps with diagnosis: shade reduces the plant’s daily light supply, while heat can alter the timing of flower development even when the plant is receiving adequate light. A hot spell during early flower initiation can delay some cultivars without leaving the lasting brown scorch that people often use as a heat-stress clue. Keep notes on when the heat occurred and when buds appeared; that pattern is more informative than assuming every late plant was sunburned.
5. Letting the root ball dry out while buds form
Mums use a lot of water to support dense foliage and flowers, and containers can dry quickly in sun or wind. A wilted plant may pause growth, shed buds, or recover slowly after repeated dry-downs. But “one inch every week” is only a rough garden benchmark, not a schedule that fits every soil, climate, pot, or rainfall pattern.
Check moisture in the root zone instead. Press a finger about an inch into the bed or potting mix; if that layer is dry, water slowly and thoroughly at the soil line. For a container, keep watering until a little drains from the holes, then empty any saucer. During warm, windy spells, check pots more often; after rain or as temperatures cool, wait if the mix is still moist. Penn State Extension emphasizes ample moisture for flowering mums, while practical watering guidance from Epic Gardening likewise stresses even moisture with well-drained soil rather than a fixed calendar (Epic Gardening).
Watering deeply but less often is usually easier to manage than giving a shallow splash every day, because a surface-only sprinkle may not wet the whole root ball. If a dry nursery pot sheds water down the sides, apply water in two slow passes so the center of the mix can rehydrate. In a garden bed, sandy soil and tree-root competition may require more frequent checks than a loamy bed after rain. Treat any weekly amount as a starting estimate, then adjust to what the roots and weather are actually doing.
6. Leaving container roots in saturated soil
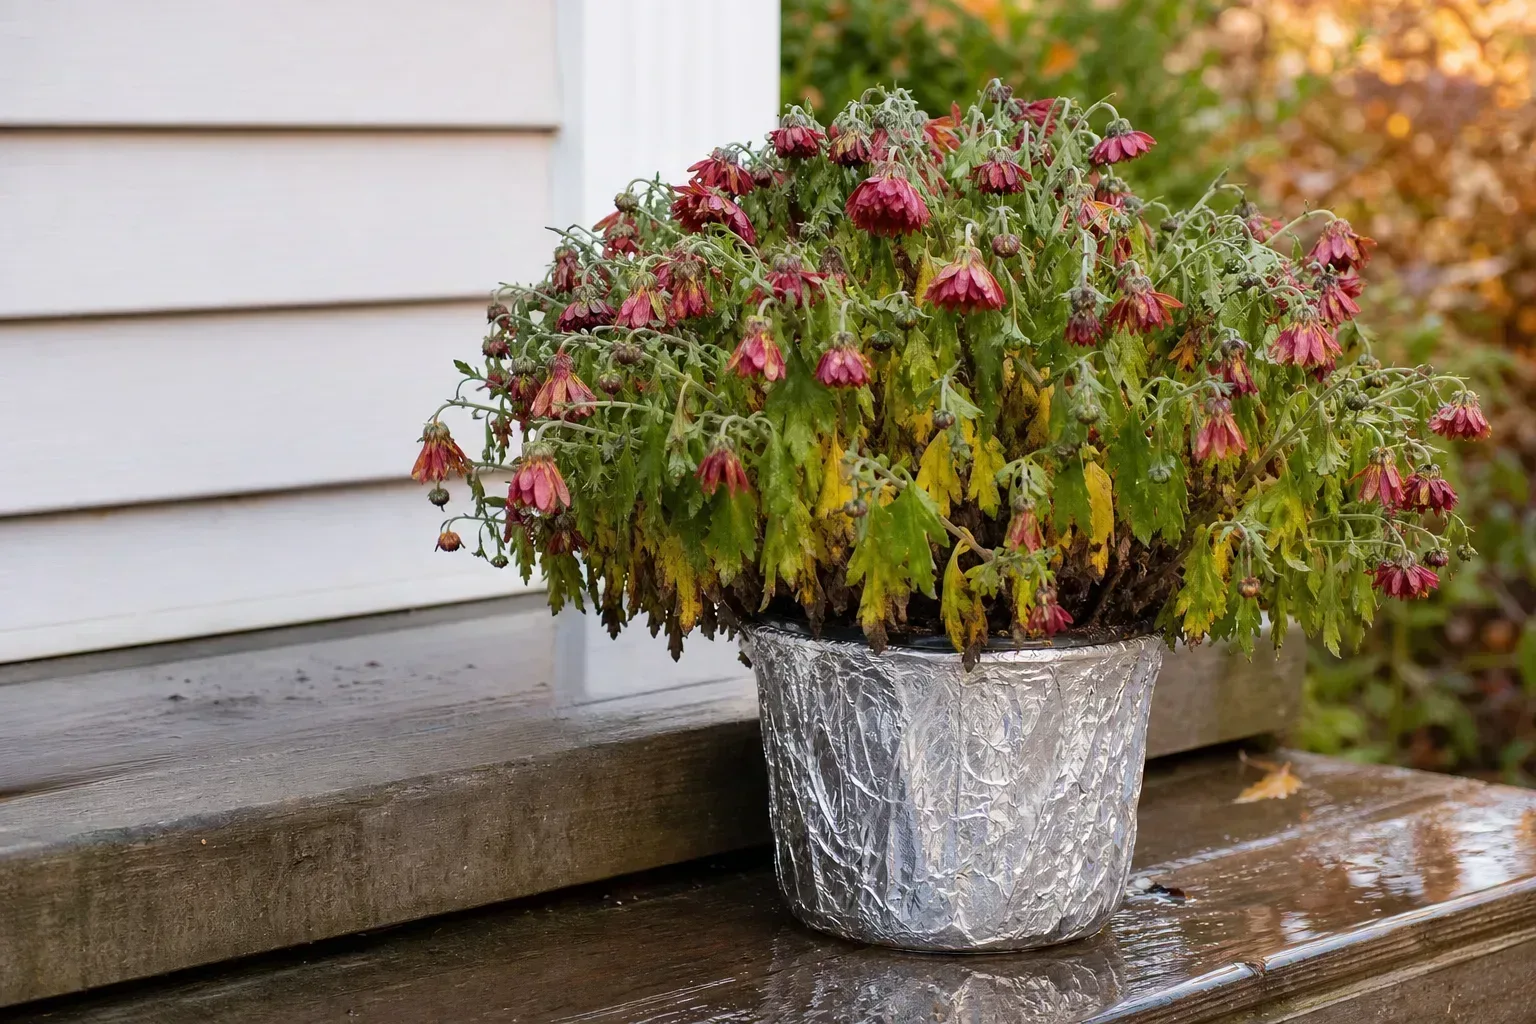
More water is not the same as better watering. A pot without drainage holes, a nursery pot left inside a watertight decorative cover, or a container standing in a full saucer can keep roots short of air. Damaged roots cannot reliably supply water and nutrients, so the plant may wilt even though the mix feels wet. That is a different problem from a dry root ball, and watering again can deepen it.
Lift the nursery pot out of any sleeve and check that excess water can escape. If the mix stays soggy for days, smells sour, or the lower leaves yellow while the plant wilts, inspect the root ball for dark, soft roots. Healthy roots are generally firm; trim only clearly dead or mushy material with clean tools and move the plant into a container with open drainage and fresh, well-draining potting mix if recovery is realistic. Do not bury the crown or repot repeatedly just because flowering is late. A healthy in-ground mum in poorly drained soil may need a raised or better-drained site, but that is a longer-term correction.
7. Ignoring foliage disease, aphids, and garden debris
Aphids, leaf diseases, and crowded, declining foliage can weaken a plant enough to reduce its display. Inspect the growing tips and leaf undersides for clusters of soft-bodied insects, sticky honeydew, curled leaves, or distorted buds. Penn State Extension lists aphids and mildew among chrysanthemum concerns and recommends keeping plants dry with good airflow and drainage. A sharp stream of water can dislodge aphids on a sturdy plant; do it early enough that foliage dries before night, and avoid knocking off beneficial insects or damaging delicate stems. If a labeled garden product is needed, follow its label exactly and avoid spraying open flowers when pollinators are active.
Water on leaves alone does not prove that powdery mildew is present or that overhead watering caused it. Dense plants, poor air movement, and foliage that stays damp for long periods can increase the risk of some diseases, so aim water at the soil when convenient and space plants for airflow. Remove badly diseased leaves and fallen plant debris rather than leaving it around the crown. Sanitation helps limit disease carryover; it cannot make a cultivar flower earlier or reverse buds already lost to late pruning.
8. Using fertilizer as a last-minute bloom switch
A mum with lush, dark-green leaves usually does not need an emergency feeding simply because flowers are absent. Excess nitrogen can push more stems and foliage at the expense of a balanced display, especially when light is limited. Conversely, a spring-planted garden mum in poor soil may benefit from modest, label-directed feeding while it is actively growing. Penn State Extension recommends light, frequent feeding during the growing season and stopping once flower buds form; it also cautions against continuing after buds develop (Penn State Extension).
Read the product label and consider a soil test before adding nutrients to an established bed. Do not stack granular fertilizer, liquid feed, and compost tea in an attempt to force buds. Store-bought flowering mums have generally been grown for a ready display and may not need extra fertilizer at all; Epic Gardening makes that distinction between nursery pots and established garden plants. If the plant is tall and leafy, first check sun, recent pinching, and nighttime lighting. Feeding late cannot restore a flower bud that never formed.
9. Skipping early pinching on garden mums
Pinching removes the growing tip so side shoots develop, creating more branching stems that can carry flowers. It is a shape and branching practice, not a switch that directly tells the plant to bloom. Spring-planted garden mums can become taller and more open if they are never pinched, while a compact nursery mum has usually already been shaped by the grower and does not need the same treatment.
For an established garden mum, Penn State Extension suggests a first pinch when stems reach about six inches, removing roughly three-quarters of an inch, and another pinch as the plant grows; the final pinch should be around 100 days before the intended bloom date. Those are workable guideposts, not a universal calendar, because cultivars and local seasons differ. Use clean fingers or shears and remove only the tender tip. If the mum is already branching well or has visible buds, leave it alone rather than chasing an ideal dome.
10. Pinching too late or removing developing buds
The opposite mistake is continuing to cut stems after the plant needs uninterrupted growth to set and mature flowers. Late pinching removes the shoot tips that would have carried buds and forces replacement growth to start over. A common temperate-climate rule is to stop by early July or about 100 days before expected bloom, but a warm-region cultivar that flowers earlier needs an earlier stop; local extension advice and the plant tag should take precedence over a date copied from another region. Gardening Know How also cautions that pruning too close to the expected season can remove developing buds (Gardening Know How).
If you pinched late, stop cutting now. Keep the plant in good light, maintain even moisture, and let the new shoots mature. Do not apply extra nitrogen to compensate, and do not mistake deadheading for pinching: deadheading removes spent flowers from a plant already blooming, while pinching removes growing tips before flowering. A late cut may delay the show or cost this season’s flowers, and there is no reliable weekend remedy.
Can you still get your mums to bloom this season?
Sometimes you can improve the conditions for flowers that have not yet formed, but you cannot guarantee a same-season bloom. If a healthy plant has no buds, check the cultivar, nighttime light, pruning history, and daytime sun first. Stop pruning and avoid excess fertilizer. If the cause is a light interruption or a late pinch, flowering may still be delayed by weeks—or the useful window may have passed, depending on cultivar and frost timing.
Use the plant’s visible stage to set expectations. A leafy mound in early summer has many weeks to branch and mature; the same plant without buds in late fall has much less time before cold weather. A plant with tight buds is farther along than one with only leaves, even if neither looks colorful yet. No single date applies to every growing region, so compare the plant’s progress with the usual local flowering window rather than a calendar date from a different climate.
If buds are already visible, protect that progress: keep the root ball evenly moist, make sure the pot drains, and avoid cutting or moving the plant unnecessarily. Tight buds may take time to color and open, especially on a later cultivar or in cool autumn weather. A plant with yellowing, persistent wilt, wet soil, or aphids needs its health issue addressed, but repairing roots or removing pests supports recovery rather than instantly replacing lost buds.
For a new autumn purchase, choose a plant with plenty of tight, colored buds if you want the longest porch display. A mum already in full flower is not necessarily unhealthy, but many of its blooms have opened before you bought it. Neither deadheading nor fertilizer will reset the plant’s flowering clock once the main display is spent.
A seasonal plan for fuller blooms next year
In spring, decide whether the plant is a hardy garden mum worth keeping or a florist display plant you will treat as seasonal. For garden mums, give them a sunny, well-drained site, divide crowded clumps as needed, and clear dead material. Penn State Extension recommends spring planting after freezing danger has passed, while allowing enough time for roots to establish before severe heat or cold.
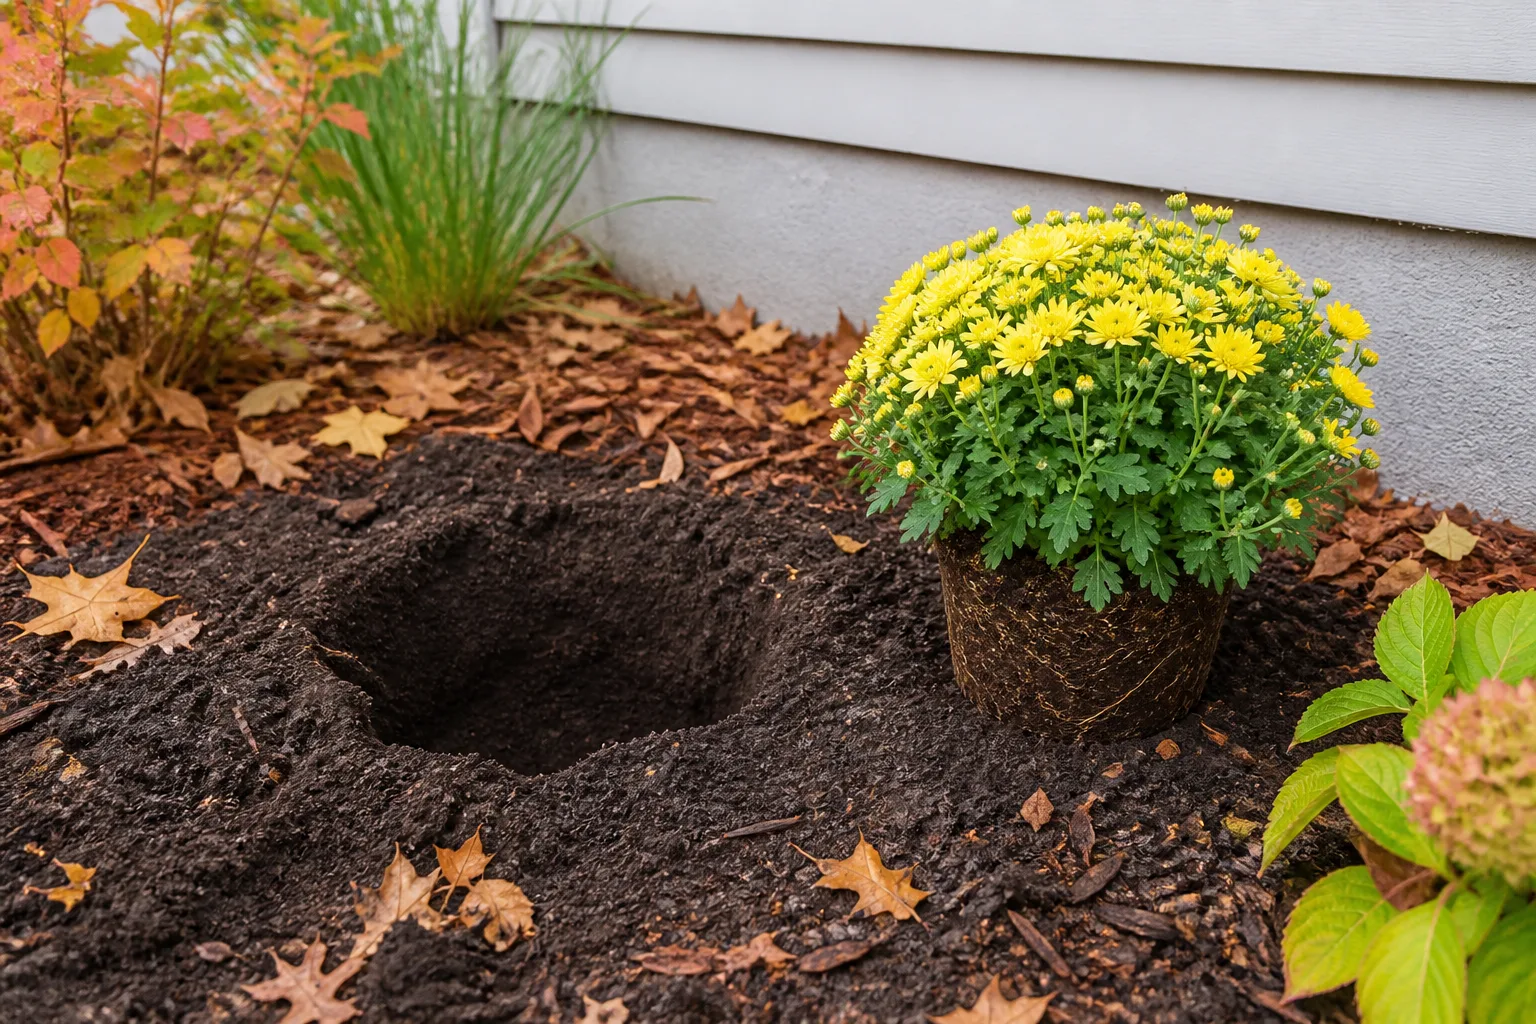
In late spring and early summer, track the number of hours of direct sun and water according to actual soil moisture. Pinch a garden mum only while it is building branches, then write down the final pinch date. This simple note is more reliable than trying to reconstruct pruning history when buds are late in September. Feed modestly only when the plant and soil warrant it, and stop once buds form.
As late summer approaches, check the garden after dark for a light shining directly on the plant. Note whether buds are beginning, and compare the timing with the cultivar label or reliable local guidance. Keep containers draining freely and inspect stems for pests before they distort new growth.
During bloom, water the root zone when it needs it, remove spent flowers if you want a neater display, and do not make major pruning cuts. If buds are developing but opening slowly, give the plant time before you make another change. A short log—cultivar, sun hours, last pinch, first visible bud, and first flower—will reveal whether the issue repeats and help you choose a variety better matched to your garden.
Conclusion
Mums that stay green without flowers usually need a diagnosis, not a stronger fertilizer. Start with the plant’s stage and cultivar, then check long nights, direct daytime sun, pinching dates, root moisture, drainage, and visible pest or disease clues. These causes can look similar from a distance, but each points to a different first move.
Correcting water or light can support a mum that is still developing, but late-season changes cannot promise new flowers on a fixed date. Stop pruning when flowering time approaches, give visible buds steady care, and use this year’s timing notes to set up a fuller display next season.