11 Tips for Growing Terrific Tomatoes in Pots
Grow terrific tomatoes in pots with 11 expert tips on container size, potting mix, deep planting, watering, feeding, support, and harvest timing for patio and balcony gardens.
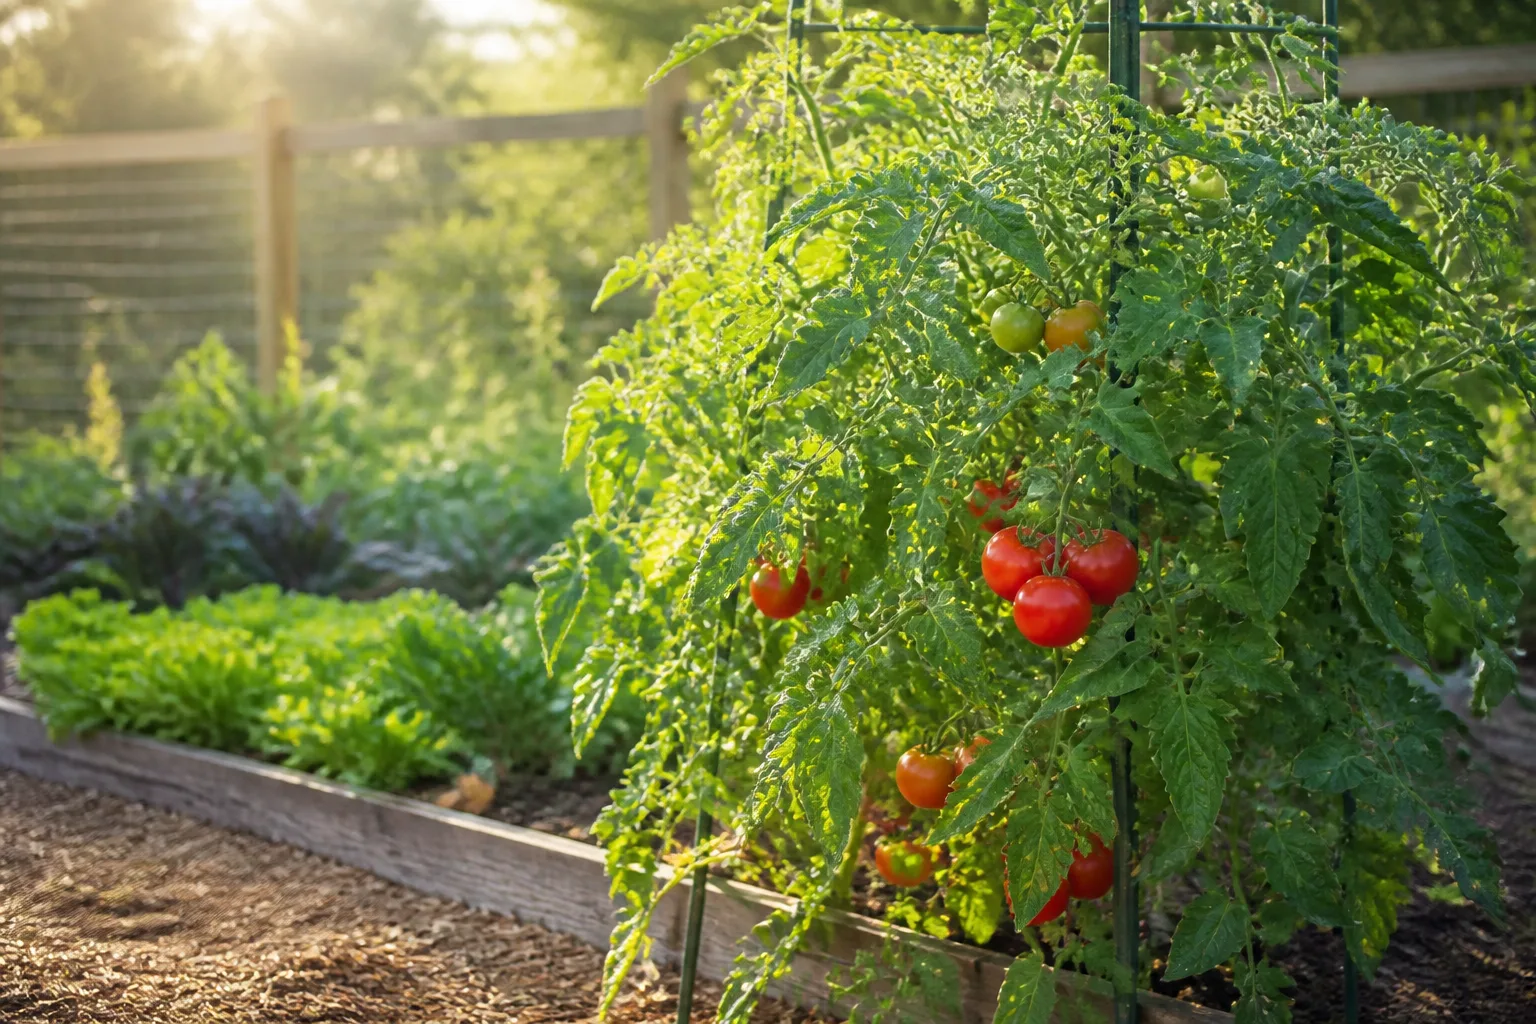
A heavy cluster of ripe tomatoes within arm’s reach of your kitchen door is one of the best returns on a small-space garden—but container tomatoes fail quietly. The leaves look fine while roots bake on hot concrete, soil dries to dust by mid-afternoon, and fruit cracks after a single missed watering day. Growing tomatoes in pots is absolutely doable. It just requires different math than in-ground rows: more soil volume, steadier moisture, earlier support, and varieties that respect your ceiling height.
These eleven tips walk through the decisions in the order they actually matter, from choosing a habit that fits your patio to harvesting before the first fall frost steals the crop.
Why Container Tomatoes Reward Extra Planning
Potted tomatoes trade unlimited root spread for control. You choose the soil, isolate plants from last year’s blight in the backyard bed, and roll pots to follow the sun as the angle shifts through summer. That mobility is the main reason balconies, driveways, and rental patios outperform poor native soil for many gardeners.
The trade-off is equally real. Potting mix heats and dries faster than mulched garden earth. Every nutrient you do not replace washes out the drainage hole within weeks. A 12-inch decorative pot that looks perfect beside the grill often holds barely enough root room for a cherry tomato past July. NC State Extension notes that both determinate and semi-indeterminate tomatoes do well in containers at least a foot deep with drainage holes—a floor, not a ceiling (NC State growing tomatoes guide). Treat container growing as a high-touch, high-reward system and the harvest follows.
Tip 1: Match the Tomato Type to Your Pot and Patience
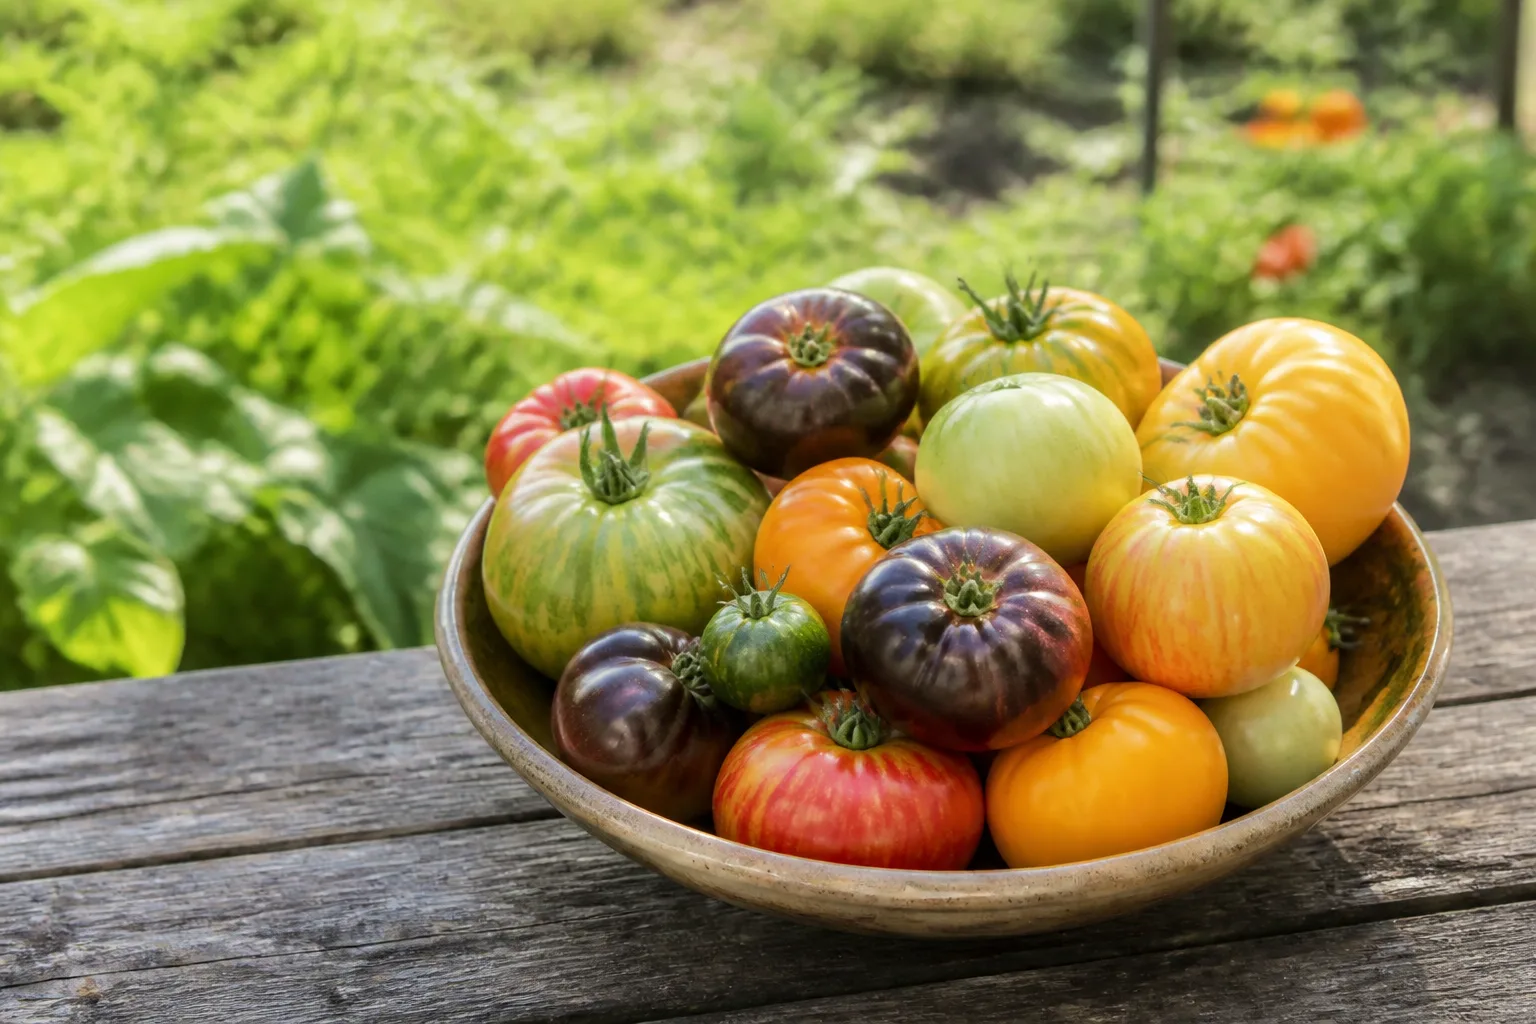
Variety choice is the first filter. Tomatoes split into determinate (bush, finite height, compressed harvest) and indeterminate (vine, keeps growing and fruiting until frost) habits. Iowa State Extension describes determinates as setting most fruit in a shorter window, while indeterminates continue producing along elongating stems (Iowa State determinate vs indeterminate FAQ).
Determinate, patio, and paste types for most pots
For a single pot on a balcony, start with labels that say patio, bush, container, or determinate. Cultivars such as Bush Early Girl, Patio Princess, Window Box Roma, and compact cherries bred for pots typically finish under four feet and fit a sturdy cage without swallowing the railing. Paste types like Roma and San Marzano are determinates well suited to sauce batches—they need less vertical support than a sprawling heirloom slicer.
Determinates are not “lesser” tomatoes. They are predictable tomatoes. You know roughly when the main flush arrives, which helps if you travel or share harvest weekends with neighbors.
Indeterminate cherries only with pruning and a tall trellis
Indeterminate cherries—Sungold, Super Sweet 100, Chocolate Cherry—can outproduce a determinate slicer in the same square footage if you prune to one or two leaders, use at least a 10–15 gallon container, and anchor a stake or trellis taller than you think you need. Without that plan, an indeterminate vine becomes a green curtain blocking the door by August.
Large beefsteak heirlooms in small pots are the most common disappointment. If your heart is set on Cherokee Purple shoulders the size of a fist, compare our pots vs ground guide and consider a deep raised bed instead. For more cultivar ideas, see determinate tomato varieties and tomato varieties to try.
Tip 2: Size the Container by Root Volume—Not Decoration
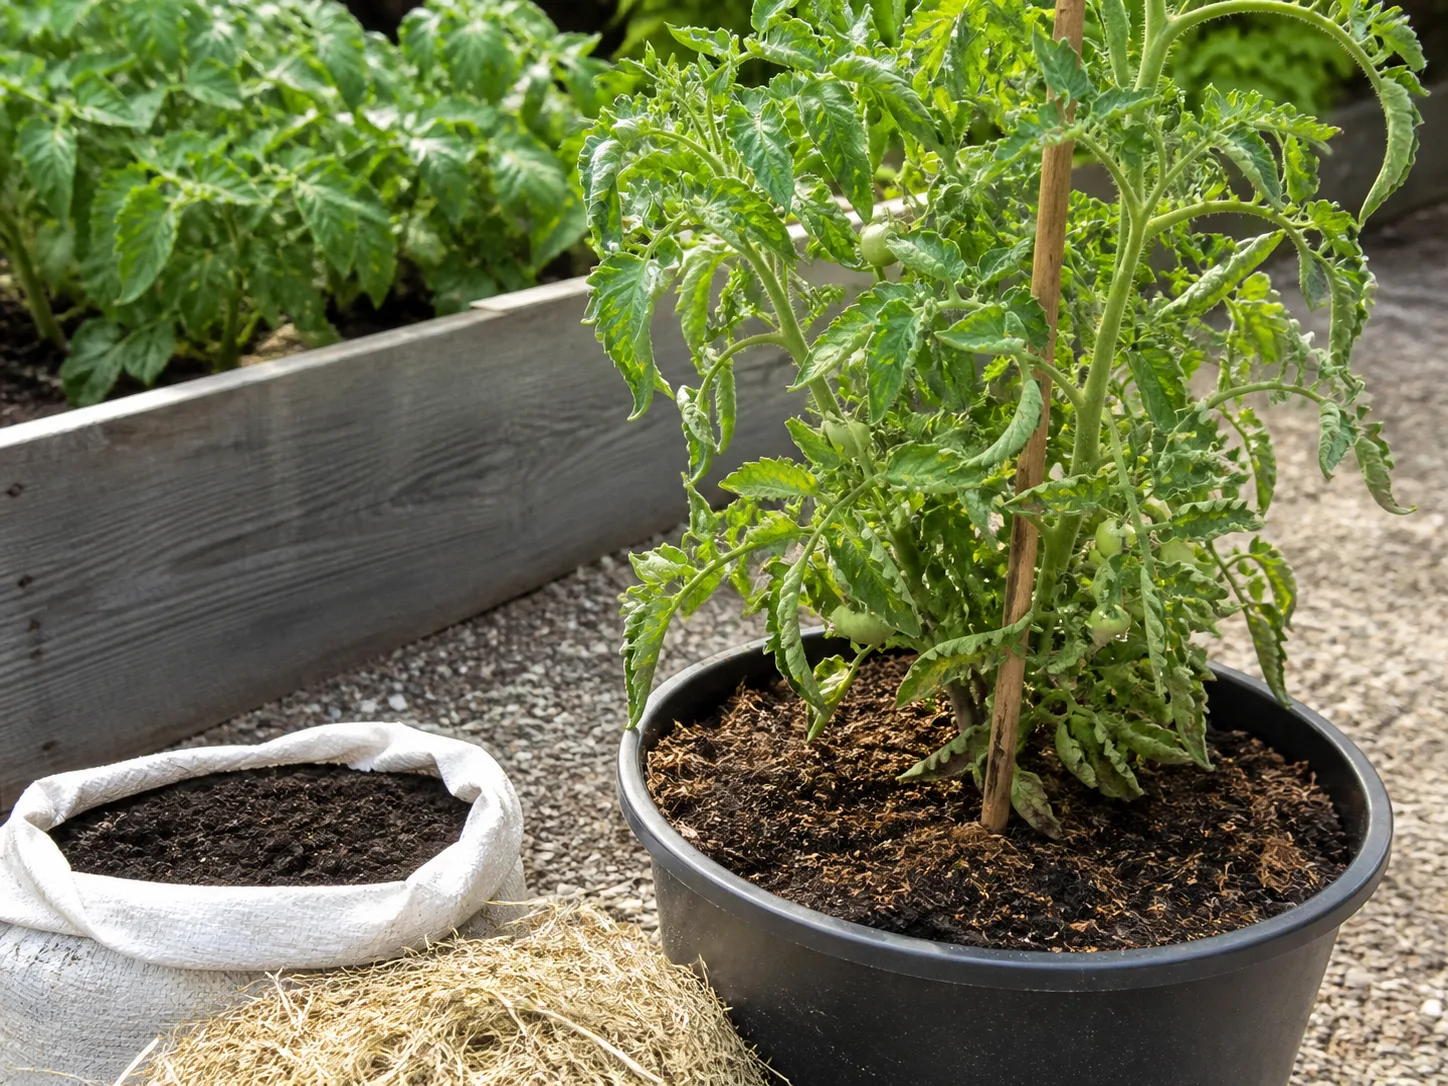
Pretty pots sell transplants. Gallon volume keeps them alive. One plant per container is the rule unless you are using a very large raised planter—crowding two vines guarantees weak growth and disease pressure.
Minimum gallon rules by growth habit
Use this as a working minimum, then go bigger when budget and space allow:
| Growth habit | Minimum volume | Notes |
|---|---|---|
| Micro-dwarf / tabletop | 1–2 gallons | Snack harvests, not pantry loads |
| Patio determinate / cherry bush | 5 gallons | Common 5-gallon bucket with drilled holes works |
| Full-size determinate | 7–10 gallons | Better drought buffer on hot concrete |
| Pruned indeterminate cherry | 10–15 gallons | Taller support required |
| Large indeterminate slicer | 15+ gallons or in-ground | Often disappointing below this in pots |
A 5-gallon bucket with multiple drainage holes is a legitimate tomato pot—drill the bottom and an inch up the sides so water never pools. NC State’s 12-inch depth minimum is the starting line; full-season performance improves noticeably at 15–20 inches of soil depth because roots explore widely when they are not walled in by a shallow rim.
Grow bags, plastic, ceramic, and materials to avoid
Fabric grow bags drain aggressively and air-prune roots, which helps prevent circling but also means more frequent watering than glazed ceramic. Plastic retains moisture longer—helpful on a windy balcony—but black plastic absorbs heat and can stress roots on south-facing concrete. Light-colored plastic or a fabric outer sleeve reduces that risk.
Terra cotta wicks moisture through porous walls; it is beautiful and thirsty. Group terra cotta pots or line them with a plastic nursery pot you can lift out when repotting is needed. Avoid unglazed metal as the only container; metal heats fast. Use metal as a decorative sleeve with a plastic liner and drainage.
If you need to move pots for sun or frost, set them on a wheeled caddy before planting. A water-saturated 10-gallon pot is not something you want to dead-lift in July.
Tip 3: Fill Pots With Bagged Potting Mix, Never Garden Soil
Garden soil—even good garden soil—is too dense for containers. It compacts, sheds water when dry, and carries weed seeds, fungi, and nematodes you cannot see. Use a labeled potting mix formulated for containers: peat or coir, perlite or vermiculite, and sometimes compost in modest proportions. The mix should feel light in the bag, not like wet clay.
Fill to about an inch below the rim so irrigation water has a reservoir instead of running straight over the edge. If the mix includes slow-release fertilizer, note the NPK on the label—you will still need supplemental feeding as the season progresses because nutrients leach with every watering.
Pre-moisten mix slightly before planting so dry pockets do not repel the first soak. Never reuse last year’s tomato mix without refreshing; see our small-space tomato guide for rotation logic that applies equally to pots.
Tip 4: Place Pots Where Sun, Water Access, and Wind Work Together

Tomatoes are sun plants. University of Minnesota Extension recommends bright, full sun for strong growth and fruit flavor (UMN growing tomatoes). On most patios that translates to six to eight hours of direct light daily, with more being better for large-fruited types. Morning sun helps dry foliage early; all-day west exposure can work if you compensate with extra water and heat management.
Place pots where a hose or watering can reach daily in July without turning the chore into a workout. Windy corners dry soil faster and knock over undersupported vines—plan for a cage anchored to the pot rim or a stake tied to a railing bracket where code allows.
Harden off transplants before they live outside full time. A week of gradually longer outdoor exposure prevents sun-scald on young leaves that grew under nursery shade. Night temperatures should stay above 50°F before tomatoes stay out permanently; cold nights stall growth and cause blossom drop. For light testing tactics, see direct vs indirect sun for tomatoes.
Tip 5: Plant Deep and Install Support the Same Day
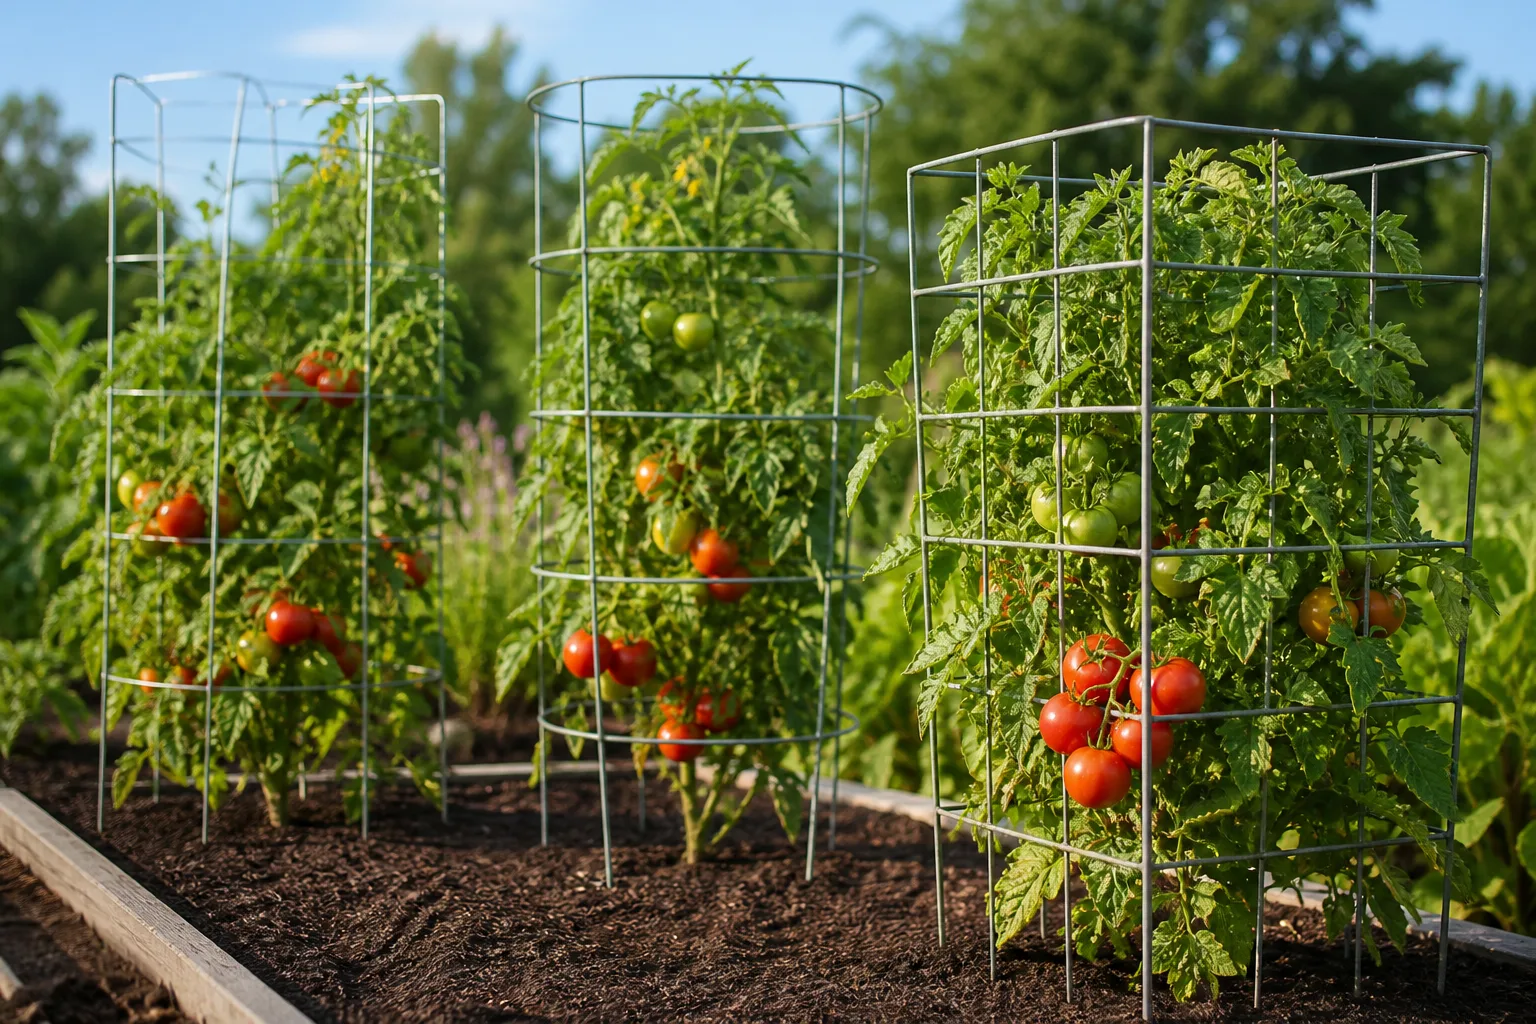
Tomatoes root along buried stems. Deep planting builds a sturdier anchor in a finite pot—critical when a July thunderstorm hits a top-heavy cherry cluster.
At transplant:
- Water the seedling thoroughly.
- Snip the lowest leaf set.
- Dig a hole deep enough to bury two-thirds of the stem.
- Set the plant and firm mix around it.
- Water until it drains from the bottom.
Install the cage, stake, or trellis immediately—not after the plant leans. Driving stakes later risks slicing roots you cannot see. For indeterminates, a 5–6 foot stake or tall cage tied to the pot is minimum. Our tomato cage guide and how to use tomato cages cover sizing and anchoring without root damage.
If the nursery pot is peat, bury the rim at least an inch below the mix surface. Exposed peat acts like a wick and dries the root ball (NC State transplant guidance).
Tip 6: Water for Consistency, Not on a Rigid Calendar
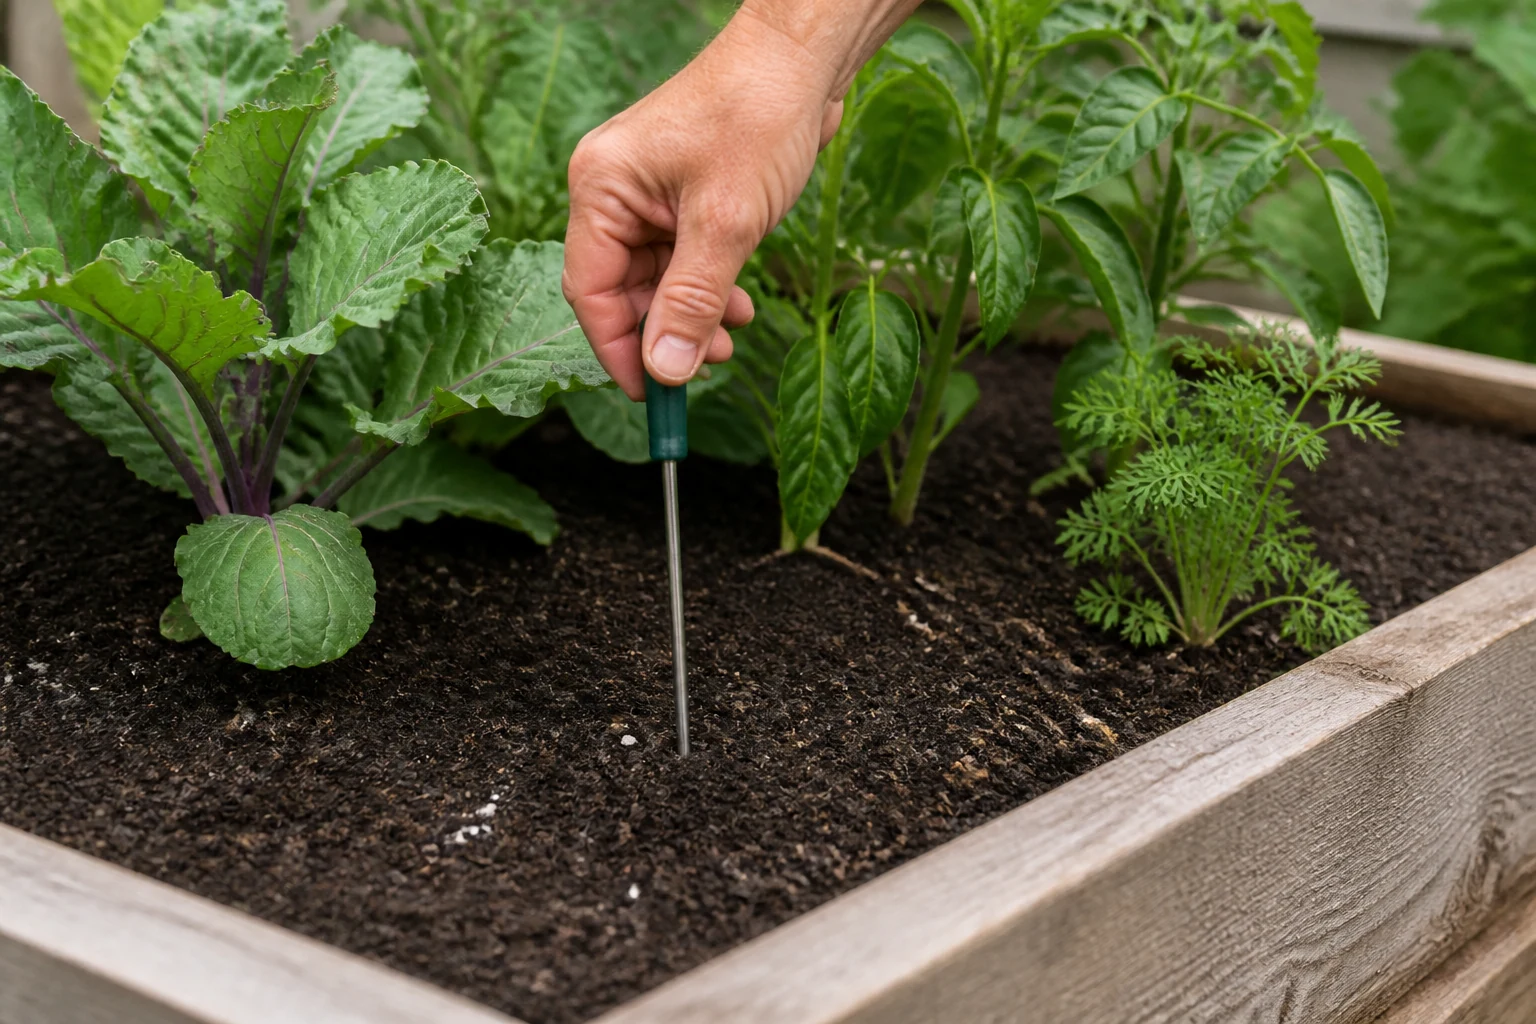
Container tomatoes live in a drought-and-drench danger zone. Soil that swings from bone dry to soggy invites blossom-end rot—a leathery brown patch on the fruit bottom linked to calcium uptake problems during moisture stress (NC State blossom-end rot section). BER is not cured by tossing Epsom salt on leaves; it is prevented by even root-zone moisture.
Check pots daily in summer. Insert a finger to the second knuckle; if the top inch is dry, water slowly until it runs from drainage holes. Early morning irrigation lets splashed foliage dry quickly, which reduces foliar disease. Avoid wetting leaves on cool evenings when possible.
In-ground tomatoes may need about 1.5 inches of water per week during fruiting (NC State). Pots often need more frequent, smaller sessions because the entire root zone is exposed to air on the sides. On 90°F windy days, a large vine in a 5-gallon pot may need water morning and evening. A 15-gallon pot on the same site might sail through with one deep soak.
Self-watering planters and drip lines with timers reduce human error if you travel. Manual waterers should still lift the pot occasionally—a noticeably light container is a red flag before leaves wilt. More rhythm detail lives in how often to water tomato plants.
Tip 7: Feed on a Schedule as Nutrients Wash Out
Every thorough watering carries fertilizer away. Container tomatoes are heavy feeders with no surrounding soil bank to mine.
Penn State Extension recommends beginning soluble fertilizer about two weeks after planting, using a balanced ratio such as 20-20-20 until flowering, then switching to a higher potassium tomato blend as fruits set (Penn State container tomato guidance, cited in practical summaries by TomatoDirt). That phase shift matters: excess nitrogen after flowers appear pushes leaves at the expense of fruit and can worsen green-fruit splitting.
If your potting mix includes starter fertilizer, delay the first supplemental dose accordingly. Liquid feeds applied during watering are efficient because roots absorb nutrients immediately. Organic growers can use fish emulsion or OMRI-listed granular products—follow label rates rather than guessing.
Sidedress timing for in-ground plants every four to six weeks does not map perfectly to pots; half-strength liquid every 10–14 days through peak fruiting is a reasonable starting point, adjusted downward if leaves darken excessively or tip-burn appears. Deep dive: guide to fertilizing tomatoes.
Tip 8: Mulch the Surface and Group Pots to Cool Roots
A one- to two-inch layer of straw, shredded bark, or compost on the pot surface slows evaporation and keeps mix cooler when pots sit on radiant concrete. Mulch also reduces soil splash onto lower leaves—a small but real disease entry point.
Grouping containers so foliage shades neighboring pot rims lowers root-zone temperature on blistering patios. Leave enough air gap between plants that mildew-prone varieties still breathe; cramming three cages into a corner trades one problem for another.
Refresh mulch if it mats or molds. Pull it back briefly if you suspect fungus gnats breeding in constantly wet surface organic matter—rare, but possible on over-watered pots indoors before move-out day.
Tip 9: Prune and Train Before the Vine Outgrows the Balcony

Determinate bushes need light pruning only—remove suckers below the first flower cluster and any leaves dragging in soil. Heavy sucker removal on determinates can reduce yield.
Indeterminate container vines need a weekly sucker check. Pinch or cut suckers at leaf axils when they are two to three inches long, keeping one or two main stems you can tie to the stake. Letting every sucker grow in a pot creates an unmanageable thicket with poor airflow and late blight pressure.
This is not the same as “pinching to make plants bushier,” an old myth that causes more harm than good on vining types. The goal is channeling energy into fruit on a limited number of stems you can actually reach. Step-by-step photos and timing: how to prune a tomato plant.
Tip 10: Move Pots and Manage Heat When Flowers Drop
Tomatoes are temperature-sensitive. Night temperatures below 50°F and daytime highs above 90°F both disrupt pollination and fruit set (NC State environmental notes). Container growers have an advantage: you can roll pots toward a wall for radiant warmth on cool spring nights, or slide them where afternoon shade arrives after six hours of morning sun during heat waves.
If flowers form then abort, check water first, then temperature. Shade cloth or a patio umbrella during extreme heat—see heat-related blossom drop—can keep plants alive until cooler weather returns. Do not fertilize harder to “force” fruit; fix the stressor.
Watch for early disease: yellowing lower leaves with spots may be septoria or early blight. Remove affected leaves when dry, avoid overhead water, and rotate pots to fresh mix next year. Symptom photos: tomato diseases guide.
Tip 11: Harvest at Peak Ripeness and Reset After Frost
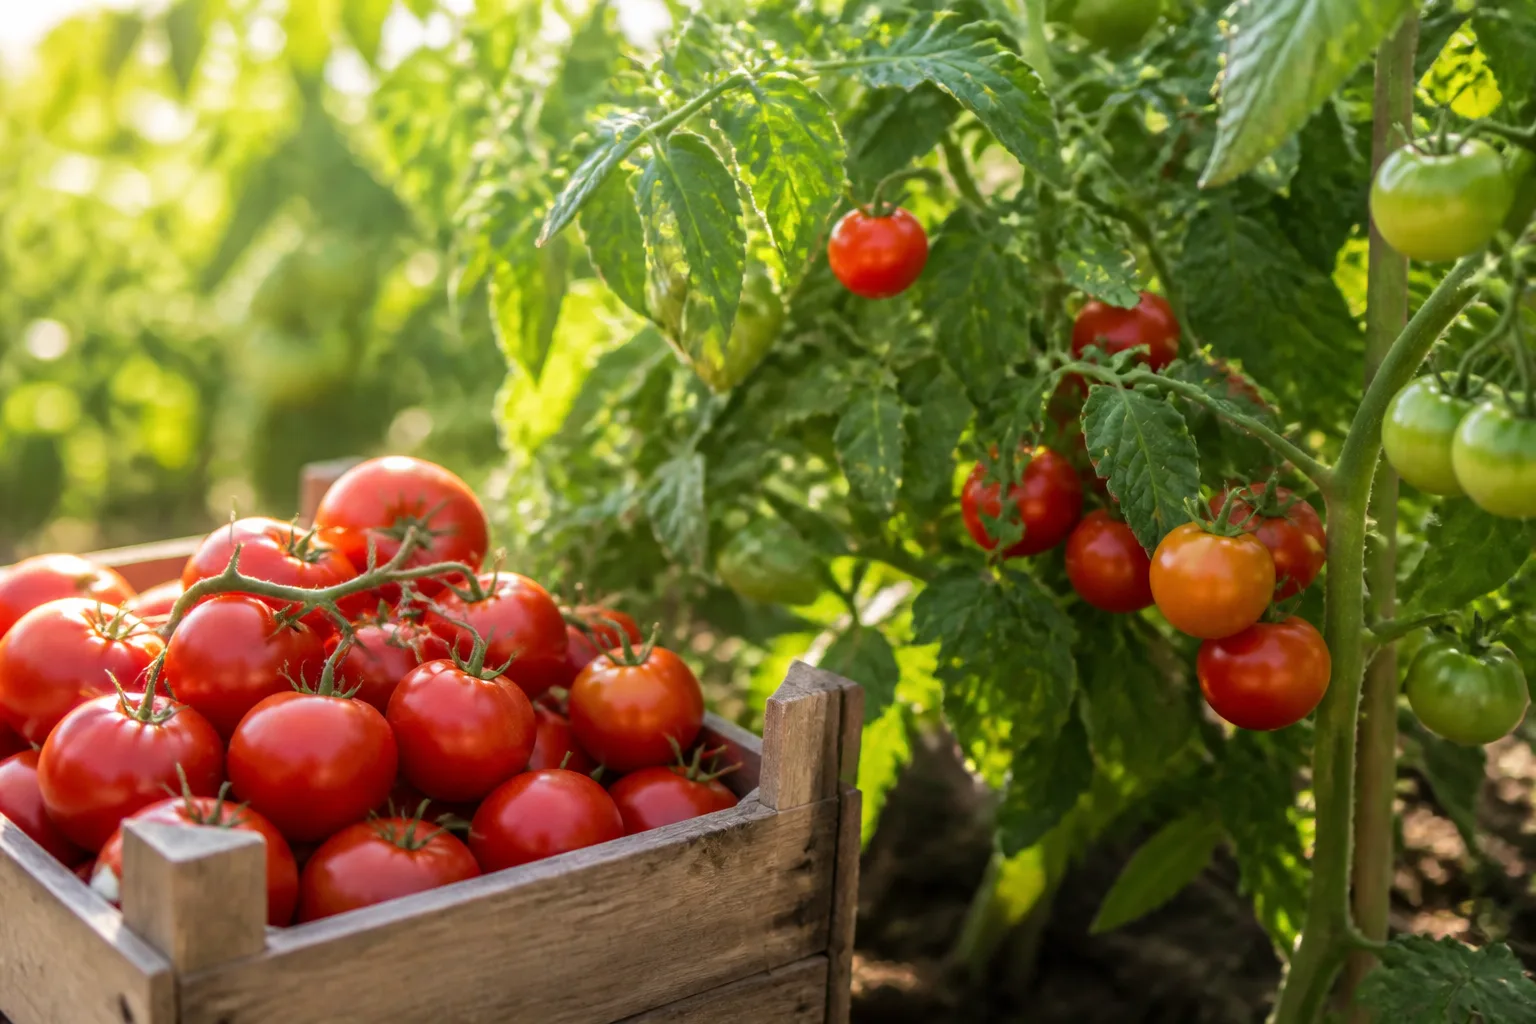
Flavor peaks on the vine, not on the windowsill—though partially colored fruit will finish indoors if frost threatens. Ripe tomatoes show deep, even color, slight give when gently squeezed, a fragrant tomato smell at the stem scar, and easy separation with a gentle twist.
Pick regularly. Overripe fruit splits, attracts insects, and signals the plant to slow production. Before a heavy rain, harvest mature and breaker-stage fruit to reduce cracking from sudden water uptake.
When frost is forecast, bring pots indoors if feasible or harvest everything with color. After a hard freeze, cut the dead vine at soil level, dispose of foliage if disease was present, and do not compost blighted material near next year’s pots. Empty spent mix into a compost pile only if the season was clean, or discard to break pest cycles.
Conclusion
Terrific container tomatoes are not luck—they are volume, consistency, and variety discipline. Choose a habit that fits your pot and pruning appetite, size up beyond the decorative minimum, plant deep with support already in place, and water so the root zone never swings from dust to swamp. Feed through the season, mulch against heat, and move pots when sun or temperature turns against you.
Get those basics right and a single well-managed vine on a sunny patio will outproduce three stressed plants in pots too small to forgive a missed Tuesday. For the next decision—whether pots or ground suit your site better—start with should you grow tomatoes in pots or in the ground, then plant once with confidence.