How to Repot a Venus Flytrap: Timing and Steps
Repot a Venus flytrap with the right timing, nutrient-poor medium, pot depth, and water. See how to handle roots, divide offsets, and reduce stress afterward.
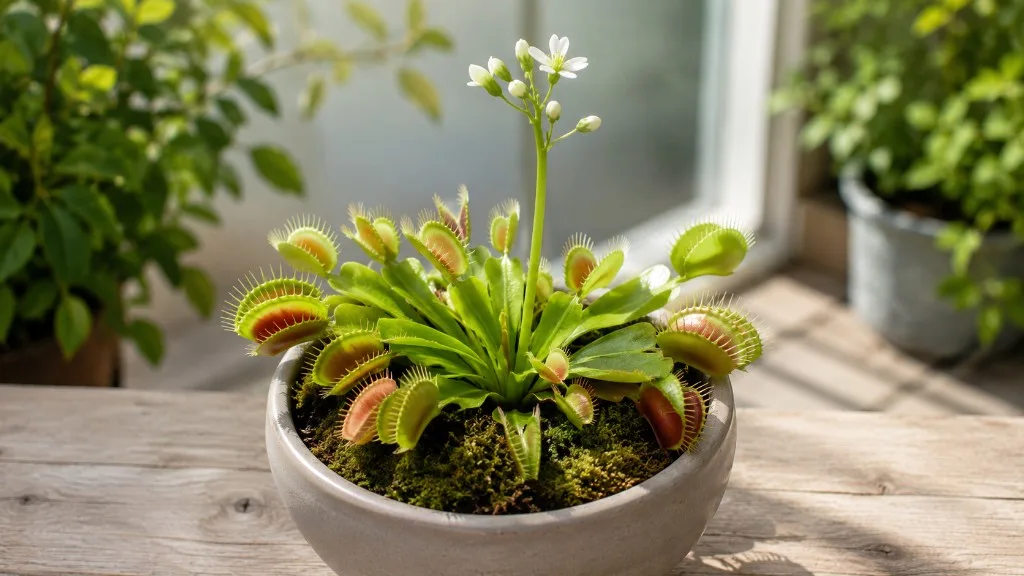
A Venus flytrap is ready for a new pot when its medium has broken down, the plant has outgrown its container, or you need to correct an unsuitable nursery mix. The easiest time is usually late winter or early spring, as fresh growth begins after dormancy. You do not need to disturb a healthy plant just because a calendar says a year has passed.
The two details that matter most are the medium and the plant’s position in it. Use a low-nutrient, low-mineral mix that has been thoroughly moistened, and set the white rhizome just below the surface while keeping the crown and emerging traps above it. Standard potting soil, fertilizer, and mineral-rich water are the common mistakes to avoid.
Quick answer: when and how often to repot
For most growers, check the plant and medium once a year and repot when the growing mix is compacted, breaking down, contaminated with minerals, or no longer holds water evenly. A new pot is also warranted when a dense clump has little room, roots are escaping the drainage holes, or the existing container is cracked or unsuitable. Roots emerging from the bottom are a useful clue, but they are not the only reason to move a flytrap.
Spring, just as the plant resumes active growth, is the least disruptive routine window. Advice on exact frequency varies: some specialist growers refresh the medium about every six to 12 months, while the Royal Horticultural Society notes that a nursery-grown carnivorous plant may not need repotting for a year or longer.
Treat those as different growing situations, not a contradiction you must solve with a universal schedule. If the plant is thriving in clean, appropriate medium, leave it alone; if the medium is wrong or deteriorating, correct it even if the timing is not ideal.
Does your Venus flytrap need repotting?
Look at the medium and container before judging the traps. A Venus flytrap can naturally lose older traps, pause during winter dormancy, or grow slowly when light is inadequate. Those changes alone do not mean its roots need a new pot; repotting cannot fix insufficient sunlight, mineral-heavy water, or the wrong seasonal cycle.
Repot when the substrate has collapsed into a dense, sour-smelling mass, has become difficult to wet, or contains fertilizer granules or ordinary houseplant compost. Also act if the plant is crowded by several connected rosettes, its pot no longer drains, or you cannot maintain moisture consistently. A pot packed with roots may benefit from a little more room, but a plant with a loose, airy clump does not need a much larger container.
Check where a newly purchased flytrap is growing before you disturb it. If its label identifies a carnivorous-plant mix or sphagnum and the plant looks sound, let it acclimate and wait for a better seasonal window. If it is planted in standard fertilized potting soil, a decorative terrarium with no drainage, or a medium you cannot safely identify, replacing that setup takes priority over waiting for spring.
Choose the right timing—and know when to wait
Late winter into spring is the practical default because a temperate Venus flytrap is coming out of dormancy and can resume root and leaf growth in the new medium. Aim for a cool, mild day rather than a heat wave or a freeze, especially if the pot lives outdoors. The RHS guide to growing carnivorous plants recommends spring planting for hardy species and avoiding dormant periods or extreme conditions; its Venus flytrap guide also describes a cool winter rest.
Avoid routine repotting while the plant is dormant, flowering, or struggling with a separate problem that you have not diagnosed. If a flower stalk is emerging, it is usually better to wait until flowering ends unless the medium itself is harmful or waterlogged. A sudden move from a stable pot adds stress without solving the underlying issue when the actual problem is weak light, a warm winter, or unsuitable water.
There are exceptions. A plant in fertilized soil, a pot that is cracking, or medium that smells rotten should be moved promptly, even outside the preferred window. Work efficiently, keep the roots damp, and return the plant to stable light and temperature; do not wait months while an unsuitable medium continues to damage it.
Pick a pot that protects roots and rhizome
Choose a pot with open drainage holes and at least about 4 inches of depth. Flytrap roots grow downward, and extra depth also leaves a buffer between the crown and the water reservoir below. A pot that is 5 to 6 inches deep is a useful practical choice for many plants; a large specimen or a plant exposed outdoors to temperature swings may benefit from additional volume around its rhizome.
Plastic is the simplest default because it is inert, light, and less likely than porous clay to release minerals into the mix. A glazed container can work if its glaze and interior are intact, it has drainage, and you know it has not held fertilizer or other chemicals.
Avoid unglazed terracotta and concrete, which can leach minerals, and do not use a sealed glass terrarium as a replacement for a draining pot. FlytrapCare’s guide to Venus flytrap pots also explains why depth and insulation matter.
Do not automatically jump to an enormous container. Move up only enough to accommodate the plant and fresh mix, unless you grow outdoors where extra medium is a deliberate buffer against rapid temperature changes. A tiny plant in a huge pot can be harder to position and inspect; the goal is a stable root zone, not excess unused substrate.
Use a low-nutrient carnivorous-plant medium
Venus flytraps grow in nutrient-poor wetlands. Their roots are adapted to that environment, so rich potting soil, compost, manure, slow-release fertilizer, and standard houseplant mixes can expose them to far more dissolved nutrients and minerals than they tolerate. Do not add fertilizer to the new medium, and do not use a product that merely says “moisture control” or “feeds plants.”
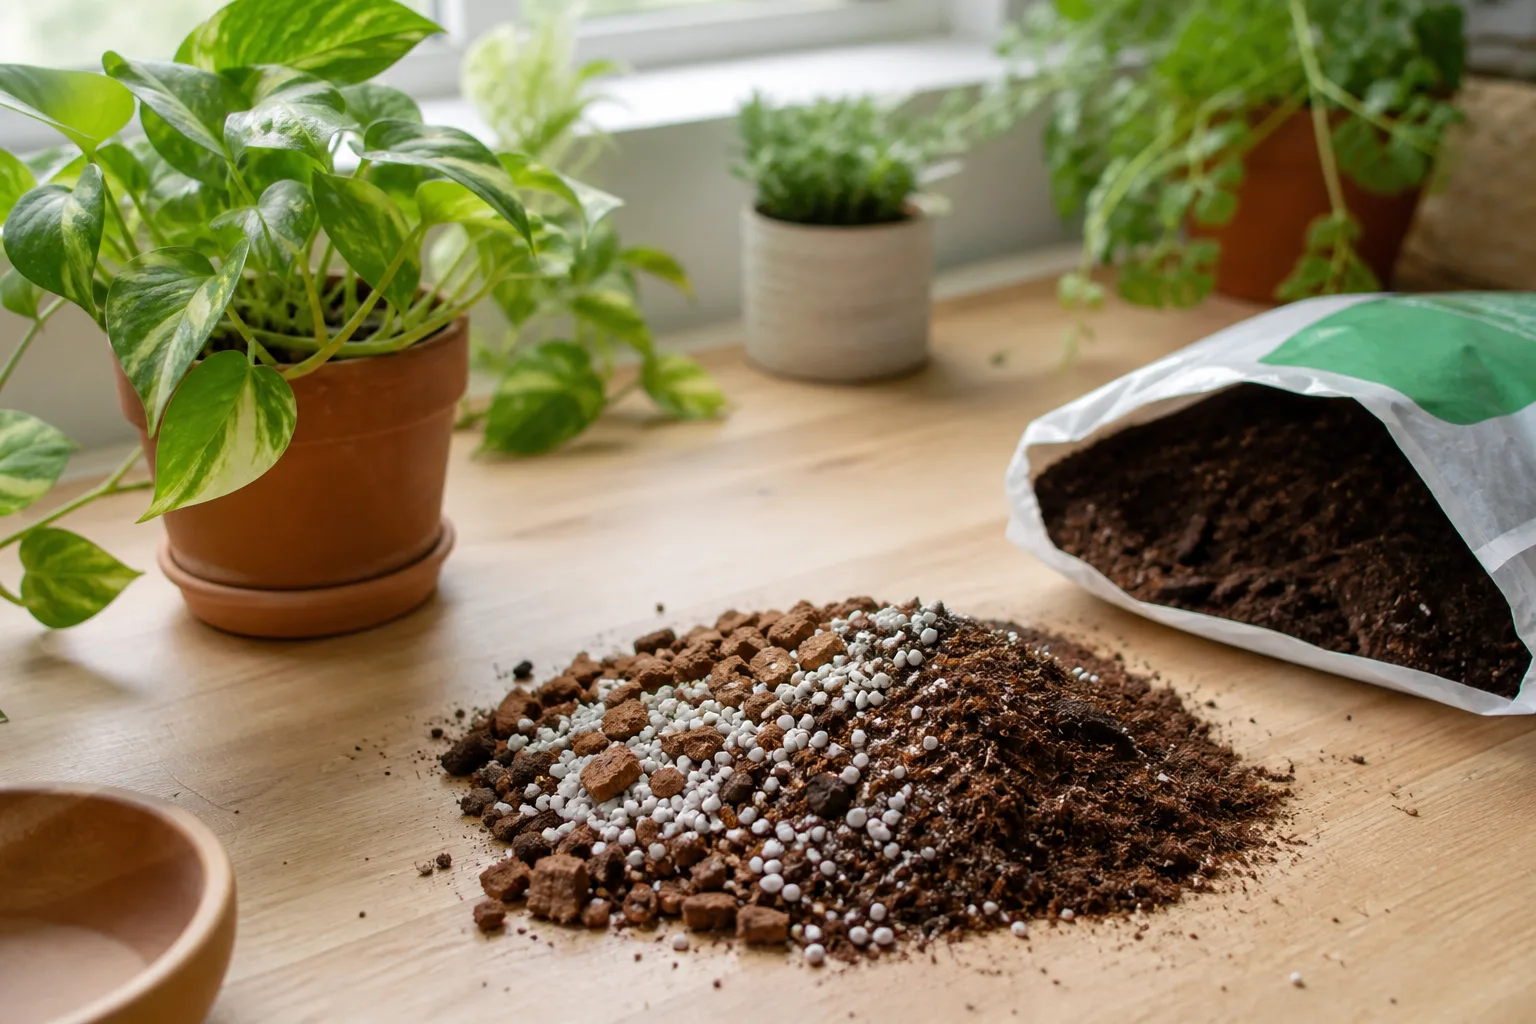
The straightforward option is a mix sold specifically for carnivorous plants, provided its ingredients are appropriate and it contains no fertilizer. A common homemade medium combines unfertilized sphagnum peat moss with perlite or washed silica sand.
Specialist growers use different ratios: Carnivero’s Venus flytrap guide describes a 1:1 peat-to-perlite or sand blend and recommends wetting peat before potting, while FlytrapCare’s growing instructions describe a more peat-heavy mix. Either illustrates the same principle: use clean, low-mineral ingredients and enough structure to keep the medium open without letting the root zone dry.
The RHS Venus flytrap guide recommends suitable specialist compost or sphagnum and rainwater or distilled water. Its carnivorous-plant guidance emphasizes the special low-nutrient compost these plants need. A mix being labeled “organic” does not make it suitable; check for fertilizer, lime, added nutrients, wetting agents, and unknown mineral ingredients.
Peat, perlite, sand, or long-fiber sphagnum
Unfertilized sphagnum peat with perlite is widely used, holds moisture, and is easy to work with once it is wet. Use horticultural perlite without fertilizer coating, or horticultural-grade silica sand; do not assume play sand, builder’s sand, beach sand, or a random aquarium substrate is interchangeable. Dust from dry perlite is irritating, so dampen it before mixing and avoid breathing the dust.
Long-fiber sphagnum is another option. It is sold as loose strands rather than milled peat, and it can support the plant well when packed loosely enough for air and water to move.
Pre-moisten and fluff it first; do not wrap the rhizome tightly in a dense bundle. A specialist pre-mix is helpful if you are unsure about ingredients, but read the package rather than relying on a “carnivorous” label alone.
Do not reuse old medium from another pot. It may contain mineral residues, decomposed material, weeds, or fertilizer from a previous plant. You can remove every loose clump of old substrate without scrubbing the roots bare; preserving a few damp fibers is safer than pulling hard on the fine roots.
What to know about peat-free mixes
Peat-free is not the same as flytrap-safe. Some general peat-free houseplant mixes contain compost, wood fiber, coir, lime, or added nutrients that are inappropriate for a plant adapted to nutrient-poor bog conditions. Choose only a product formulated for carnivorous plants, and confirm it is unfertilized and low in minerals.
The RHS lists peat-free carnivorous-plant compost and sphagnum among suitable choices for Venus flytraps. That makes a purpose-built peat-free product worth considering, but it does not mean any generic peat-free potting soil will work. If the package does not disclose its ingredients, contact the maker or use a known specialist mix instead of experimenting on a healthy plant.
Gather water and tools before you start
Prepare the new pot, pre-moistened growing medium, a shallow water tray, and a small scoop or spoon. Clean hands are enough for most plants; a blunt plant label or chopstick can make a hole without forcing the roots into a sharp corner. If you will divide a mature clump, add a clean, sharp blade and wipe it before use.
Use distilled, reverse-osmosis, or rainwater to moisten the mix and water after planting. Tap water can contain dissolved minerals that accumulate in a small pot even when it looks clear. Boiling does not remove those dissolved minerals, and an ordinary carbon-filter pitcher is not a reliable substitute for distilled or reverse-osmosis water.
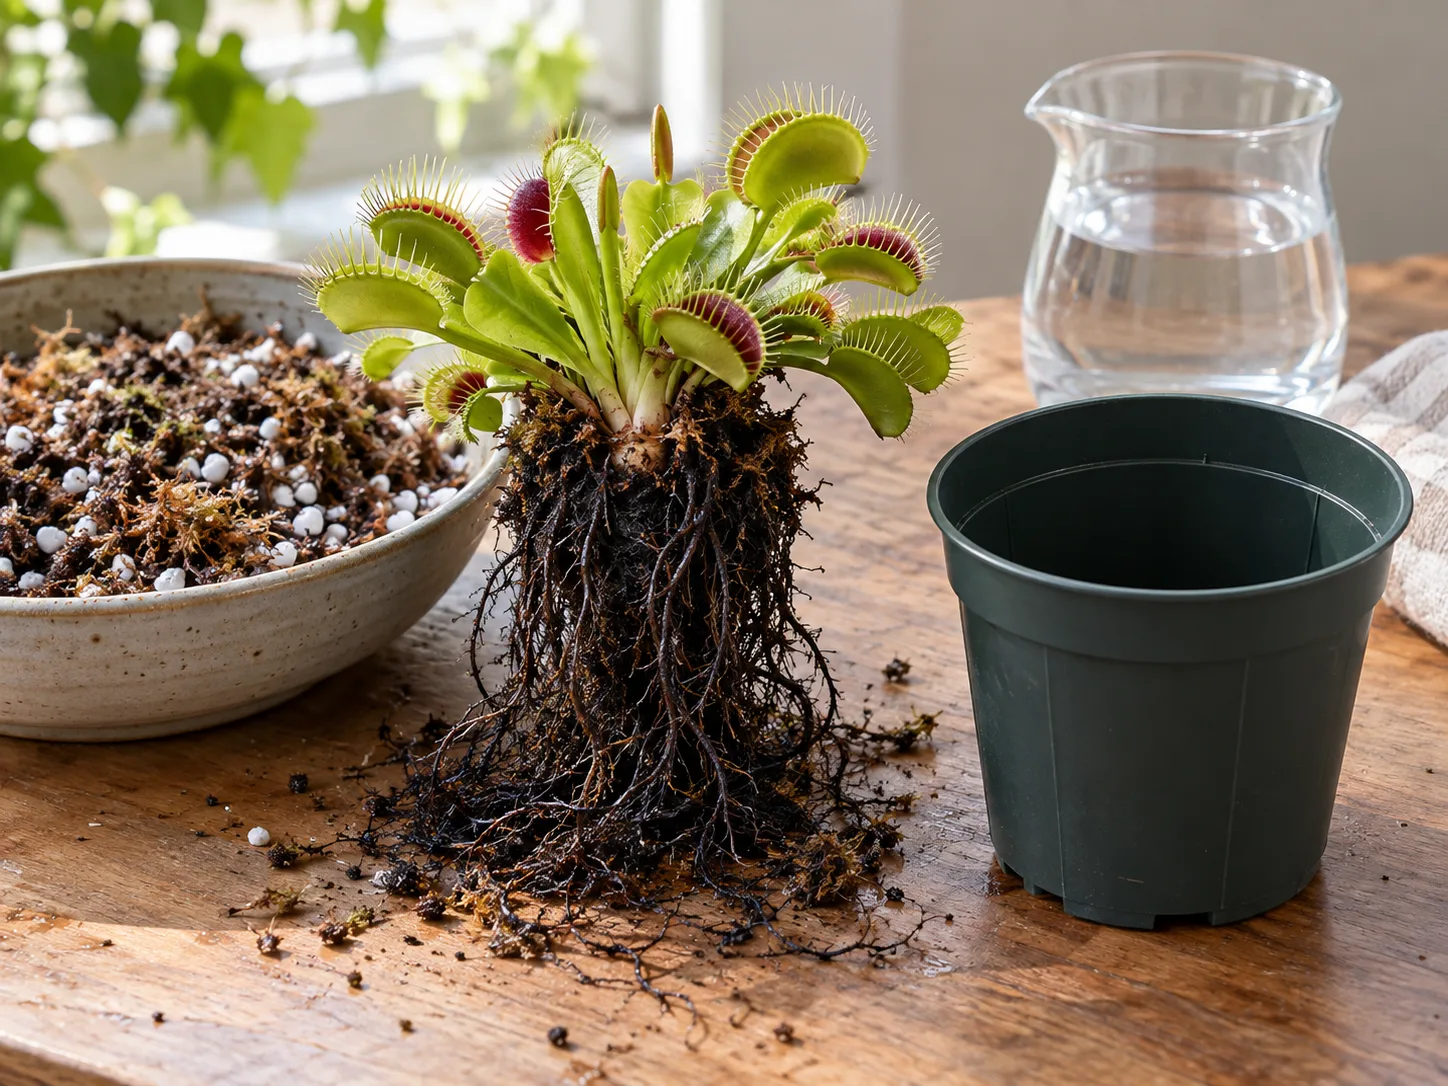
Set everything out before unpotting so the roots are exposed for only a short time. Moisten peat or long-fiber sphagnum in a separate bowl until it is evenly damp, not dripping. Dry peat can repel water and remain dry in the center after potting, so do not rely on a quick pour over the surface to hydrate it.
How to repot a Venus flytrap step by step
Work in the shade or out of direct midday sun, especially if the flytrap normally grows outdoors. The process is simple when the new pot is ready and the roots are handled gently; the most delicate parts are the fine roots and the growing point at the center of the rosette.
Prepare and moisten the new medium
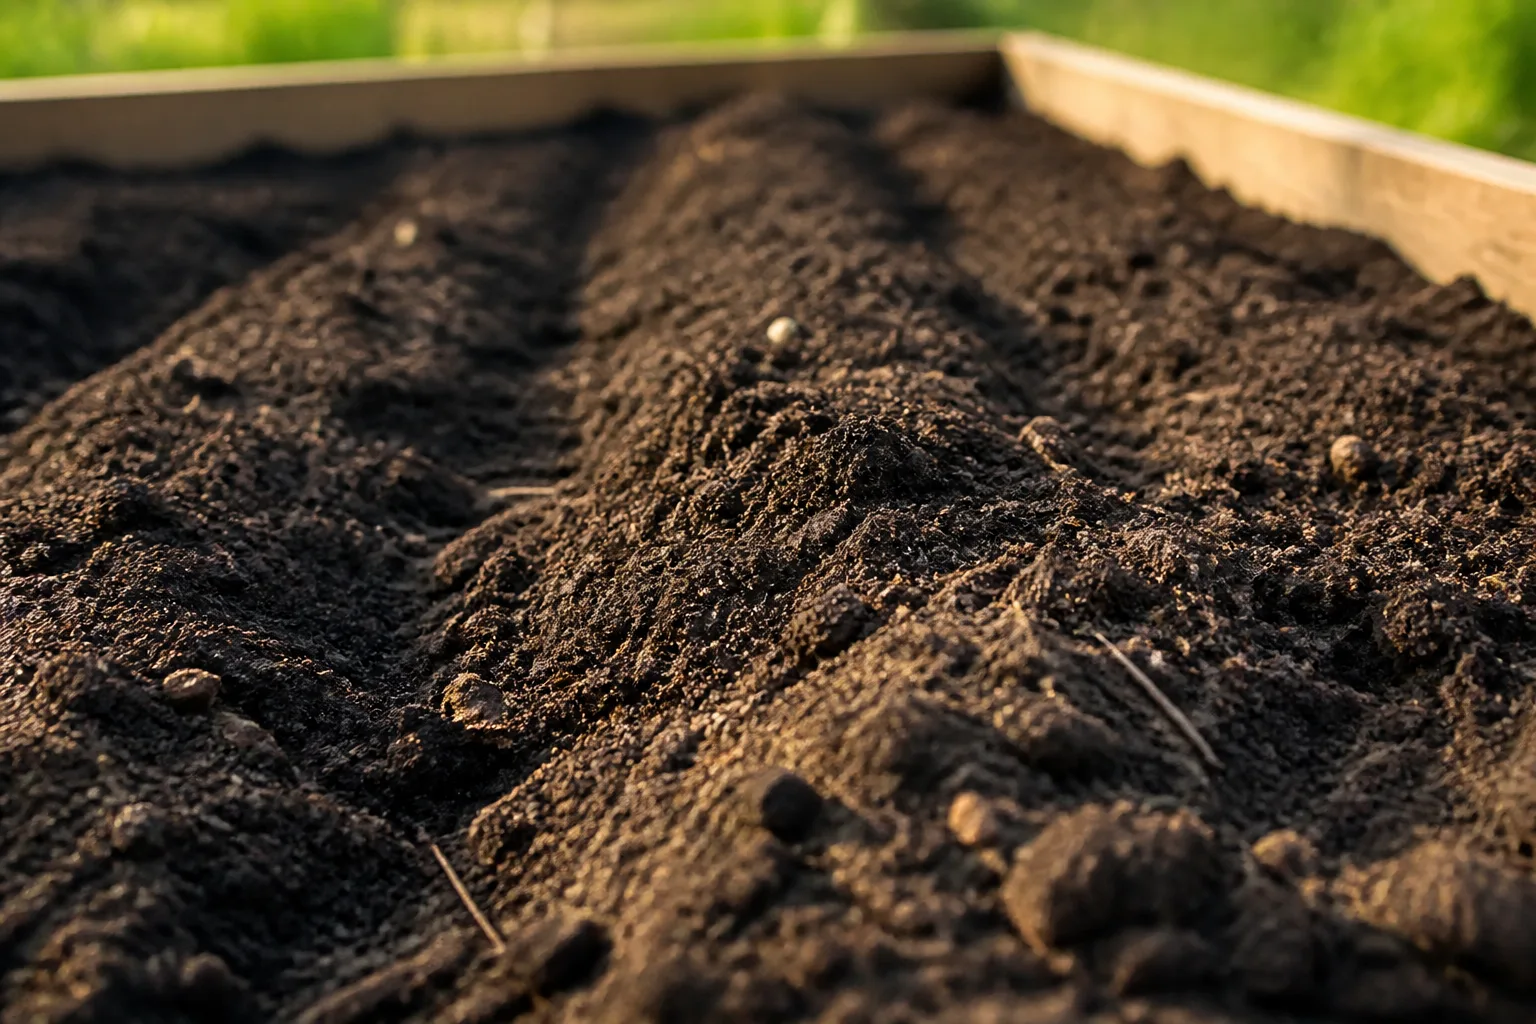
Cover the drainage holes with a small piece of plastic mesh if the mix falls out, but do not block them with stones. Fill the pot loosely with moistened substrate, leaving enough room for the roots and rhizome. Make a planting hole deep enough for the roots to point downward without curling sharply, then keep the surface level a little below the rim so water does not wash the plant out.
Do not pack the whole container tightly. A lightly firm base can help support the plant, but the upper mix should remain open and springy so water can move through it. If the medium is dry or patchy, mix again before planting rather than trying to correct it once the roots are buried.
Remove the plant and inspect its roots
Squeeze the sides of a flexible plastic pot, tip it, and slide the root ball out while supporting it near the base of the leaves. Avoid pulling on the traps; they are not handles, and repeatedly triggering them wastes the plant’s limited energy. If the root ball sticks, loosen the edge with a blunt label or run a little mineral-free water around the pot wall.
Gently tease away loose old medium with your fingers. Venus flytrap roots are often thin, wiry, and dark brown to black, so color alone is not a reason to trim them; specialist growers note that dark roots are normal for the species. Keep roots damp while you work and remove only tissue that is clearly mushy, hollow, or decaying.
Look for the pale, bulb-like rhizome where the leaves join. It should feel firm, not soft or foul-smelling. A few black old traps or brown leaf ends are common and can be trimmed if they detach easily, but do not cut healthy roots or peel away firm tissue just to make the plant look tidy.
Set the rhizome at the correct depth
Lower the roots into the hole so they point down and spread naturally. Cover the rhizome with a thin layer of mix, but keep the crown and new, tightly folded traps at or just above the surface. If the growing point is buried deeply, emerging leaves can be trapped under the medium and the crown can stay too wet.
Hold the plant in place and add mix around the roots a little at a time. Settle it with a light press around the outside, not a hard tamp against the crown. The plant should stand upright without wobbling, but you should still be able to see where the crown meets the growing medium.
Water slowly with distilled, reverse-osmosis, or rainwater until the mix is evenly wet and excess drains from the holes. Do not use fertilizer solution, rooting hormone, or a “starter” feed. Place the pot in a shallow tray and restore the plant’s normal growing setup.
Divide offsets only when they are established
A mature flytrap may form several rosettes joined by underground rhizomes. If a side rosette has its own roots and a clear connection to the main plant, you can separate it while repotting; each division needs a growing point and enough roots to reestablish. This is optional, not a required part of repotting.
First remove loose medium until you can see where the crowns and rhizomes meet. If the offset comes away with a gentle twist and remains attached to a firm piece of rhizome and roots, pot it separately. If the connection resists or you cannot tell where to cut, leave the clump intact and plant it in one container; a slightly crowded clump is less risky than a damaged, rootless division.
Use a sterile sharp blade only when a clean separation is obvious. Avoid slicing a single rhizome into arbitrary pieces, and do not divide a plant that is weak, freshly purchased, flowering, or just recovering from a previous move. After separation, position each crown as you would a whole plant and keep the divisions labeled if they are cultivars you want to track.
Aftercare: light, water, and dormancy
Put the plant back into the same light conditions it had before repotting. A flytrap that was growing outdoors in full sun should not be moved to a dim windowsill for “recovery”; one grown indoors should not suddenly be exposed to intense outdoor sun. If you are changing locations at the same time, acclimate it gradually rather than combining two abrupt changes.
Keep the medium consistently damp during active growth, using mineral-free water. A tray is convenient, but the exact water depth and refill schedule depend on temperature, pot material, and airflow; a small pot in hot sun may use water quickly.
The aim is a moist root zone without letting it dry completely, not blindly maintaining a deep reservoir in every condition. Follow the plant’s normal routine once it has settled, and do not add fertilizer.
Do not trigger traps for a demonstration or feed the plant while it is adjusting. It can catch insects on its own when grown outdoors, and repotting is not a cue to fertilize through the leaves or roots. A few traps may blacken after the move, particularly if they were damaged during handling; watch the central crown for new growth rather than expecting every old trap to remain green.
A temperate Venus flytrap still needs its seasonal winter rest. Repotting does not cancel dormancy or justify keeping the plant warm and brightly lit year-round. If you repotted near the end of dormancy, return it to the conditions that allow its usual spring growth; in fall, avoid pushing tender new growth with unnecessary warmth or fertilizer.
Troubleshoot black roots, drooping, and stalled growth
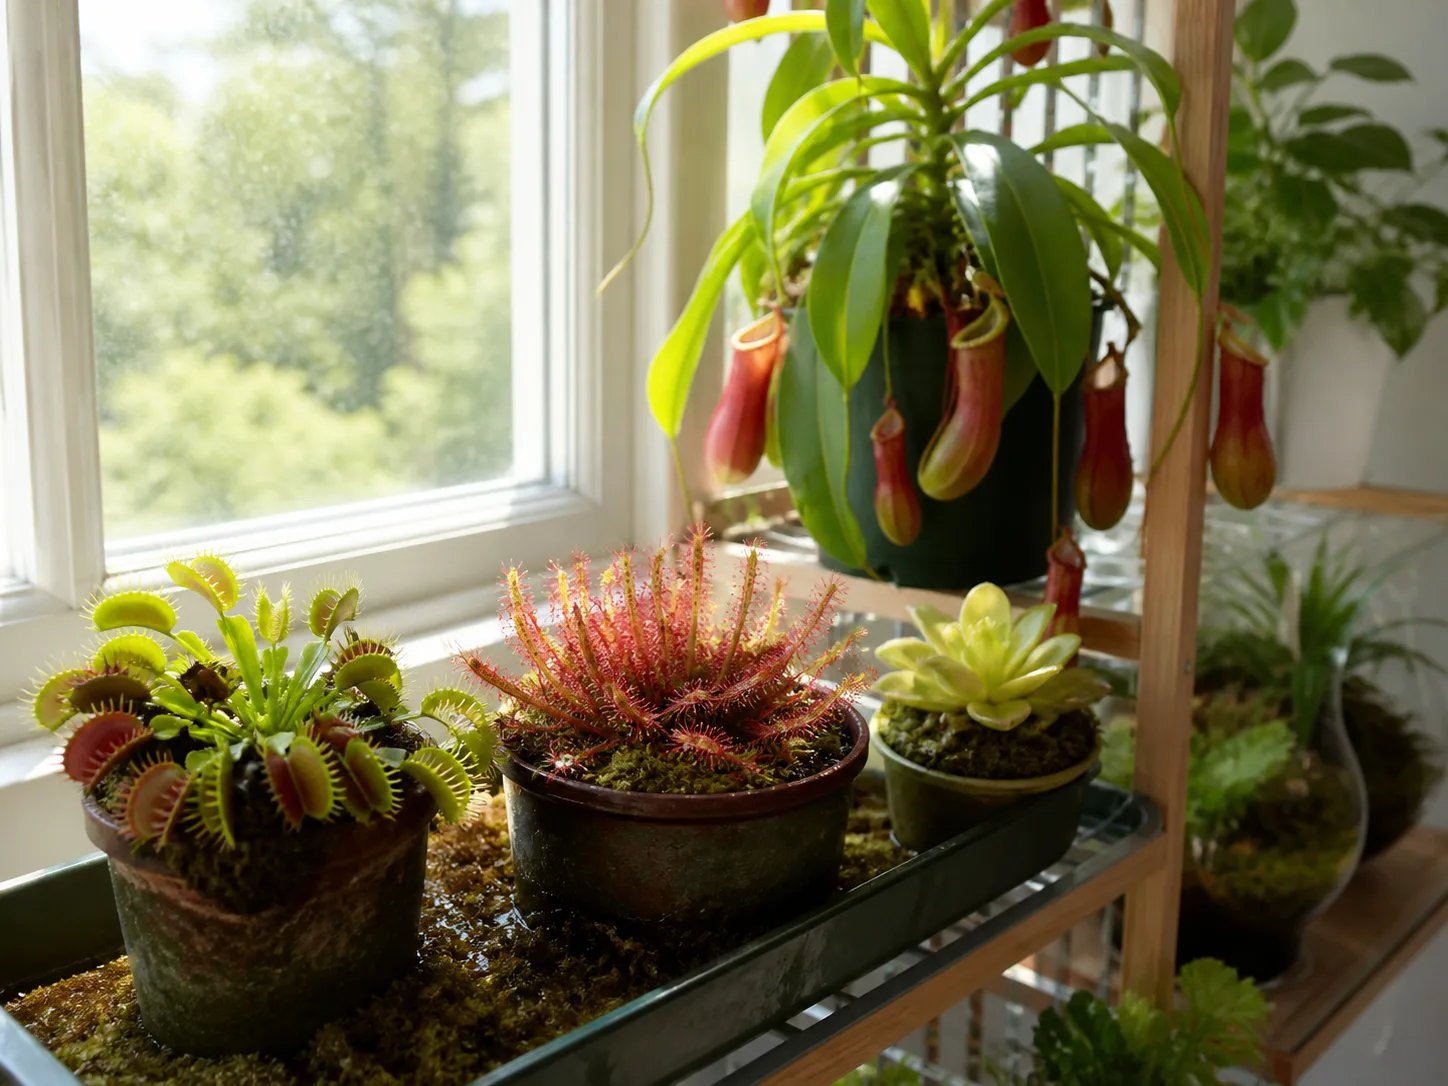
A brief pause in growth is normal after root disturbance. Older traps can turn black while the plant redirects energy, and a Venus flytrap may look smaller before it puts out fresh leaves. Leave it in stable light and moisture for a couple of weeks rather than digging it up to check the roots repeatedly.
Black roots are not automatically rotten. Flytrap roots commonly appear dark, thin, and wiry, while the rhizome should remain firm; FlytrapCare’s repotting guide describes this difference. Root trouble is more likely when tissue is soft, slimy, foul-smelling, or collapsing, especially if the crown is also mushy or the substrate has stayed cold and stagnant.
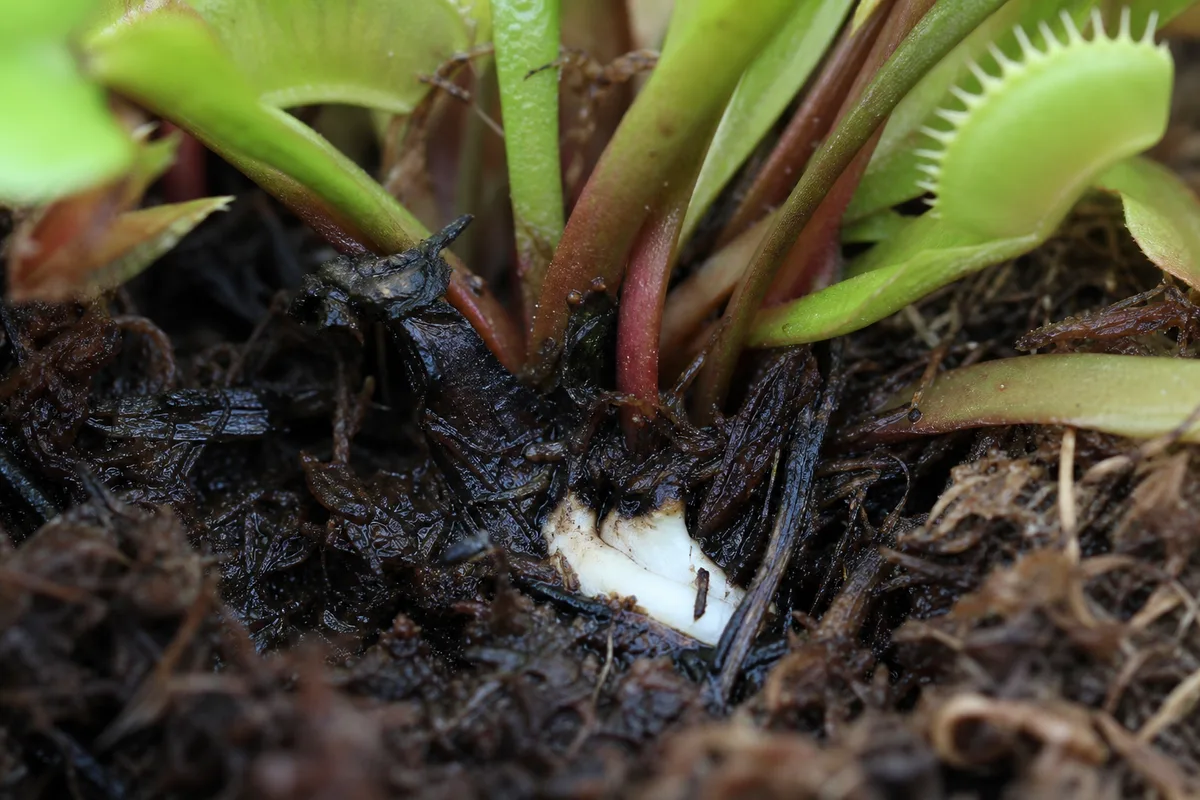
If you find clear rot, remove only the soft, dead material with a clean blade, keep firm rhizome tissue and roots, and replant in fresh, pre-moistened medium. Do not rinse the plant in tap water or apply household disinfectants. If nearly all the rhizome is soft or the crown has collapsed, recovery is uncertain; maintain clean conditions and avoid making repeated cuts in search of healthy tissue.
When traps droop but the crown is firm, first check moisture, water quality, and light. A dry root ball needs mineral-free water; a waterlogged, foul-smelling mix needs air and possibly replacement; a pale, stretched plant likely needs stronger light. Changing the pot again without identifying the cause adds stress without addressing the problem.
If the plant remains healthy but has not produced new leaves, consider its season. Dormant plants naturally slow or lose foliage, and low indoor light can also reduce growth. A healthy firm rhizome is a better recovery sign than an immediate flush of traps.
Conclusion
Repot a Venus flytrap when its medium or container needs attention, and use spring growth as the preferred routine window. Choose a draining plastic pot with useful depth, a nutrient-poor carnivorous-plant medium, and distilled, reverse-osmosis, or rainwater.
Keep the roots damp, leave healthy dark roots intact, and set the firm rhizome just under the surface with the crown exposed. Afterward, return the plant to familiar bright conditions and steady moisture, then give it time to settle before you intervene again.