Healthy Soil: How to Test and Improve Your Garden Soil
Make healthier garden soil step by step: assess texture and drainage, get a lab test, add the right organic matter, and protect garden beds from compaction.
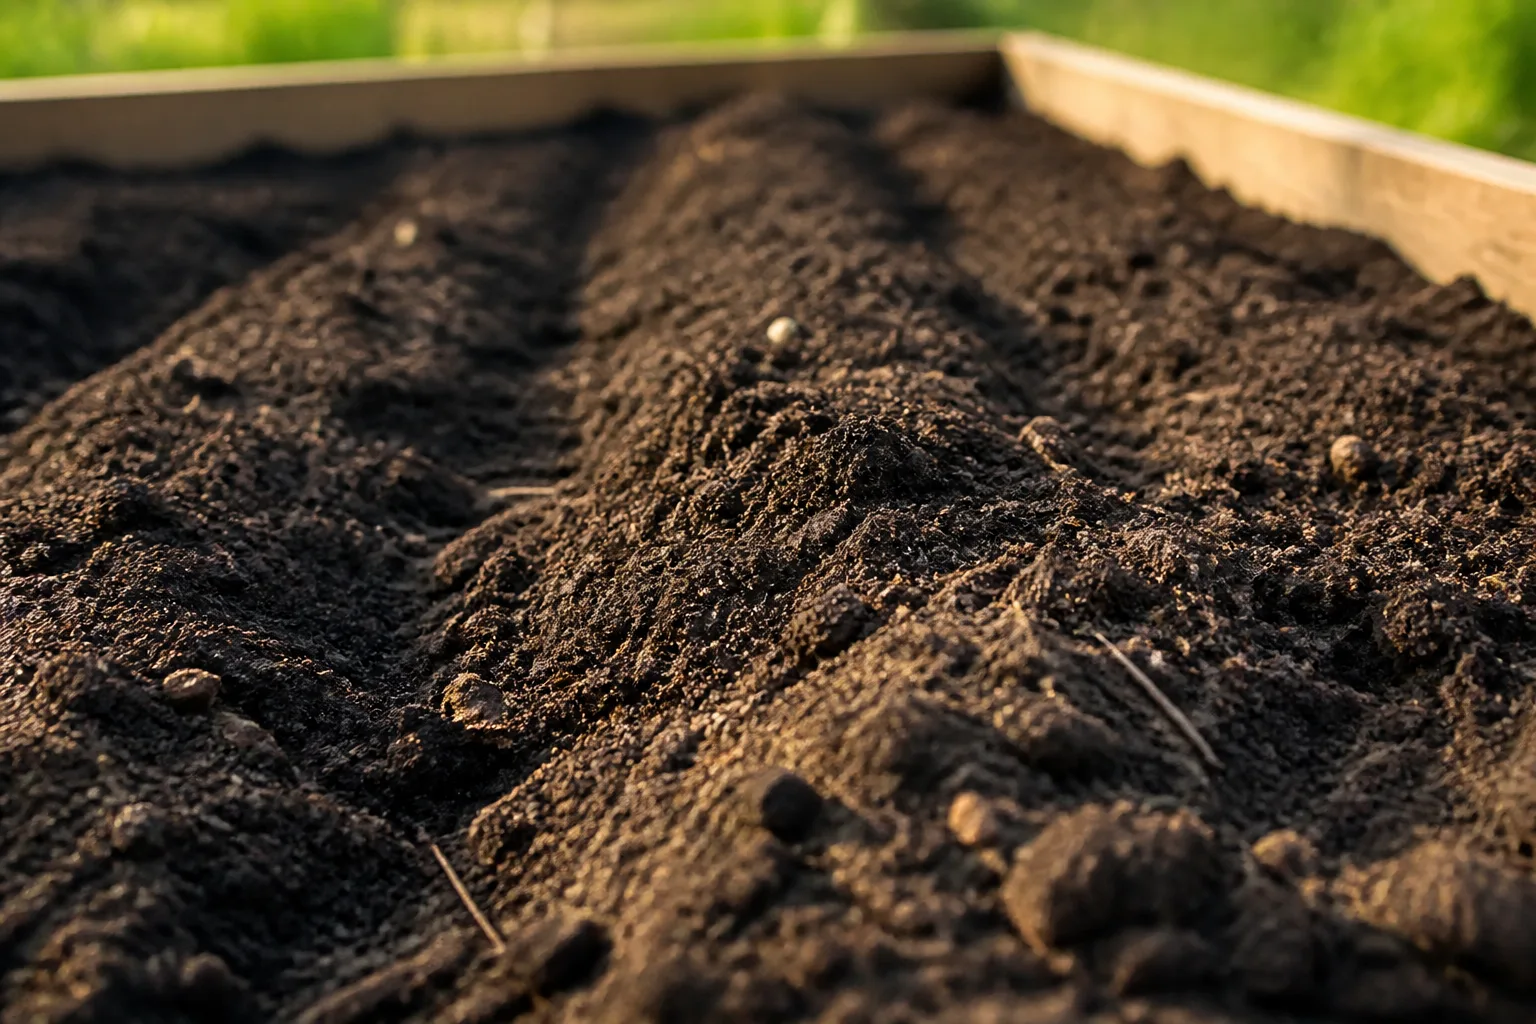
Healthy soil is not a particular color or a bagged “garden soil” label. It is soil that lets the plants you want to grow develop roots, get water and oxygen, and access nutrients without the bed staying waterlogged, crusting over, or drying out immediately. You can improve many garden soils, but the useful first step is to identify which part of the system is limiting growth.
That distinction matters because soil texture, soil structure, drainage, pH, and fertility are related but not interchangeable. A lab report can guide fertilizer and lime decisions; it cannot tell you whether a wheelbarrow has compacted your bed or whether water pools in a low spot. Use a few simple observations together with a soil test, then make one appropriate change at a time.
Healthy soil is a working system, not a color
A productive garden soil contains mineral particles, organic matter, living organisms, water, and air. The mix and arrangement of those parts shape how roots move, how quickly water enters, how long moisture remains available, and how nutrients cycle. NC State Extension describes soil as a medium that anchors plants while retaining and releasing water and nutrients; it also explains that pore space carries both air and water through the root zone. NC State Extension’s soils and plant-nutrients chapter is a useful reference for these physical basics.
A dark surface can be a helpful clue, but it is not a grade. Dark color may come from organic matter, yet it can also reflect drainage conditions; a pale, gritty soil may be low in organic matter, while compacted soil can still look dark after rain. Look for a crumbly surface that breaks into small aggregates, roots that can spread, and water that soaks in without leaving the bed saturated for long. Then check whether the plants suited to that spot are growing as expected.
The target also depends on the plant and the site. A moisture-loving perennial and a drought-adapted shrub do not need the same water-holding capacity, and many native or specialty plants perform well in soils that are not textbook loam. Healthy soil means a functional match, not forcing every bed to the same pH, texture, or fertilizer schedule.
Start by reading the soil you have
Before buying an amendment, write down what the bed does. After a soaking rain, note where puddles remain, whether water runs off, and how quickly the surface dries. During a dry spell, check whether the root zone stays moist or becomes hard and dusty. Also note where plants struggle: a problem in one low corner often points to drainage or compaction, while similar symptoms across a whole bed may justify a soil fertility test.
Pay attention to the history of the area. Recent construction, foot traffic, repeated tilling, buried fill, or years of bare soil can leave different problems even in neighboring beds. A soil test from the front yard may not represent a vegetable bed behind the garage, so treat areas with visibly different soil, use, or plant history as separate management zones.
Check texture, structure, and drainage separately
Texture describes the proportion of sand, silt, and clay. You can get a rough feel by moistening a small pinch: sand feels gritty and falls apart, silt feels smooth or floury, and clay feels slick and sticky when moist. A jar test that settles particles in water may offer a rough visual comparison, but it is not a precise substitute for a lab analysis if you need an exact soil class.
Structure is the way those particles hold together. Take a small handful of moist soil and squeeze it gently; a well-structured soil tends to break into aggregates rather than remain a dense, smeared lump. Do this when the soil is moist, not saturated. Penn State Extension warns that working wet clay or silt can damage structure and leave it crusted or hard, so postpone digging if the soil stays sticky and compact in your hand. Penn State’s practical healthy-soil guidance gives gardeners additional field checks and management steps.
Drainage is a third observation. A soil may feel loose at the surface but still drain poorly because of a compacted layer below, a high water table, or a slope that funnels water into the bed. Conversely, a sandy bed can take water quickly but dry before shallow-rooted crops can use enough of it. These patterns call for different responses, which is why “add compost” is a useful start for many beds but not a complete diagnosis.
What different soil textures mean for your garden
Soil texture is largely determined by the mineral material beneath a garden and is difficult to change in a home bed. A little of one texture mixed into another usually will not transform the whole root zone. NC State Extension notes that changing the sand content of the top six inches of a typical acre of soil by just one percent would take about 10 tons of sand; a meaningful shift would require much more. The practical lesson is simple: improve how your soil behaves, rather than trying to remake its mineral recipe.
Texture still helps you anticipate the bed’s strengths and constraints. Clay particles can hold water and nutrients, but compacted clay may restrict air, infiltration, and root growth. Sand drains and aerates quickly, yet it can lose moisture and mobile nutrients sooner. NC State Extension explains these differences and why they affect garden management.
Clay holds nutrients but needs careful handling
Clay soil is not automatically poor soil. Its fine particles can hold nutrients and water, which can support plants once the structure is open enough for roots and air. The difficulty is timing and traffic: when clay is wet, it is sticky and easily compressed; when very dry, it can form hard clods that are difficult to work.
Avoid digging or tilling clay just because it is difficult. Wait until a squeezed handful crumbles rather than smears, keep foot traffic on paths, and add organic matter gradually. For a garden that stays saturated after ordinary rain, first check the grade, compaction, and water movement; extra compost will not lower a high water table. If a site is persistently wet or has a compacted construction layer, a raised bed or plants suited to the conditions may be more reliable than endless amendment.
Do not try to “fix” clay by mixing in a few bags of sand. Small additions do not change enough of the mineral texture to produce a loam-like bed, and the underlying clay can remain compacted. Compost and other well-decomposed organic materials are a more practical way to improve aggregation and workability over time.
Sandy soil drains quickly and needs steady organic inputs
Sandy soil is easy to dig and warms quickly, but large particles create bigger pathways for water to move through. The bed may dry between waterings, and nutrients can leach more readily than they do in a finer soil. That does not mean you should apply fertilizer every time the plants look stressed; first confirm that dryness, rather than heat, root damage, or another issue, is the problem.
Build organic matter steadily with finished compost, leaf mold, or a living cover crop between plantings. Mulch the surface to reduce evaporation and keep roots growing wherever the season allows. If the bed is used for vegetables, smaller, test-guided fertilizer applications may be easier for plants to use than one large dose, especially where nutrients move quickly. A laboratory recommendation tailored to the crop is safer than guessing at a universal rate.
Loam is useful, but not a universal target
Loam is a balanced texture class with proportions of sand, silt, and clay that many garden plants handle well. But loam is not synonymous with “healthy,” and you do not need to buy a truckload of topsoil to earn the label. A compacted loam can still limit roots; a well-structured sandy or clay soil can grow excellent plants when the species and care match the site.
Treat soil labels and appearance as clues, not performance guarantees. If you buy bulk material for a new bed, ask what it contains and where it came from, and avoid assuming that “topsoil” is a standardized product. For existing ground, preserving and steadily improving the soil you already have is usually more practical than replacing it.
Test pH and fertility before adding corrections
A soil test is most useful when you need to know what is chemically available to plants. A laboratory analysis commonly reports soil pH and selected nutrient levels, then recommends lime or fertilizer for the intended crop. The available tests vary by region and lab, so read the report notes instead of comparing numbers from unrelated test methods. Penn State’s soil-testing guide explains what its lab measures and how recommendations are tied to the crop named on the submission form.
Soil pH affects nutrient availability, but there is no single ideal pH for every plant. Acid-loving species, vegetables, and ornamental plants can have different preferences. Do not spread lime because a neighbor did, add sulfur because leaves look yellow, or use a handheld meter reading as a reason for a large correction. If a soil test indicates a change is needed, follow the lab’s rate and application instructions; if the plants are thriving and the report does not flag a problem, leave the pH alone.
Fertility is separate from structure. A bed can have enough nutrients and still produce weak growth if roots cannot breathe, and a crumbly bed can still need a specific nutrient. Compost improves organic matter and can add nutrients, but its nutrient content is variable and it is not a precise substitute for a test-guided fertilizer when a crop has a documented need. The RHS guidance on organic matter similarly treats soil conditioning and plant feeding as related but distinct jobs.
Take a soil sample that represents the bed
Use the instructions from the lab that will analyze the sample; recommended sampling depth and preparation can differ by crop and region. For a home-garden example, Penn State advises collecting garden soil 6 to 8 inches deep from 8 to 10 random spots in the area, mixing the cores in a clean plastic bucket, and submitting the mixture in the lab’s sample bag. Do not include mulch, surface litter, or material from a compost pile unless the lab asks for it.
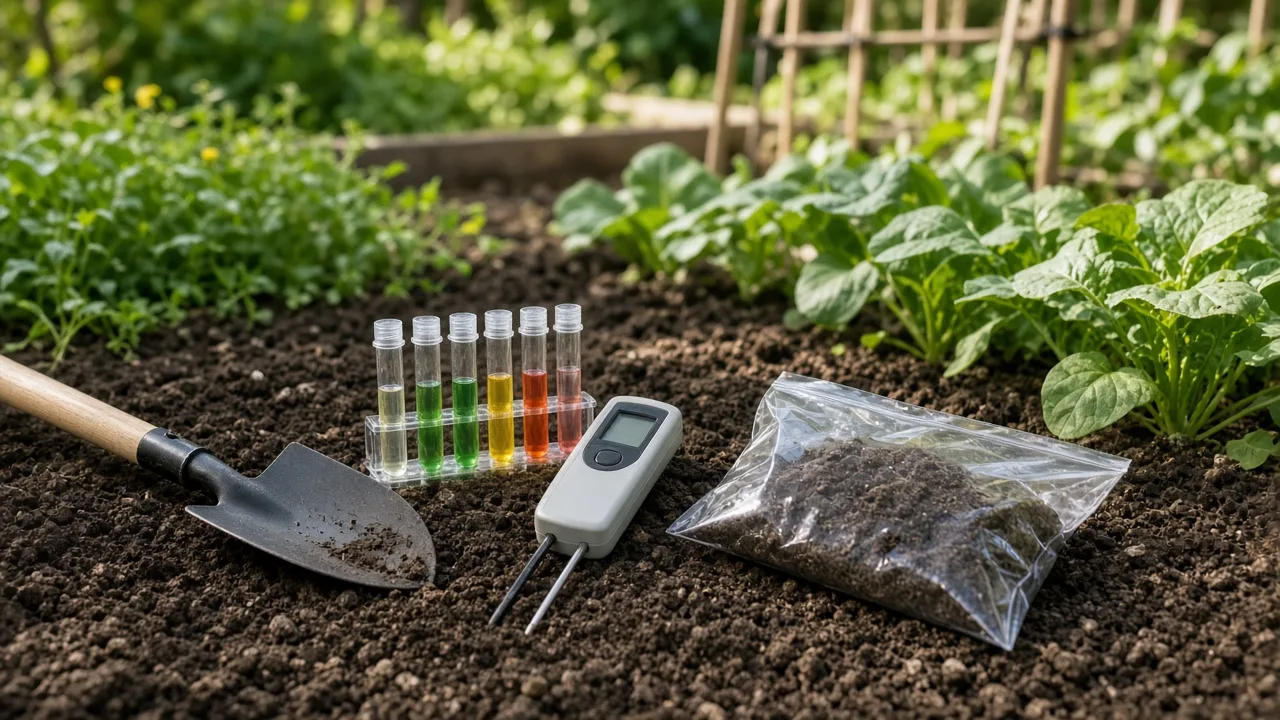
Keep distinct areas separate. A lawn, vegetable bed, newly filled raised bed, and shrub border may need different samples if their soil, management, or plant needs differ. Avoid sampling directly beside a recently fertilized row or compost pile, because one unusual spot can distort the result. If you are unsure whether two areas belong together, send two samples rather than blending them into an average that fits neither.
A report is a decision tool, not a command to add everything listed on a garden-center shelf. Pay attention to the named crop, the units, and whether the recommendation is per area or per plant. If the lab explanation is unclear, contact the Extension office or lab before applying lime or fertilizer; a few minutes of clarification can prevent an expensive overcorrection.
Build the soil in the order that matters
A reliable sequence is observe, test, amend what the evidence supports, protect the surface, then reassess. Start with the bed’s physical behavior and plant history. Use a lab test for pH and nutrient decisions, then choose a small number of changes that address the actual limitations rather than applying every “soil booster” at once.
This order prevents a common mistake: treating every weak plant as a fertilizer problem. A plant wilting in wet ground may have roots starved of oxygen; adding more water or fertilizer can compound the stress. If leaves yellow while soil remains evenly moist, check roots, drainage, and plant-specific care before assuming that a missing nutrient is the cause.
Use finished compost and other suitable organic matter
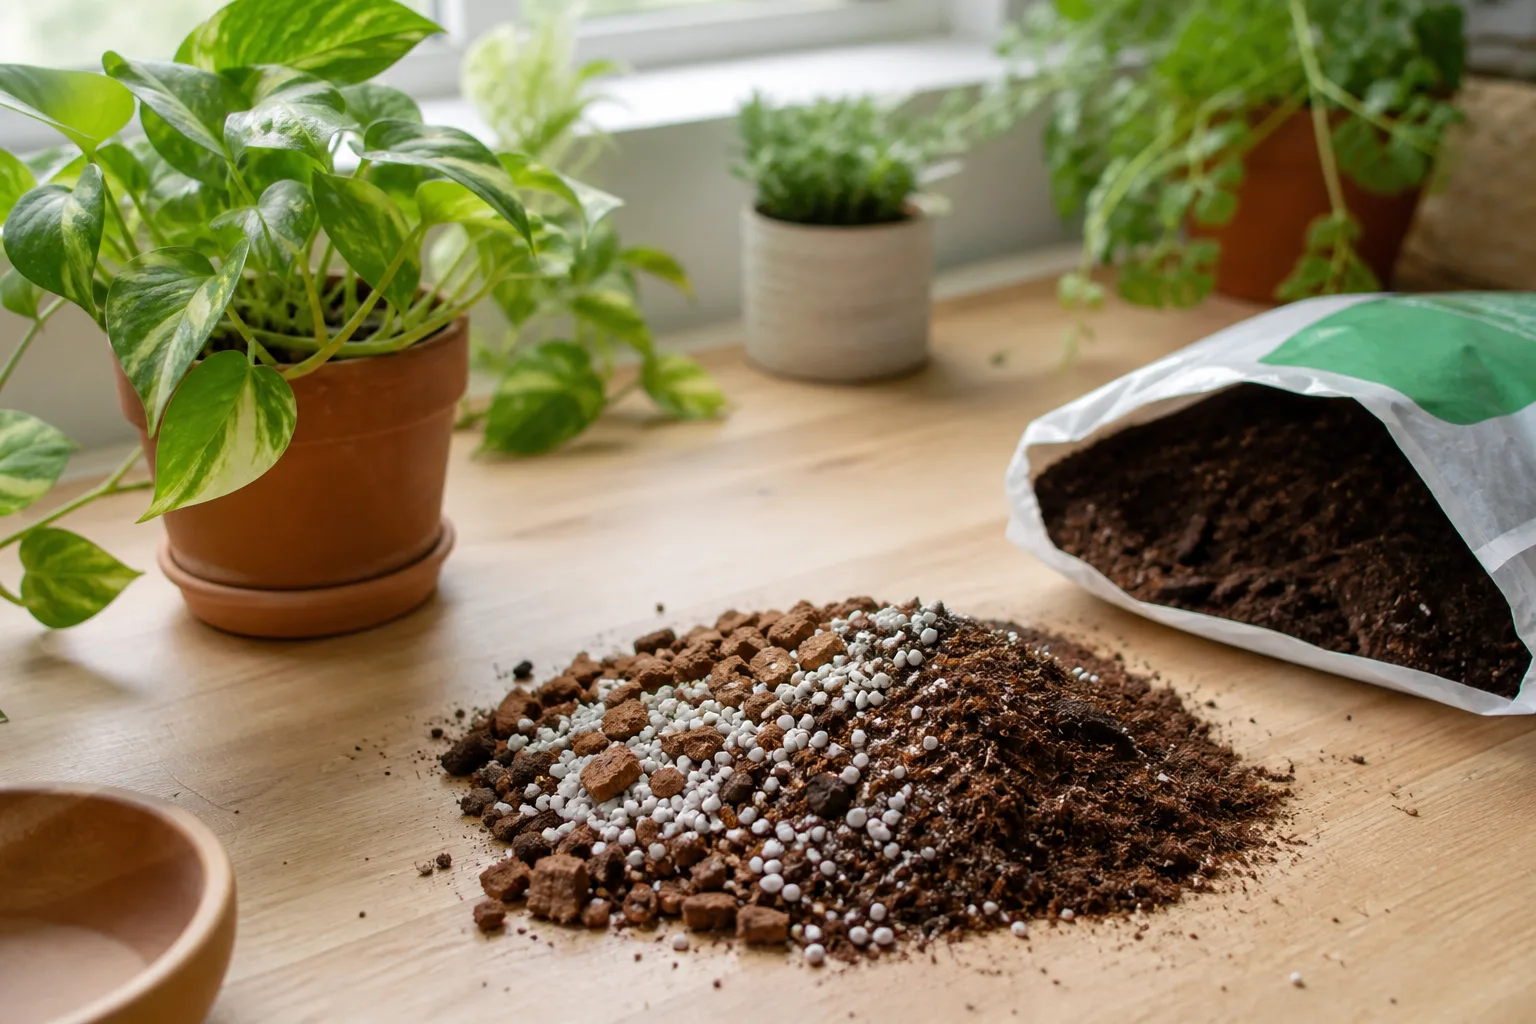
Finished compost, leaf mold, shredded leaves, and well-rotted manure can add organic matter and help maintain soil aggregates. Organic matter helps fine particles resist forming a solid mass and gives sandy soil more capacity to hold water and nutrients. The Penn State practical guide lists common materials and explains how they differ; material choice matters because not every brown or bagged product behaves the same way.

Use mature, well-decomposed material for incorporation around roots. Fresh manure can contain more soluble nutrients than plants need, while fresh woody material mixed into soil can tie up nitrogen as it decomposes. Woody chips are usually better as a surface mulch than as a material to till through the root zone. Check product ingredients, especially when buying bulk compost, and do not assume that a soil improver has a balanced nutrient ratio.
How much to use depends on the bed and the material. Penn State gives a local garden-bed example of incorporating 1 to 3 inches of organic matter into the upper 6 to 12 inches when making or expanding a bed, while its mulching guidance recommends a 2- to 4-inch surface layer and says to account for mulch already present. Treat those as starting references, not automatic annual quotas: soil condition, crop, rainfall, and material quality all matter. For a light maintenance top-dressing, use a thinner layer and observe how the soil responds rather than burying crowns or stems.
Keep the surface covered and roots in the ground
Bare soil is vulnerable to crusting, runoff, temperature swings, and weed pressure. An organic mulch such as shredded leaves, compost, or suitable bark can shade the soil, reduce moisture loss, and slowly add organic matter as it breaks down. Keep mulch away from plant crowns and tree trunks, and avoid piling it against stems where prolonged dampness can cause problems.
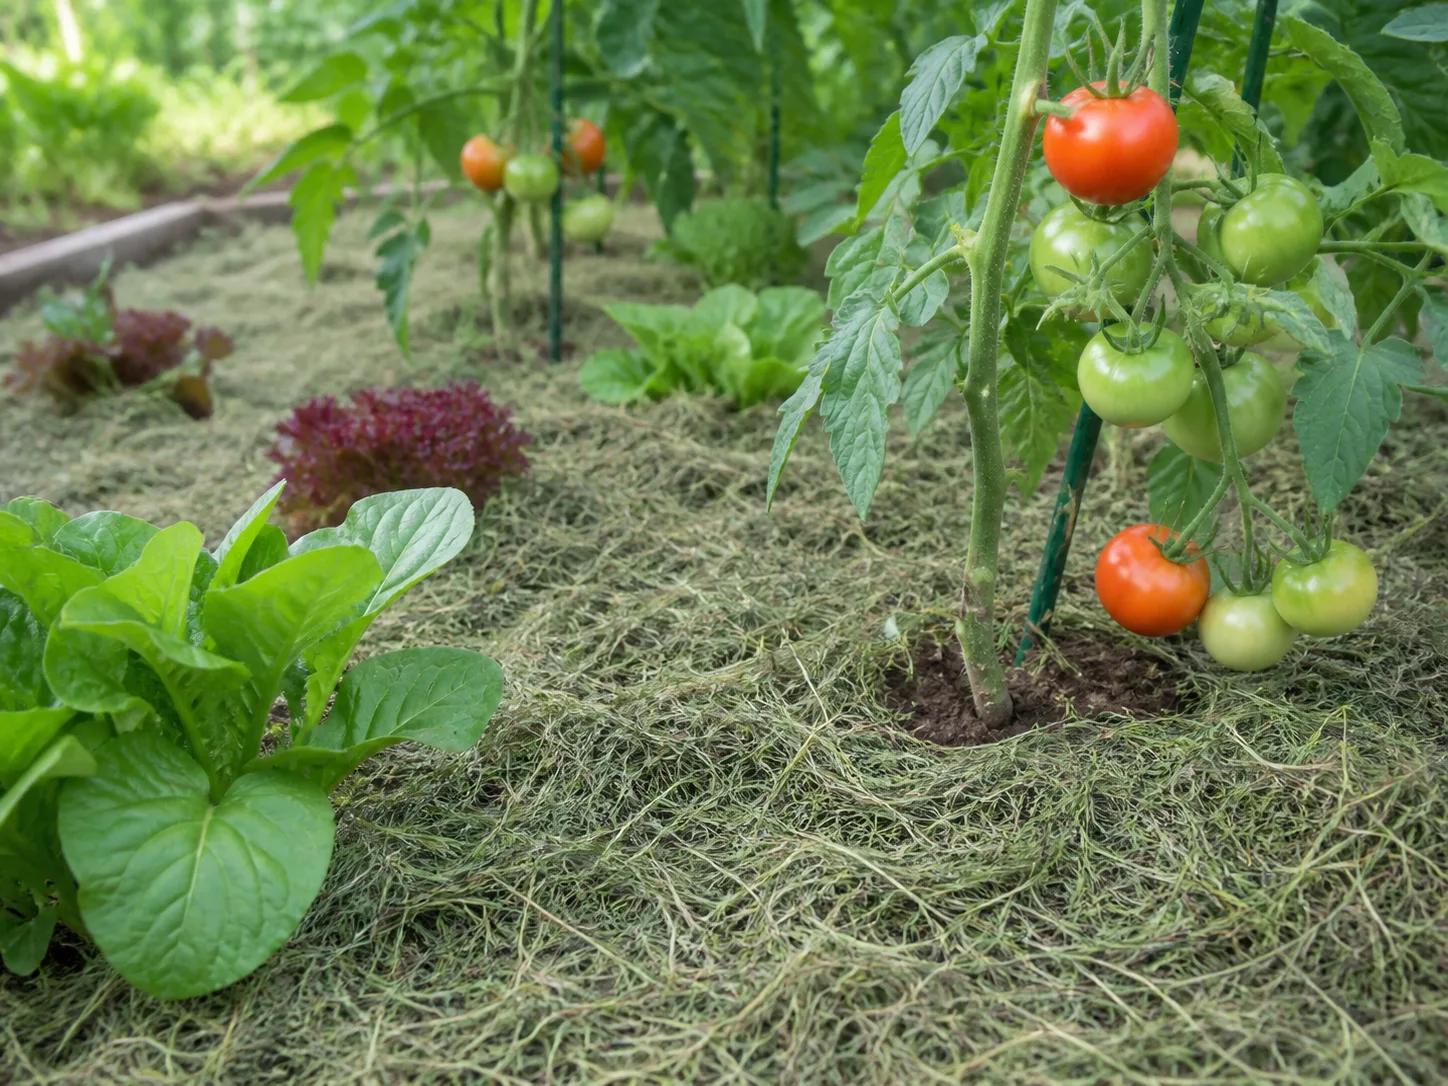
A no-dig approach can work well when the bed does not need deep correction: remove or suppress weeds, spread mature compost or mulch on top, and let roots and soil organisms incorporate it gradually. BBC Gardeners’ World describes surface mulching as a practical way to preserve soil structure and reduce the disruption caused by repeated digging. Its no-dig gardening guide also notes that no-dig does not eliminate perennial weeds, so keep monitoring and remove them when they appear.
Cover crops are another option for an empty bed between seasons. Their roots keep soil occupied and help protect it from erosion; once a crop is terminated, its residues can return organic material to the surface. Epic Gardening’s practical guide to ways to improve garden soil includes cover crops, mulch, and careful traffic as part of a repeated soil-building routine, not a one-time cure. Choose a crop that fits your climate, planting window, and next crop, and follow local advice on when to cut it down.
Prevent compaction before trying to cure it
Compaction closes pore spaces that roots need for air and water. It is most likely where people or equipment repeatedly cross a bed, especially when the soil is wet. Keep paths fixed, use a board or stepping stones if you need to reach into a wide bed, and avoid driving carts over the root zone. Penn State Extension describes how wet-soil traffic and excessive tilling can compress aggregates and reduce infiltration.
If a garden bed is compacted, first stop the traffic that caused it. Wait until the soil is workable before loosening it; digging wet clay can make the structure worse. A garden fork can gently open a small planting area without turning every layer upside down, but a deep compacted layer after construction may need a more deliberate renovation. Do not poke holes blindly if you do not know what lies below, and do not expect a thin compost layer to repair a deeply compacted subsoil by itself.
Match a fix to the symptom
Use the symptom to narrow the next step, not to guess at an amendment. If a bed puddles, compare its surface with nearby areas and check for compaction or blocked water flow. If it dries quickly, compare moisture at root depth instead of judging by the top inch. If plants show uneven growth, sample the affected zone and a healthier zone separately when the contrast is strong.
The same plant symptom can have multiple causes. Yellow leaves may follow poor drainage, root injury, pH-related nutrient availability, or an actual nutrient shortage. A soil test helps with chemistry; it does not diagnose watering, roots, light, disease, or a compacted layer. Use the report alongside the plant and site observations.
If water ponds or runs off
Check whether the soil is simply wet after unusually heavy rain or whether ponding repeats during ordinary watering. Repeated puddles suggest that water cannot move into or through the root zone. Look for a hard surface crust, a compacted path extending into the bed, a low spot, or a downspout that concentrates runoff. If the issue is traffic, protect the bed and avoid working it wet; if the issue is slope or a high water table, consider grading, a rain garden, a raised bed, or plants that tolerate the site.
Adding organic matter can improve aggregation over time, but it is not a substitute for correcting a structural drainage problem. If water stays in the bed, first diagnose whether the cause is compaction, site slope, or a high water table; a surface amendment will not drain the entire root zone. For a permanent soggy site, decide whether you can redirect or raise the planting area safely, or whether moisture-tolerant plants are the better fit.
If beds dry out or nutrients wash through
In a sandy bed, use mulch to slow evaporation and incorporate finished organic matter when preparing or renewing the bed. Water deeply enough to reach active roots, then check again before watering rather than following a fixed calendar. Where nutrients are low, use the lab report to guide fertilizer amount and timing. Smaller, measured applications are less likely to be wasted than a heavy dose that exceeds what the crop can use.
For a bed that dries despite a finer texture, check whether the soil is shallow, whether roots compete with a nearby tree, and whether water is running off a crusted surface. Slow watering can give water time to enter the root zone. Compost and mulch can help with moisture management, but they will not compensate for an undersized bed, a leaking irrigation system, or a plant placed in conditions it cannot tolerate.
Common soil-building mistakes to avoid
Changing pH without a test. Lime and sulfur solve different problems, and the amount needed depends on the soil and the crop. A small pH shift may be enough in one bed and inadequate or harmful in another; use a regional lab’s recommendation rather than a generic recipe.
Treating “organic” as synonymous with harmless or balanced. Compost and manure add organic matter, but their nutrient content and maturity vary. Too much can create nutrient imbalances or add more phosphorus than a bed needs, while fresh materials can affect roots or tie up nitrogen. Read labels and base fertilizer choices on a test.
Adding sand to clay or a little topsoil to everything. Texture changes require substantial material and thorough mixing; token amounts do little. Bought topsoil also varies, so verify its source and contents before using it to make a new bed.
Digging when soil is wet or tilling every season by habit. Work only when the soil crumbles rather than smears. If the bed is already open and workable, repeated turning may disturb structure without solving a real problem. A light surface dressing can be enough for ongoing maintenance.
Judging soil by one cue. Dark color, a few worms, a crumbly handful, or a lush plant does not tell you everything about pH, nutrient balance, drainage, or soil depth. Combine observations with a lab test when you need a nutrient or pH decision.
A practical first-season plan
Start by choosing one representative bed and writing down its conditions: what grows there, how water behaves after rain, where foot traffic occurs, and whether the soil stays wet or dries fast. Take a soil sample before adding fertilizer or a pH amendment. If your garden includes clearly different areas, sample them separately and label each sample with its use so the lab can tailor its recommendation.
Then make the smallest change that addresses the evidence. If the report calls for a specific nutrient or pH correction, follow the rate and timing. If the soil is low in organic matter or hard to work, apply suitable finished organic matter in a modest layer. If bare soil is exposed, mulch it while leaving plant crowns and trunks clear. If traffic is the issue, mark paths and keep them in use.
During the growing season, watch for measurable changes: whether water infiltrates more evenly, whether a crust reforms, how long the root zone stays moist, and whether plants establish better. These observations tell you whether the intervention helped. Keep a brief note of what you added and when, so a later soil test can be interpreted against the bed’s history.
Soil building is maintenance, not a makeover. Organic matter decomposes, plants remove nutrients, rain moves some nutrients, and traffic can close pore spaces again. Reassess on the schedule recommended by your local lab, and change course when the evidence changes. If a bed remains waterlogged or compacted after you have addressed the obvious causes, get advice from your county Extension office before buying more amendments.
Conclusion
Healthy soil supports the roots and plants you actually want to grow. Start by separating texture, structure, drainage, pH, and fertility; observe the bed and use a lab test when the decision concerns nutrients or acidity. Then add finished organic matter where it helps, protect the surface, and prevent traffic from compressing the soil.
You do not need to turn every garden into perfect loam. A soil that drains and holds water appropriately for its plants, stays open to roots, and receives only the corrections it needs can become more productive year by year. Test before you correct, change one thing at a time, and let the bed’s response guide the next step.