How to Train and Prune Climbing Roses on a Fence
Learn how to attach climbing rose canes to a fence, choose the right pruning time, and trim side shoots without cutting away next season’s flowers.
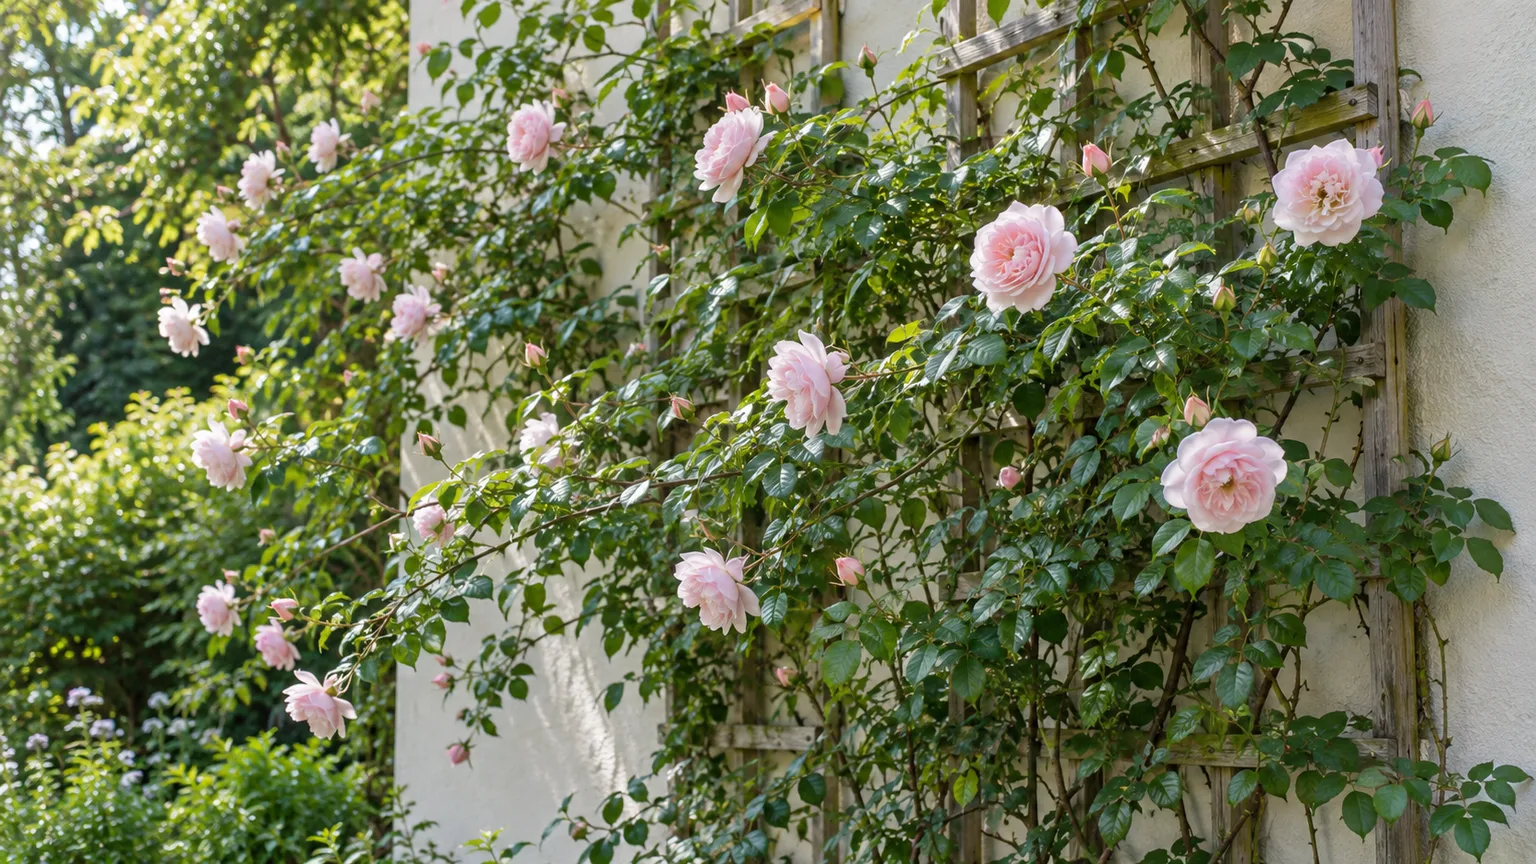
A climbing rose does not latch onto a fence like ivy. Its long canes need to be arranged and tied to a support, then maintained so the plant carries flowers across the space instead of piling growth at the top. The most useful rule is to treat the thick main canes as the permanent framework and prune their smaller flowering side shoots selectively.
Before you cut, identify how your rose blooms. Many climbing roses flower more than once and are pruned while dormant; many ramblers flower in one large flush on older growth and are pruned after flowering. That distinction can be the difference between a neat plant and a fence rose with few blooms next year.
First, confirm whether the rose is a climber or a rambler
“Climbing rose” is often used casually for any rose with long canes, but climbing roses and rambling roses may respond to pruning at different times. A typical repeat-flowering climber produces several flushes over a long season. A rambler often sends out exceptionally long, flexible growth and gives one main summer display. The flowering habit is a useful clue, but it is not a substitute for the plant’s label: cultivars vary, and some roses are sold under broad or inconsistent names.
If you know the cultivar, look up its specific pruning group or the breeder’s care instructions. If you do not, observe it for a full season before making major cuts. Note whether flowers appear again later in summer, whether they grow from short laterals or along young flexible canes, and whether the plant sets hips that you want to keep. Until you know, remove only dead, broken, or clearly diseased material and tie in growth that is easy to bend without injury.
The distinction matters because pruning can remove flower-bearing wood. The Royal Horticultural Society’s climbing-rose guide describes climbers as generally repeat flowering and gives a winter routine, while its RHS guide to pruning rambler roses recommends routine pruning after the main summer display. Those are useful patterns, not a reason to ignore the cultivar label or your local conditions.
Choose a fence support that can carry mature canes
A rose’s framework becomes heavier as canes lengthen and foliage fills in. Check the fence before you attach anything: look for loose posts, cracked rails, rot near the ground, and panels that flex when pushed. Fasten a support into sturdy posts or structural framing where possible; thin pickets and decorative lattice may not carry a mature rose safely. Leave yourself room to reach the back of the framework for future ties and pruning.
Roses do not cling by tendrils, twining stems, or adhesive roots. They need ties on a trellis, wires, or another structure. A healthy fence should support the system, but the plant should not be wired so tightly against the boards that every cane is trapped in an inaccessible tangle. A stand-off trellis or horizontal wires can create a small working gap, improve access, and make it easier to untie and replace a cane later.
Add horizontal wires or a stand-off trellis
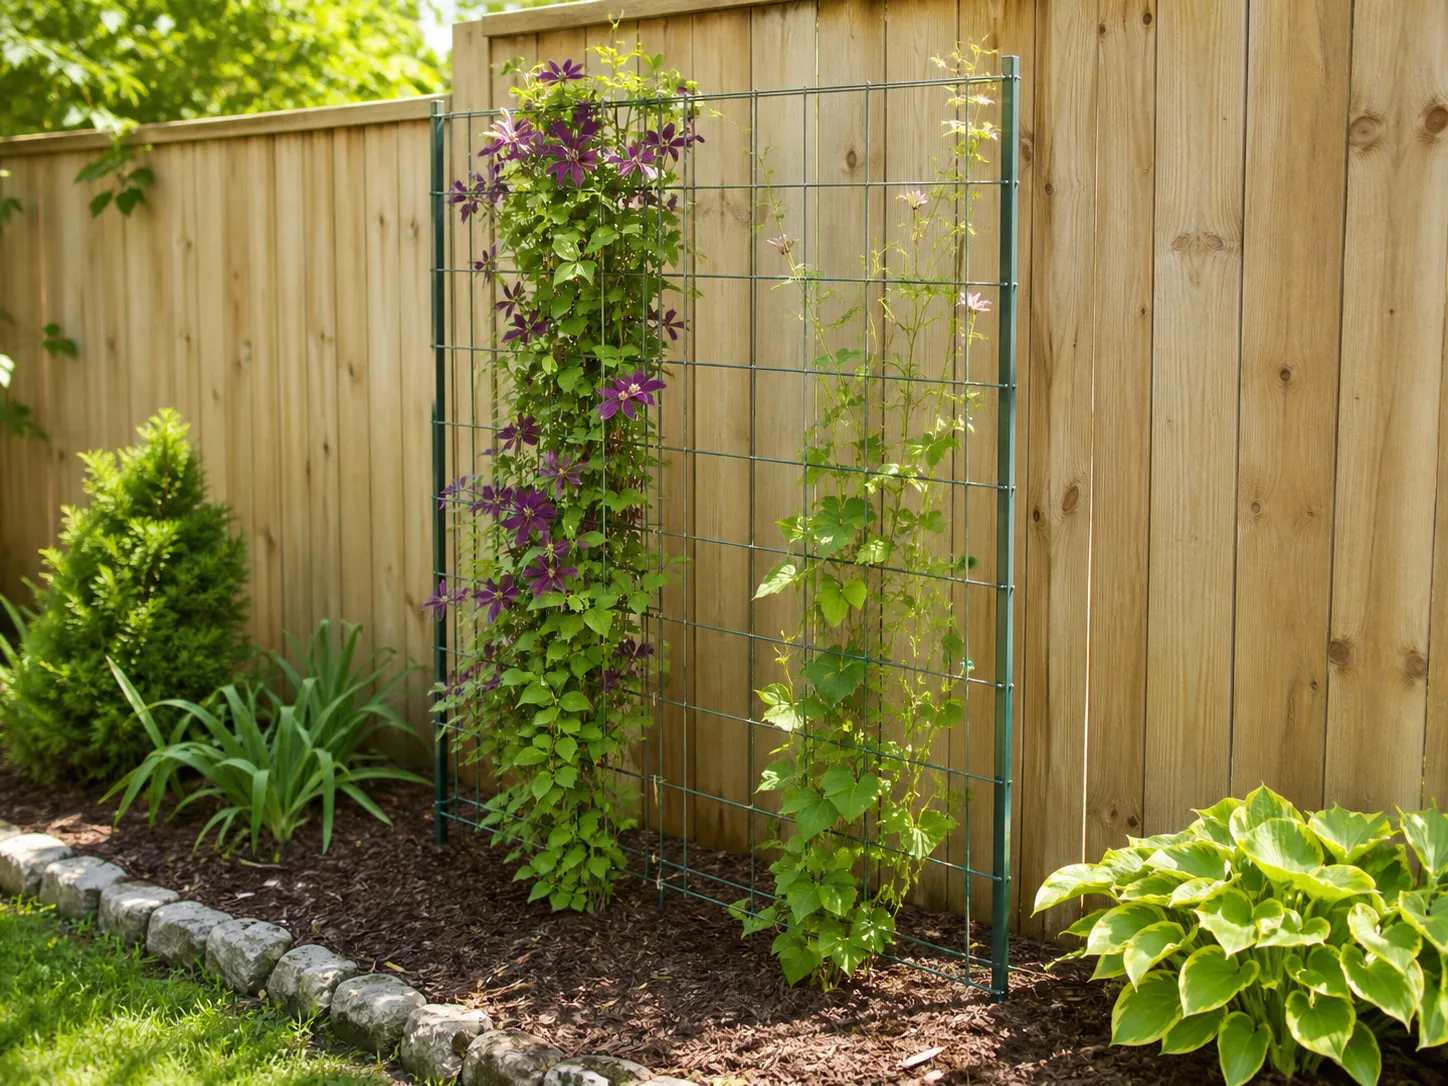
For a broad fence, horizontal wires give long canes somewhere to travel sideways. The RHS climbing-rose guide suggests setting a first wire about 18 inches above the ground, then spacing later wires around 12 inches apart for its wall-training method. Treat those measurements as a practical starting layout, not a universal code: match the spacing and height to your fence, the mature size of the rose, and where you can safely reach to tie and prune.
Use fasteners designed for outdoor conditions and for the substrate they enter. If the fence is old or shared, avoid adding a heavy trellis until you know it can take the load; an independent trellis placed in front of the fence may be safer. Keep the layout open enough for air movement and inspection. A support that is easy to maintain will help more than a dense grid that hides crossing canes and rotting ties.
Gather protection and tools before you start
Wear sturdy gloves that cover the wrists and forearms; thorn-resistant gloves are much easier to work in than thin gardening gloves. Eye protection is useful when you reach into a face-height tangle, where a released cane can spring toward your face. Long sleeves, closed shoes, and a clear place to set cuttings make the job safer and faster.
Use sharp bypass pruners for most small laterals, and a pruning saw for an old cane too thick for clean hand-pruner cuts. Avoid forcing a dull blade through a cane: it crushes tissue and can leave a ragged wound. Keep flexible garden ties nearby. Soft stretchy tape, reusable rubber ties, or broad plant ties are easier on growing stems than thin wire or tightly knotted string. A tie should hold the cane in place while leaving space for it to thicken.
Before bringing a hand or tool into the center of the rose, trace the cane back to where it begins. This prevents a common accident: cutting a healthy main cane when you meant to remove a dead side shoot. If the rose is attached to a fence you need to preserve, place a board or other suitable guard behind an intended cut so you do not nick the structure.
Time pruning around bloom type and local winter
There is no single calendar date that fits every climate. For repeat-flowering climbing roses, the main structural pruning is usually done in the dormant season or as growth is just resuming, when you can see the framework and before vigorous new shoots make handling difficult. In cold regions, avoid heavy shaping in fall: late pruning may remove canes that help buffer winter weather, and an early cut can prompt tender growth before a hard freeze. The University of Minnesota Extension’s current autumn guidance advises securing climbers and saving heavy shaping until spring in its cold-winter context.
In mild areas, winter pruning may happen earlier. In colder places, wait until the harshest weather has passed and local roses are nearing active growth. The Oregon State University Extension rose guide uses a regional spring window and warns that pruning too early can expose new growth to frost. Use that principle rather than copying its dates: follow your local extension service or rose society, and let the rose’s stage of growth guide the final timing.
Repeat-flowering climbers and once-flowering ramblers need different timing
For a known repeat-flowering climber, tie in new main canes and prune the side shoots during the dormant-season routine recommended for your region. During the bloom season, remove spent flowers only if you want to encourage another flush and do not want hips. Deadheading is optional for tidiness, not a requirement for keeping the support sound.
For a once-flowering rambler, save routine reshaping until after the main flush has finished. Its flowering display may depend on older canes, so cutting those canes back in winter can remove buds before they open. The RHS rambler guidance recommends routine pruning in late summer after flowering, while its climber advice schedules repeat-flowering types in winter. If you cannot identify the rose or its flowering habit, limit winter work to safety and health cuts, then observe the next bloom cycle before renovating.
Build the framework before cutting
A useful fence plan has several strong main canes distributed across the panel, with room for short flowering laterals to branch from them. Start with the lower and middle parts of the fence rather than tying every new shoot straight upward. A cane trained nearly vertical often produces more growth near its tip, leaving the lower fence sparsely covered. A cane guided sideways or in a broad fan places more buds along a longer stretch of support.
The goal is not to force every cane perfectly horizontal. The best arrangement is a set of broad curves, a fan, or a loose zigzag that keeps much of each cane at a shallow angle while avoiding sharp kinks. On a narrow fence section, zigzags let you use more of the cane length without crowding one point. Leave enough distance between major canes that you can see and reach the laterals; do not weave them so tightly that the rose becomes a thorny mat.
Think in three layers: the permanent framework, the flowering side shoots, and this year’s new canes. Main canes are the structural routes across the fence. Laterals arise from those routes and carry many of the blooms. New canes may replace older, less productive framework, but they need to be selected and tied in before the old one is removed. This simple distinction keeps routine pruning from becoming an indiscriminate haircut.
Bend and tie canes without snapping them
Choose a flexible cane that can reach an open part of the fence. Untie it if necessary, support it with both hands, and move it gradually into position. If it resists, stop. A stiff, mature cane is more likely to split than a young green one; train it in a higher arc, use a different cane, or make the change over several sessions instead of pulling until it gives way.
Place ties at intervals that keep the cane from whipping in wind or rubbing on the fence. Use a loose figure-eight tie when it can separate the cane from a wire or rail: one loop around the support and one around the cane, with the crossing between them. This reduces direct abrasion. Keep knots accessible and never cinch a tie so tightly that it cuts into the bark. Check the ties during the growing season because stems expand and wind can loosen fasteners.
The practical advantage of sideways training is more than a tidier silhouette. Oregon State University Extension advises arranging main canes as horizontally as practical so the side branches form flowers; Fine Gardening’s climbing-rose pruning guide similarly explains how horizontal framework and a zigzag on narrow supports spread flowering shoots along the plant. If the fence is tall, combine a few rising canes with sideways routes rather than trying to bend every cane flat.
Prune an established climbing rose in a deliberate sequence
Begin by stepping back and deciding what the rose should cover this season. Mark or loosely tie any healthy cane you intend to keep before you start cutting. Then inspect the base and work upward, separating main canes from laterals as you go. This order prevents a fast pruning pass from removing the very framework that takes years to replace.
First remove dead, broken, diseased, or badly damaged growth. Cut dead canes back until the inner tissue is pale and healthy; if a cane is brown or hollow all the way to its base, remove it at its point of origin. Take out thin, weak growth that cannot be tied into a useful position, plus canes that cross and rub repeatedly. Make clean cuts with sharp tools, and clear diseased debris from beneath the plant rather than leaving it caught in the fence.
Next, tie in good new canes that can fill a gap or replace a failing framework cane. Only after the replacement is secure should you remove an old, unproductive main cane. If the plant has too many old canes, renew it gradually by removing one or two of the oldest at the base over successive seasons. A vigorous rose may tolerate a more substantial renovation, but a weak, recently transplanted, or poorly identified plant deserves a lighter hand.
Finish by shortening the flowering laterals and trimming tips that extend beyond the support. Leave the strongest framework canes intact unless they are damaged, badly placed, or no longer productive. Oregon State University Extension’s sequence likewise removes dead or twiggy growth, trims any main cane that outgrows its support, shortens laterals, then repositions and loosely reties the main cane. The point is to restore the design, not to reduce the entire rose to a uniform height.

Shorten flowering side shoots, not the main framework
On a repeat-flowering climber, a common routine is to shorten laterals that flowered the previous year while preserving the long main canes. Guidance varies on how many buds to leave: Oregon State University Extension recommends three to five buds for each lateral in its local rose-pruning advice, while Fine Gardening gives a range of two to five. Use those ranges as a starting point, not a fixed law; the cultivar, vigor, and available space matter.
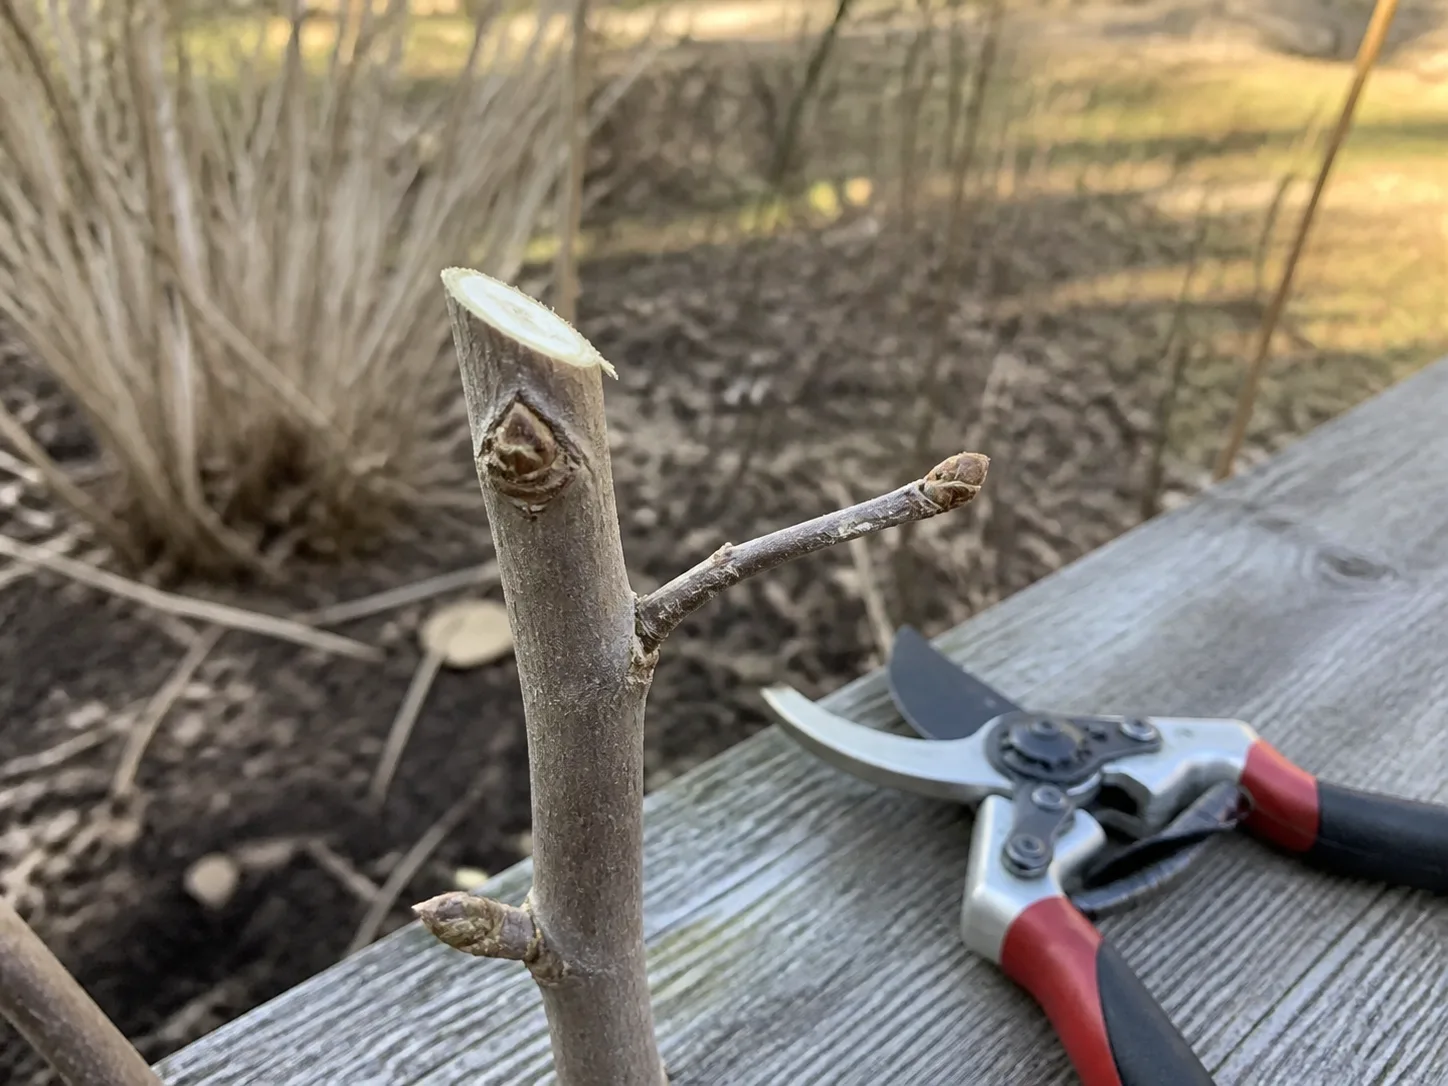
Make each cut just above a healthy bud that points toward an open part of the fence, usually around a quarter inch above it, with a slight downward angle away from the bud. Do not cut so close that you damage the bud, and do not leave a long stub that can die back. If buds are hard to see, wait until they begin to swell rather than guessing at a location that might not produce a useful shoot.
A flowering lateral that is already short may need little or no shortening. If a shoot is growing toward the fence, into the center, or across another cane, cut it back to a sound outward-facing bud or remove it at its base if it is weak. If it occupies a gap and points the right way, retain it. This is why a selective hand-pruning pass is usually more useful than shearing the entire rose into a flat plane.
For a once-flowering rambler, do not transfer this winter lateral-pruning recipe automatically. Follow the cultivar’s instructions and prune after its main bloom, preserving enough vigorous new canes to carry next season’s display. A mature rambler may need more replacement of flowered stems than a modern repeat-flowering climber, but the timing is still tied to its flowering cycle.
Maintain the fence rose during summer
During active growth, guide new canes while they are still flexible. Tie a promising shoot into a gap before it hardens into an upright spike, and remove a shoot that is clearly broken or headed into a walkway. Avoid tying a bundle of soft shoots together; a small number of well-spaced routes are easier to inspect and prune than a mass of crossing stems.
After the first flush, deadhead repeat-flowering roses if you want to encourage another round and the cultivar responds to it. Cut a spent flower stem back to a healthy leaf or bud in the direction you want new growth. Some roses form attractive hips or are self-cleaning; in those cases, leave the flowers or hips if they are part of the display or wildlife value you want. Do not deadhead a once-flowering rose if you are deliberately keeping hips, and do not expect deadheading alone to solve poor flowering caused by shade, wrong pruning time, or weak canes.
Once or twice in summer, inspect the ties and the fence itself. Replace ties that are tight, brittle, or rubbing; remove a tie that is no longer needed. Look for canes pressing hard against a board, posts starting to lean, or a panel pulling away from its frame. This quick inspection is easier than discovering after a storm that a heavy, leafy section has levered a fastener loose.
Replace old canes and renovate an overgrown rose
A fence rose that has become a dense knot usually needs staged renewal rather than a single drastic cut. First decide which canes still make a useful framework. Keep the healthiest, best-positioned young canes and tie them where they can take over. Then remove dead, diseased, weak, or clearly unproductive old wood. If the plant is still vigorous and badly congested, remove a limited number of the oldest canes near the base, leaving enough healthy structure to support the next season’s growth.
A long cane is not automatically old or expendable. A healthy, flexible cane that fills a bare section may be more valuable than a short, woody cane with few productive laterals. Conversely, an old cane with little new growth, poor flowering, and repeated dieback may be a good candidate for replacement. Keep a simple record or take a photo before pruning so you can compare which canes flower and where new shoots emerge.
When the plant is seriously neglected, spread renovation across two or three seasons if you are uncertain of its type or strength. The RHS advises retaining a small group of young, vigorous stems during rambler renovation and removing old wood in stages; its climbing-rose guide also recommends cutting out old congested branches at the base. Those principles help preserve enough leaf area and framework for recovery. If the rose is grafted, distinguish shoots emerging below the graft union from the cultivar’s own canes; a rootstock sucker will not become the named climbing rose.
Do not try to untangle a large old cane by pulling it through a mesh fence. Cut ties first and loosen the cane one fastening at a time. If the cane is trapped behind boards or welded wire and removal would tear the fence or split the plant, cut it into manageable sections rather than wrenching it free. Protect your face and have another person steady a large springy cane while you release its ties.
Troubleshoot sparse flowers and a tangled fence
A climber that grows strongly but blooms poorly is often being trained or pruned in a way that concentrates growth at the top, but that is only one possibility. Check the cultivar’s bloom habit and sun exposure first, then consider whether a hard pruning removed flowering wood, whether canes are packed so tightly that laterals are shaded, or whether the rose is still establishing. A healthy rose may spend time making framework before it covers a fence with flowers.
Flowers concentrated at the top
If most flowers sit near the top edge, look for a few long canes that rise straight up with little sideways framework. In the next suitable training window, redirect a flexible cane along a lower wire or in a broad zigzag. Do not bend a mature cane sharply in one session. As new laterals develop along the repositioned cane, keep the useful ones and prune only the shoots that crowd, cross, or grow away from the support.
If the bottom remains bare even after training, check whether the fence blocks light or airflow at the base and whether lower shoots are being removed too aggressively. A plant cannot fill every gap if it has no live buds or sunlight there. It may be more realistic to accept a taller display or add a second support-trained plant suited to the space than to force a large cane into a brittle angle.
Bare, crowded, or repeatedly damaged canes
If the rose is dense in the middle, thin a few crossing or old stems at their origin so you can reach the framework. If individual laterals die back, prune to healthy tissue and check whether ties have cut into them or stems have rubbed against a hard edge. When a cane cracks, remove the damaged section to a sound side branch or base; tape is not a reliable structural repair for a split rose cane.
Repeated wind damage points to a support problem or insufficient tie points. Add secure, appropriately spaced attachment points to the fence structure, and retie the cane loosely. If posts or rails are failing, stabilize or replace the support before the plant adds more weight. A rose can be pruned and tied perfectly and still fail if the fence itself is not sound.
Avoid the pruning mistakes that cost flowers
The biggest mistake is pruning by height alone. Cutting every cane to the fence top removes the structure, ignores the difference between a main cane and a lateral, and may remove buds that would flower. Decide what each cane does before choosing a cut. On a repeat-flowering climber, shorten laterals and retain well-placed mains; on a once-flowering type, wait until its display is over before routine shaping.
Other avoidable problems include forcing a stiff cane into a sharp bend, tying directly with bare wire, leaving a new shoot loose through a windy season, and fastening a heavy support to a weak panel. Do not let stems rub against rough edges for months. Do not prune heavily in fall in a cold climate just to make the fence look tidy. And do not keep shortening every new cane: those shoots are the future framework that lets you replace old wood.
A common recommendation is to leave a few nodes beyond a structural cane or cut all laterals back by a certain fraction. Those rules can help on a vigorous, known cultivar, but they are not interchangeable across every rose. Cane length, bud placement, local winter damage, flowering habit, and the shape of your fence all affect the right cut. When in doubt, remove the clear hazards, tie in the useful growth, and defer irreversible cuts until you have identified the plant.
Use a simple annual routine
A repeatable routine keeps the job manageable. During the dormant season or just before growth resumes in your climate, check the support, identify the main canes you want to retain, remove dead or damaged wood, tie in replacements, then shorten flowering laterals. In spring and summer, guide flexible new growth, check ties after storms, and deadhead repeat bloomers only if you want more flowers and the cultivar responds.
For a once-flowering rambler, move routine reshaping to the period after flowering and leave its older framework alone until then. For a young rose, concentrate on establishment and securing safe, flexible growth; do not punish a small plant with major shaping cuts simply because it has not covered the fence yet. For a mature rose, replace the least productive framework gradually and keep the center open enough to reach.
Take a photograph from the same spot after the main pruning pass each year. It makes it easier to see whether the framework is filling the fence evenly, whether flower coverage is moving down the plant, and which canes are worth keeping. The goal is a support that holds an open, renewable framework, not a rose clipped to a rigid outline.
Conclusion
Train climbing roses on a fence by giving them a strong, accessible support and tying a few healthy main canes sideways in broad curves or a fan. Prune those canes selectively: remove dead and failing wood, shorten the smaller flowering laterals on a repeat-blooming climber, and preserve the framework that will carry future growth.
Before you prune, confirm whether the rose is a repeat-flowering climber or a once-flowering rambler. Work with local dormancy and frost timing, bend canes gradually, and replace old wood only after a vigorous new cane is ready to take its place. With that approach, the fence becomes a stable framework for flowers across its full width, and each year’s maintenance stays safer and simpler.