How to Tell If a Houseplant Is Dead or Dormant
Learn how to tell if a houseplant is dead or dormant, when the scratch test helps, and how to rescue a plant with dry soil or root rot.
If a houseplant has dropped its leaves, stopped growing, or collapsed into a bare pot, do not water it on autopilot or throw it out immediately. First look for living tissue. A firm crown, flexible node, viable bud, or healthy section of root can mean the plant still has a path back, even if the leaves are finished.
The familiar scratch test is a useful first clue: scrape a tiny patch of outer tissue on a woody stem and look for green or moist tissue beneath it. But one green mark does not prove that the whole plant is alive, and brown leaves do not prove that it is dead. Plant type, soil moisture, root condition, and the location of the damage all matter.
The short answer: test living tissue before you water
A plant is more likely dormant or recoverable when at least one part is firm and alive: a green layer just beneath a woody stem, a swelling bud, a firm crown, or roots that are pliable rather than brittle or slimy. A plant is likely dead when every stem and crown section is dry and brittle or soft and collapsing, the roots are either desiccated or fully rotten, and no viable node or bud remains.
Treat that as a probability check, not a single yes-or-no trick. A green stem can survive above a failed root system, while a leafless plant can still live below the soil. The safest order is to inspect the least destructive clues first, then unpot the plant only if the soil and symptoms suggest a root problem.
If you want to compare several symptoms before touching the roots, use the houseplant symptom checker. It helps separate look-alike problems such as dry-soil wilt, low-light yellowing, and wet-soil decline.
Know which plants can go dormant indoors
Dormancy is a normal, reversible slowdown in which a plant pauses or reduces growth while protecting its stored resources. It is not the same as a plant being neglected until it stops functioning. The important distinction is that dormancy is expected for some plant groups under particular cues; it is not a universal explanation for a sick-looking houseplant.
Deciduous and seasonal rest
Deciduous plants lose leaves as part of a seasonal cycle, and bulbs, corms, rhizomes, and tubers may retreat below the soil while the storage organ remains firm. Some familiar indoor plants, including caladiums, oxalis, and certain bulbs, can have a rest period. A plant grown outdoors and brought inside may also keep a seasonal rhythm even when the room stays warm.
For woody perennials, shorter days and cooler conditions can signal the transition into and out of dormancy. The USDA Agricultural Research Service overview of bud dormancy describes this as a normal life-cycle phase in which growth stops and reserves are protected until favorable conditions return. That evidence applies most directly to temperate woody plants, not to every tropical plant on a windowsill, but it explains why a leafless dormant structure may still be viable.
Look for a firm bulb, corm, caudex, rhizome, or lower stem. It should not smell sour, ooze, or collapse under gentle pressure. If the storage organ is firm and the plant’s care information describes a rest period, reduce care to the species’ instructions rather than keeping the pot constantly wet in the hope of forcing leaves.
Tropical evergreens are different
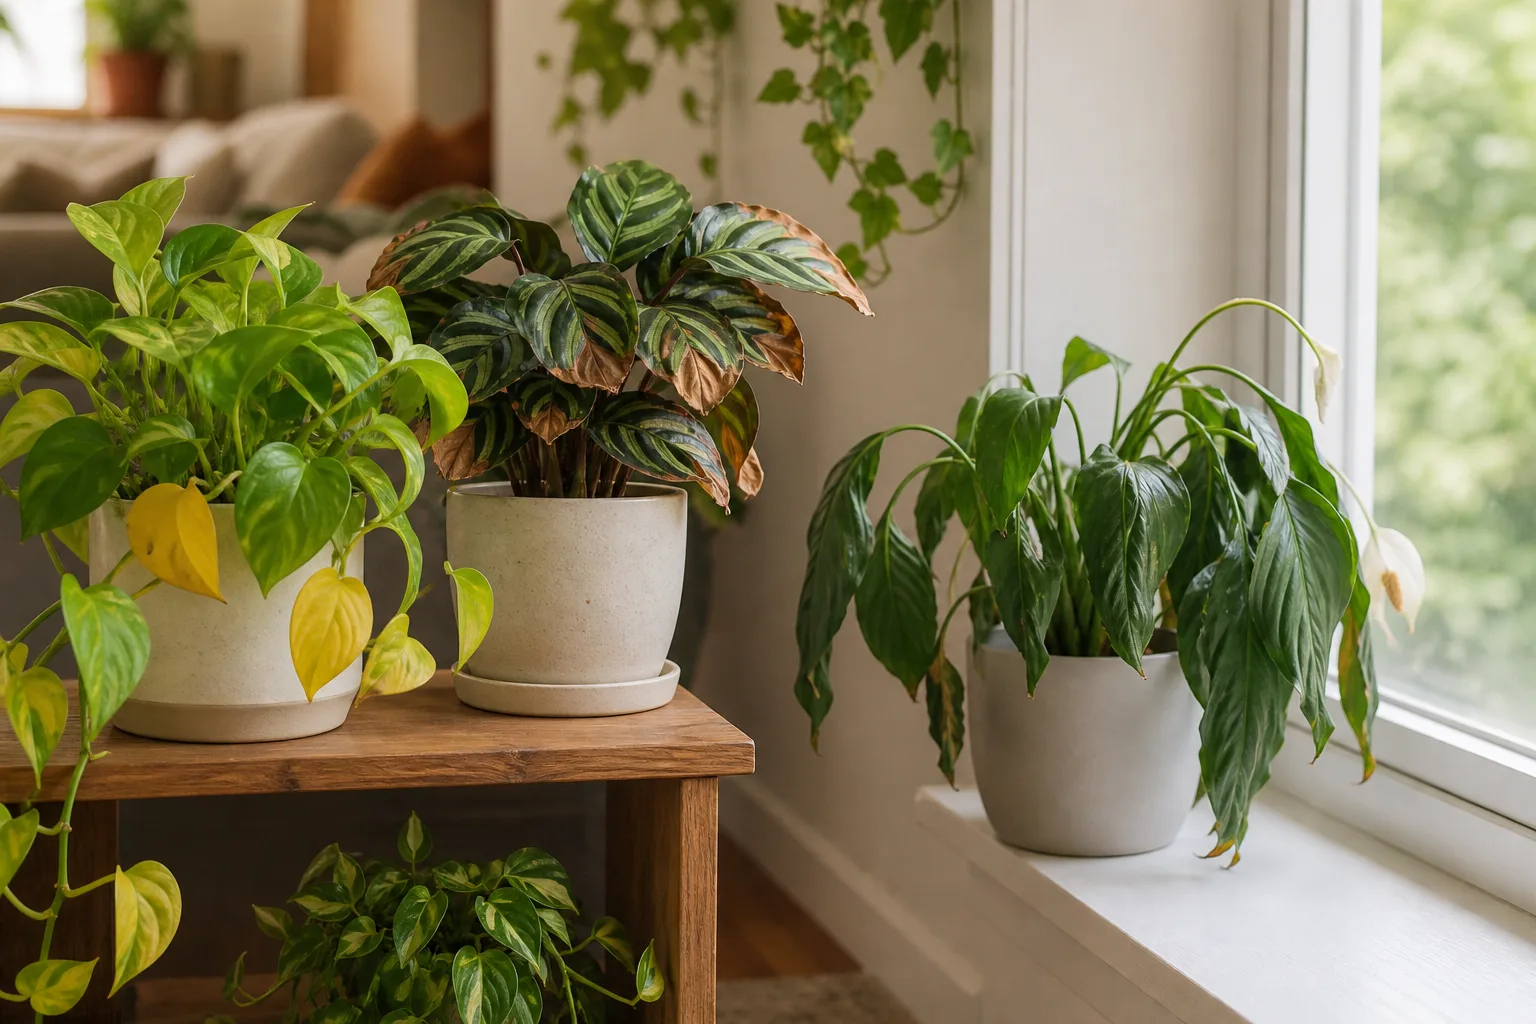
Many popular houseplants are tropical evergreens. Pothos, philodendrons, peace lilies, rubber plants, dracaenas, and most calatheas may slow down in winter, but complete leaf loss is not automatically normal dormancy. In a heated home, low light, cold glass, a draft, dry air, overwatering, or root damage can make an evergreen look as if it has “gone dormant.”
The University of Wisconsin–Madison Division of Extension’s houseplant care guide notes that plants need less water during slow growth, but it also treats light, temperature, watering, nutrients, drainage, and pests as separate parts of houseplant care. That is a better diagnostic frame than assuming every winter decline is a rest period. If an evergreen is losing leaves outside its normal pattern, test the growing conditions before you let it sit unattended.
Use a three-part survival check
Use these checks in order. Stop as soon as you have enough evidence to choose the next safe action; a living plant does not benefit from repeated scratching, aggressive pruning, or unnecessary repotting.
Scratch a stem or woody cane
The scratch test works best on a woody stem, cane, or branch, not on a thin leaf stalk. Choose a section below the visibly dead tip and closer to the base. With a clean fingernail or the edge of a disinfected tool, remove only a thumbnail-sized patch of outer tissue.
- Green, cream, or slightly moist tissue suggests that this section is alive.
- Brown, gray, dry, and wood-like tissue means that section has died.
- Yellow or pale tissue is inconclusive; test a second spot closer to the base rather than cutting the whole plant.
Do not scrape every branch. Start with one stem, then test one lower section if the first spot is dry. If a stem is soft, hollow, blackened, or wet, do not use the scratch test to justify keeping it; those are signs to inspect the crown and roots for rot. Likewise, a green spot proves only that cells are alive at that location. It does not tell you whether water can move through the stem or whether the roots can support new growth.
For soft-stemmed plants, use a different test. Look for firm nodes, a tight growing point, a new bud, or a crown that resists gentle pressure. A thin herbaceous stem may remain green for a short time after the plant has lost its root function, so pair the stem check with soil and root evidence.
Check the crown, nodes, and buds
The crown is the area where the roots and stems meet. In rosette plants, it is the central growing point. In a vine, look at the nodes where leaves and aerial roots emerge. In a bulb or tuber, inspect the body and any dormant buds rather than judging the dried leaves.
Gently press the crown or lower stem with a fingertip. A firm, intact crown with a live-looking node is encouraging. A crown that is mushy, hollow, black, foul-smelling, or peeling apart is a serious warning, even if one distant stem still scratches green. Rot at the crown can move quickly and leaves the plant with no reliable structure from which to regrow.
You can also look for a swelling bud, a pale new spear, or a tiny root emerging from a node. These are stronger evidence of active recovery than a single green leaf or a stem that has not yet dried. Do not mistake a dried leaf sheath, old flower stalk, or hardened aerial root for a new bud; compare it with the normal growth pattern of that plant.
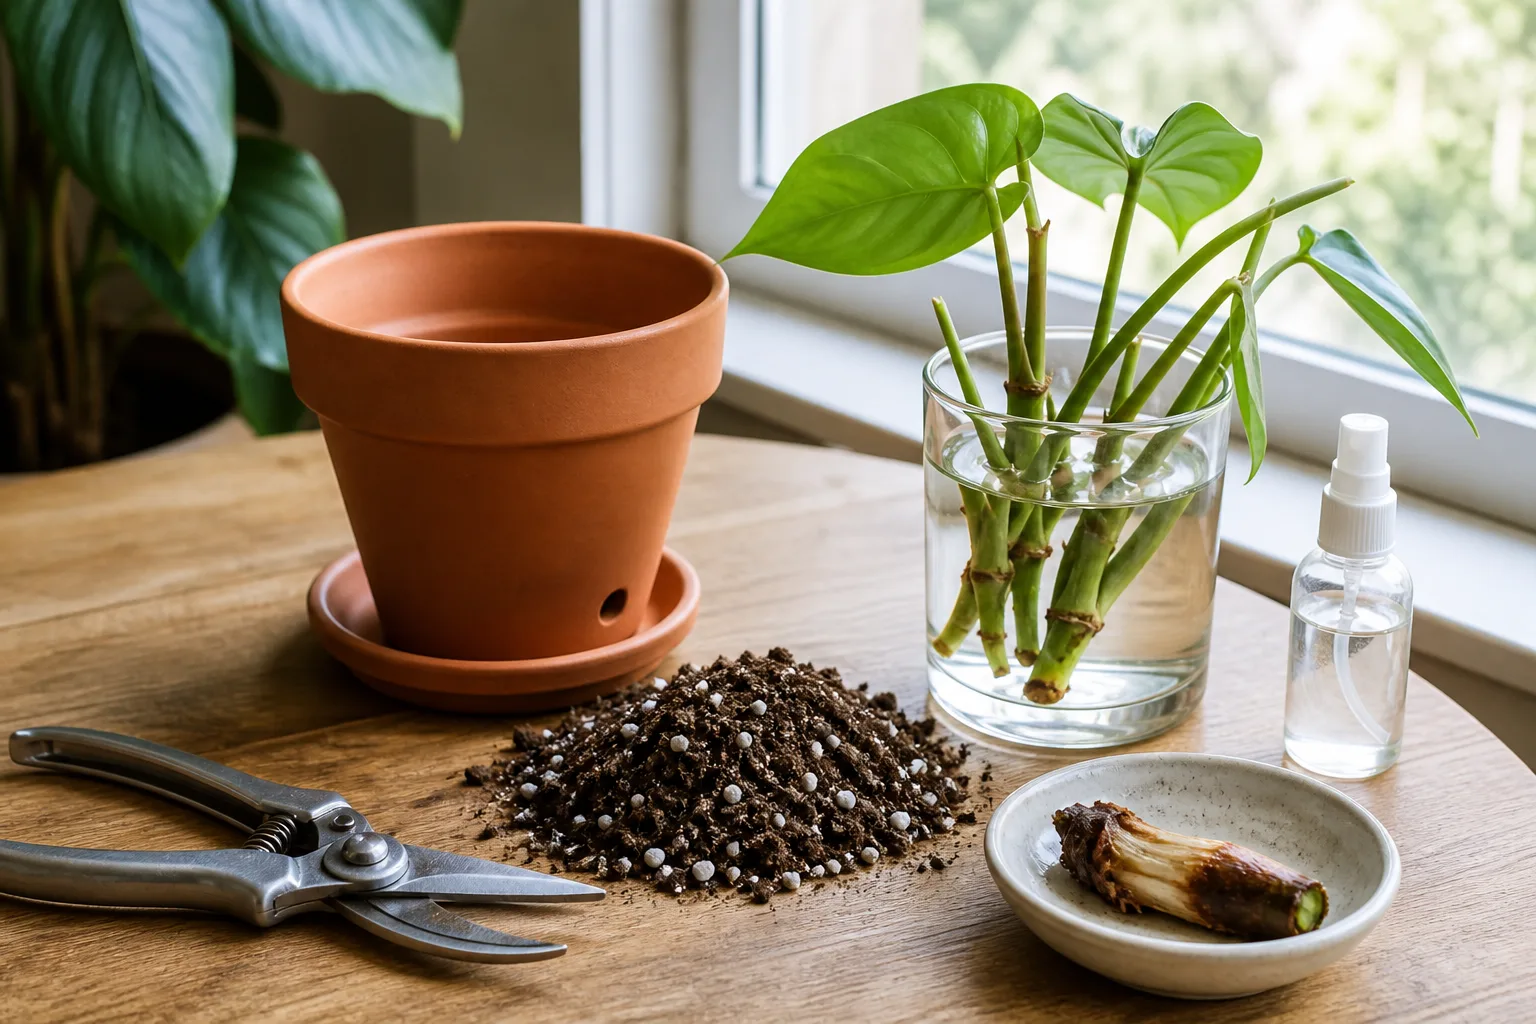
If the plant has a viable node but no roots, recovery may take the form of a cutting rather than a whole-potted plant. Cut only back to firm tissue with clean shears and keep a viable node attached. This is a different rescue path from watering a dormant plant, so avoid burying a soft, rotting section and hoping it will root.
Inspect roots and the pot
Move to a root inspection when the plant is wilting while the soil stays wet, the pot smells sour, the crown is soft, or watering has not improved a plant that should have responded. Also inspect when the mix has been waterlogged for a long time or when the plant has suddenly collapsed after repeated watering.
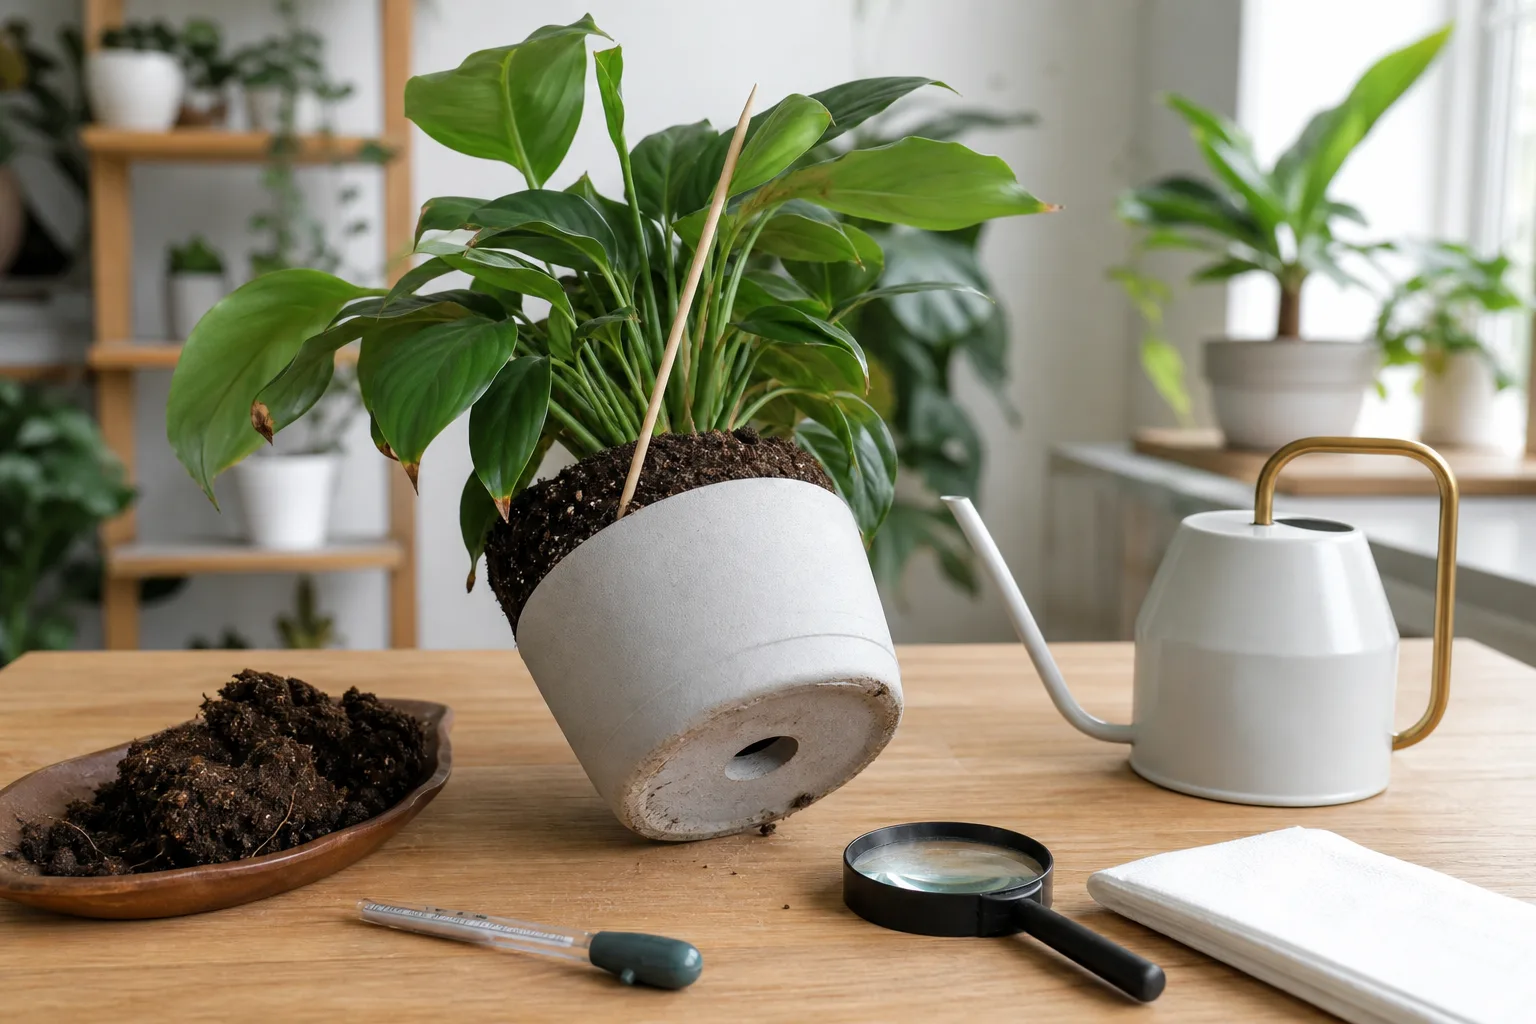
Slide the plant from its pot over a work surface. Support the stems rather than pulling on leaves. Gently loosen only the mix that falls away easily, then look at the roots and the crown. Root color varies with species, age, and potting mix, so firmness and texture are more useful than color alone.
Healthy or still-viable roots are generally firm and hold their shape when touched. They may be white, cream, tan, or brown depending on the plant. Dead roots may be dry and brittle, while rotted roots are often dark, soft, slimy, hollow, or associated with a sour odor. A plant with some firm roots and a firm crown has a better chance than one whose entire root system pulls apart in the mix.
The Fine Gardening explanation of root rot describes wilting despite available water, discolored or weakened roots, and lesions near the soil line as warning signs. It also stresses drainage and avoiding overwatering because wet, poorly aerated conditions favor root-rot pathogens. If the root ball is firm but tightly circling with little loose mix, the problem may be crowding rather than death; if it is mostly soft and decayed, the prognosis is much worse.
Read the symptoms around the test
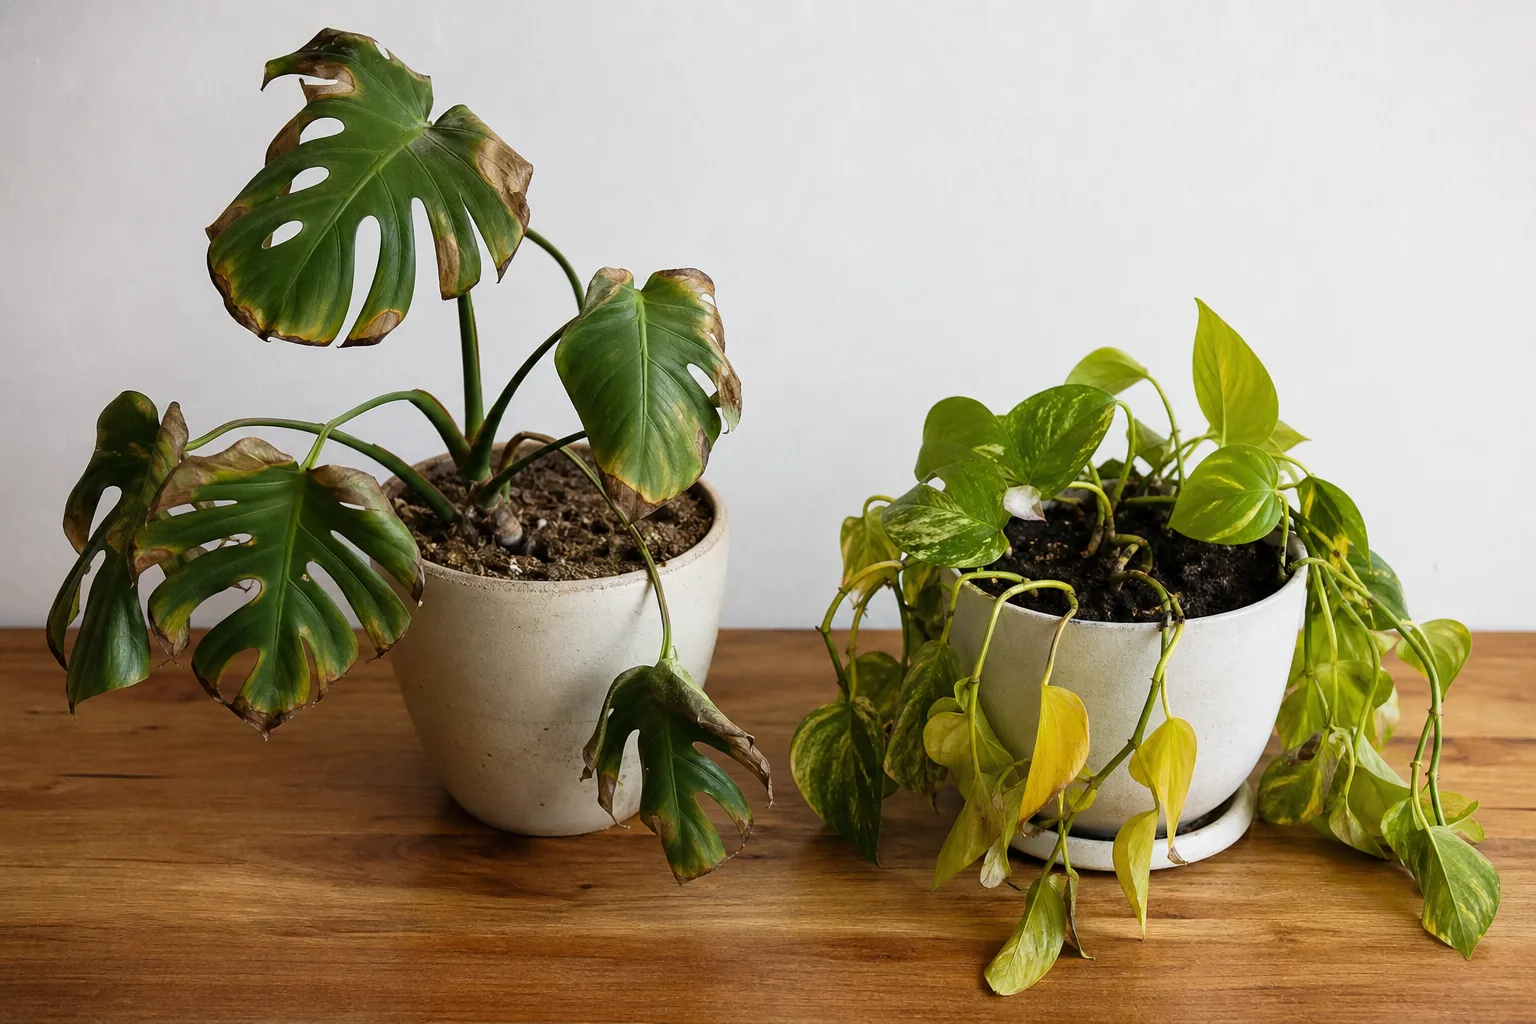
Leaves report stress, but they rarely identify the cause by themselves. Read the leaves with the soil, pot weight, light, temperature, and timeline. The Epic Gardening houseplant troubleshooting guide uses this same identification-first approach, checking moisture, light, container size, environmental shifts, nutrients, and pests before choosing a fix.
Dry, crispy collapse versus wet, soft collapse
Dry and wet failures can both produce drooping leaves, leaf drop, and stalled growth. Use the following comparison as a starting point rather than a diagnosis.
| Pattern | More consistent with dry stress | More consistent with wet-root stress |
|---|---|---|
| Soil | Dry well below the surface; pot feels unusually light | Soil remains wet for many days; pot feels heavy |
| Leaves | Limp, thin, curled, papery, or crispy at edges | Limp, heavy, yellowing, translucent, or soft |
| Roots | Brittle, shriveled, or detached | Dark, soft, slimy, hollow, or sour-smelling |
| Response | May improve after one thorough watering | Usually worsens when more water is added |
| Next check | Rehydrate slowly and improve the drying routine | Stop watering and inspect drainage and roots |
Do not water a wet-soil wilt just because the leaves are drooping. Roots need both moisture and oxygen; saturated mix can leave a plant wilted because damaged roots cannot take up water normally. Conversely, do not leave a genuinely dehydrated plant dry for days while waiting for a scratch test to answer a question that the soil has already answered.
Watering technique matters too. The Wisconsin Extension guide recommends checking moisture at depth, watering thoroughly when appropriate, allowing excess to drain, and emptying the saucer rather than leaving roots in runoff. It also notes that actively growing plants need more water than plants in a slow-growth period. That is why a fixed weekly schedule is a poor substitute for checking the pot.
Light, cold, pests, and recent changes
Low light can keep a plant alive while leaving it too weak to grow or use water normally. A plant in a dim corner may stay wet long after the same plant near a bright window would have dried. Stretched stems, small new leaves, pale foliage, and long gaps between leaves point toward insufficient light; brown patches facing a hot window point toward excess light or rapid exposure.
Temperature and location can create a similar illusion. A plant pressed against cold glass, sitting above a radiator, or placed in the path of an air-conditioner can decline even when watering is reasonable. Move it to stable conditions, but make changes gradually when the plant is already weak. Avoid the tempting “dark, cool closet” solution unless that exact species requires a dormant rest; it can starve a tropical evergreen of the light it needs to rebuild.
Inspect the undersides of leaves, stem joints, new growth, and the soil line for pests. Fine webbing, stippling, cottony clusters, scale-like bumps, sticky residue, or repeated leaf distortion can explain decline that looks like dormancy. Isolate a suspect plant before treating it, especially when it shares a shelf with healthy plants.
Finally, reconstruct the timeline. Did the decline begin after a move, repot, shipment, cold night, missed watering, fertilizer application, pest arrival, or switch to a decorative pot with no drainage? A plant that changed rapidly after one event needs a different response from a plant that has slowly declined for six months.
What to do if the plant is alive but resting
Once you have found firm living tissue and no evidence of active rot, shift from emergency care to conservation. The goal is to keep the remaining roots and buds safe until the plant resumes growth. Do not try to force a dormant plant to grow by adding extra water, fertilizer, heat, or bright direct sun.
Adjust water to the plant’s current demand
Water by the plant’s species, pot, and soil—not by the date on the calendar. A dormant bulb or tuber may need far less water than it needs during leaf growth. A tropical evergreen in a dim winter room may still need occasional moisture, but the interval will usually lengthen because the plant is using less water.
Check below the surface with a finger or wooden skewer. If the mix is still damp at the depth where the roots are, wait. If the mix is dry and the plant’s care requirements call for watering, moisten the root ball thoroughly and let excess drain away. If water runs down the gap between a shrunken root ball and the pot wall, apply it in two or three slow passes so the mix has time to absorb it; do not leave the pot standing in a bowl of water.
If the plant has lost most of its roots, use even more restraint. A smaller canopy drinks less, and saturated mix can damage the few roots that remain. Do not keep a leafless plant constantly wet just because you are waiting for buds to break.
Pause fertilizer during true dormancy and while a plant is actively stressed or recovering from root loss. Fertilizer does not replace light, roots, or water, and unused salts can further irritate damaged roots. Resume a diluted, label-directed feeding routine only after you see sustained active growth and the plant’s species calls for it.
Protect light and temperature without forcing growth
Give a resting plant the light and temperature its species normally requires, with the intensity adjusted for its current state. A dormant bulb may follow a cool, dark rest prescribed for that plant. A tropical evergreen generally needs stable warmth and usable daylight even when growth slows. Keep it away from cold drafts, heating vents, and sharp temperature swings.
For a plant that has been in a dark spot, increase light gradually rather than putting tender leaves directly into harsh midday sun. Bright indirect light is a reasonable recovery setting for many foliage plants, but the exact exposure depends on the species. Improve the environment first; prune only after you know which tissue is dead.
Leave mostly green leaves attached. They still make energy, even when the plant looks sparse. Remove only leaves that are fully brown, yellow, detached, mushy, or clearly diseased, and cut dead stems back to firm living tissue with clean shears.
Rescue a living plant that is declining
Dormancy is not the only state between “healthy” and “dead.” A plant may be alive but losing ground because it is dehydrated, root-bound, overwatered, pest-damaged, or exposed to poor light. The rescue decision depends on what remains alive and what is still causing damage.
If the roots are dry but still viable
When the mix is bone-dry and the roots are firm but shriveled, rehydrate slowly. Set the nursery pot in a sink or tray, water the soil surface evenly, wait a few minutes, then water again until a little drains from the bottom. Empty the runoff. If the soil has become water-repellent, a slower multi-pass watering is safer than flooding the pot once and leaving it submerged.
Do not place a severely dry plant in direct hot sun immediately after watering, and do not fertilize it while it is recovering. Put it in stable, appropriate light, remove only tissue that is fully dead, and check the soil again before watering. A leaf that has already turned brown will not become green; judge recovery by firmer stems, a sensible drying cycle, and new growth.
If the entire root ball is brittle and the crown is still firm, the plant may be worth trying to reroot or propagate from a viable node. If the crown and every node are dry, no amount of rehydration can rebuild tissue that has died.
If roots or stem are rotting
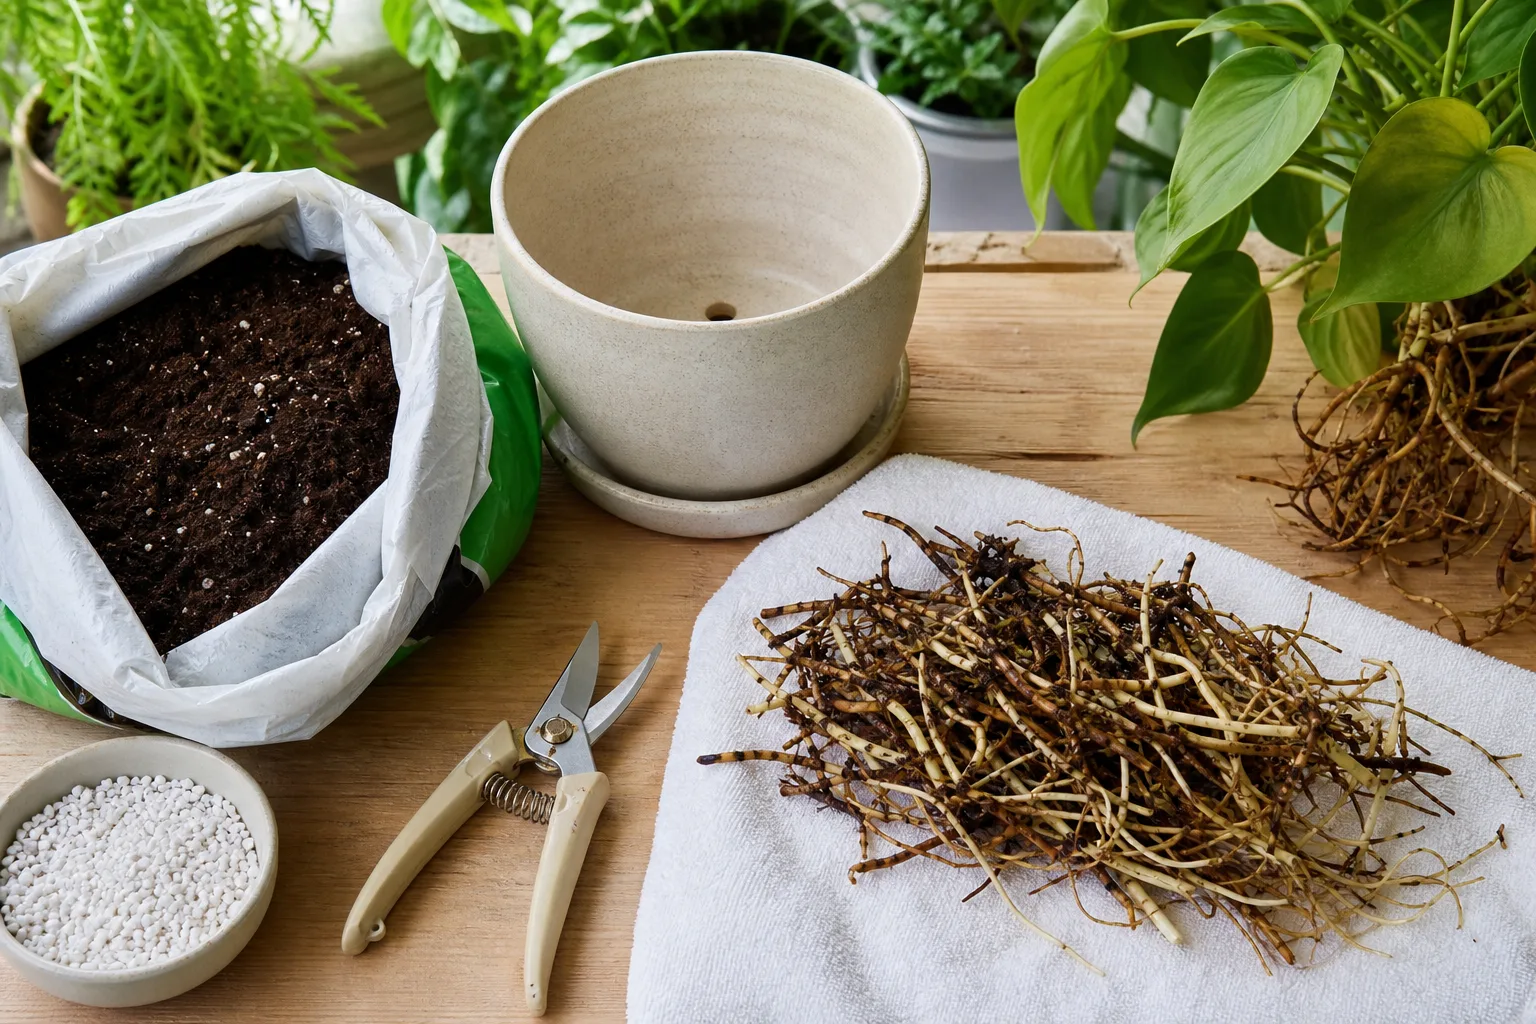
When the soil is wet and roots are soft, stop watering and inspect the plant. Remove loose, waterlogged mix and identify what is still firm. Trim only clearly rotten roots or stem sections with clean, sharp shears; do not cut healthy roots merely because they are tan or lightly stained by soil.
Pot the remaining living tissue in a clean container with a drainage hole and fresh, appropriately airy mix. Use a pot that fits the reduced root system rather than a large pot “for future growth.” Water once to settle the mix, let it drain fully, and then wait until the plant’s moisture needs—not your anxiety—call for the next watering.
Root rot can be difficult to reverse, especially when the crown is involved. If the plant has a firm crown and some healthy roots, recovery is possible but may take weeks. If the crown is soft, the stem is collapsing at the soil line, or almost every root is gone, cuttings from firm, disease-free nodes may be the only reasonable salvage attempt.
Clean tools and the work surface after handling suspected rot. Fine Gardening recommends disinfecting tools and containers that contacted diseased tissue and warns against composting plants affected by pathogens that may spread through growing media. Never mix cleaning chemicals; follow the product label and ventilate the area.
Know when to stop and discard
Some plants are beyond rescue, and admitting that early protects the rest of your collection. Discard a plant when every stem and crown section is dry, hollow, or mushy; no firm node or bud remains; and the roots are either completely brittle or entirely decomposed. A foul odor, spreading soft rot, or a crown that collapses under light pressure is a strong stop signal.
Also stop trying to save a plant when the only living-looking tissue is a tiny upper section attached to a rapidly rotting base and there is no viable node to separate. A green scratch high on a stem is not enough if the plant cannot support water movement below it. Make one clean salvage cut only when you can identify firm tissue and a viable node; repeated cutting just creates more wounds.
If pests or disease are clearly involved, isolate the plant while you decide. Do not put suspicious roots or diseased tissue into a home compost pile, and clean the pot before reusing it. A healthy replacement plant is often less costly than allowing a failing specimen to keep contaminating soil, tools, and neighboring plants.
For plants that are merely slow, wait for a trend rather than a dramatic overnight turnaround. Old damaged leaves will not repair themselves. New buds, new roots, a firmer crown, and soil that dries at a reasonable rate are better evidence than a temporary lift after watering.
Conclusion: save the living tissue, not the damaged leaves
The best answer to “is my houseplant dead or dormant?” comes from combining clues. Start with the plant type and season, then inspect a woody stem or a soft-stem node, check the crown, and examine the roots only when the symptoms point below the soil. Green tissue is encouraging, but it becomes convincing only when it agrees with a firm crown, viable roots, or new growth.
If the plant is resting, conserve moisture and energy. If it is dry, rehydrate it carefully. If it is waterlogged, restore air to the root zone. If every living structure has failed, discard it cleanly and use what the diagnosis taught you to improve the next plant’s light, drainage, and watering rhythm.