How to Use a Moisture Meter for Your Plants
Learn how to use a moisture meter for houseplants: sample the root zone at consistent depths, interpret readings in context, and build a baseline over watering cycles.

A moisture meter is most useful when you take readings from the same places, at the same depth, and in the same potting mix over time. Treat its display as a clue about the small patch of medium touching the sensor—not a verdict for the whole container—and combine several readings with the plant’s needs, the pot’s drainage, and what happens after watering.
The practical routine is simple: choose two or three root-zone spots, insert the probe only as far as the occupied mix and the device instructions allow, let the display settle as directed, and note the result at each point. A few comparable checks across watering cycles will tell you more than chasing a “wet” number from a chart that may not match your meter or mix.
What a meter reading can—and cannot—tell you
Most inexpensive handheld meters use a metal probe to detect an electrical property that changes with moisture around the probe. Other devices use different sensing methods, and even similar-looking meters can use different scales. A display marked “dry,” “moist,” or “wet” is therefore a relative signal from that model; unless the manufacturer specifies and calibrates a moisture-content measurement for your particular medium, do not read a dial position as a precise percentage of water in the pot.
A reading also represents one point, not the average condition of every root. The top can dry while the bottom stays wet, or water can run through a gap and leave a dry pocket beside a damp one. University of Minnesota Extension’s irrigation guidance distinguishes sensor readings by depth and explains why readings have to be interpreted against a baseline for the relevant soil profile. That principle transfers to pots: use the same depth and locations whenever you compare readings, while remembering that a farm sensor and a small houseplant probe are not interchangeable tools.
A meter cannot identify the plant’s ideal watering threshold by itself. Virginia Cooperative Extension recommends frequent monitoring of houseplant potting mix, including a moisture meter or soil hygrometer, while also explaining that plant type, potting mix, container size, and drainage affect water management. If you are still choosing a device, see our guide to the best moisture meters for plants; for a fuller explanation of meter limits and the finger check, use our moisture meter versus finger test guide.
Set up a repeatable test
Start by identifying the plant, the pot’s approximate depth, whether it has drainage holes, and the type of mix. Remove any decorative cachepot if it hides the drainage pot or traps runoff. If the plant has a care label or reliable species guidance, note whether it prefers a partial dry-down, evenly moist mix, or a longer dry spell; that preference determines what the same reading means later.
Wipe the probe clean and dry, check for a bent tip or corrosion, and read the meter’s instructions before inserting it. Some units need a specific wait time or have an active sensing zone on only part of the probe. Record the meter model and its scale once, then keep the same instrument for the comparisons you plan to make. Changing meters mid-log can make two different displays look like a change in the soil when the change is actually in the sensor.
Map the pot’s active root zone
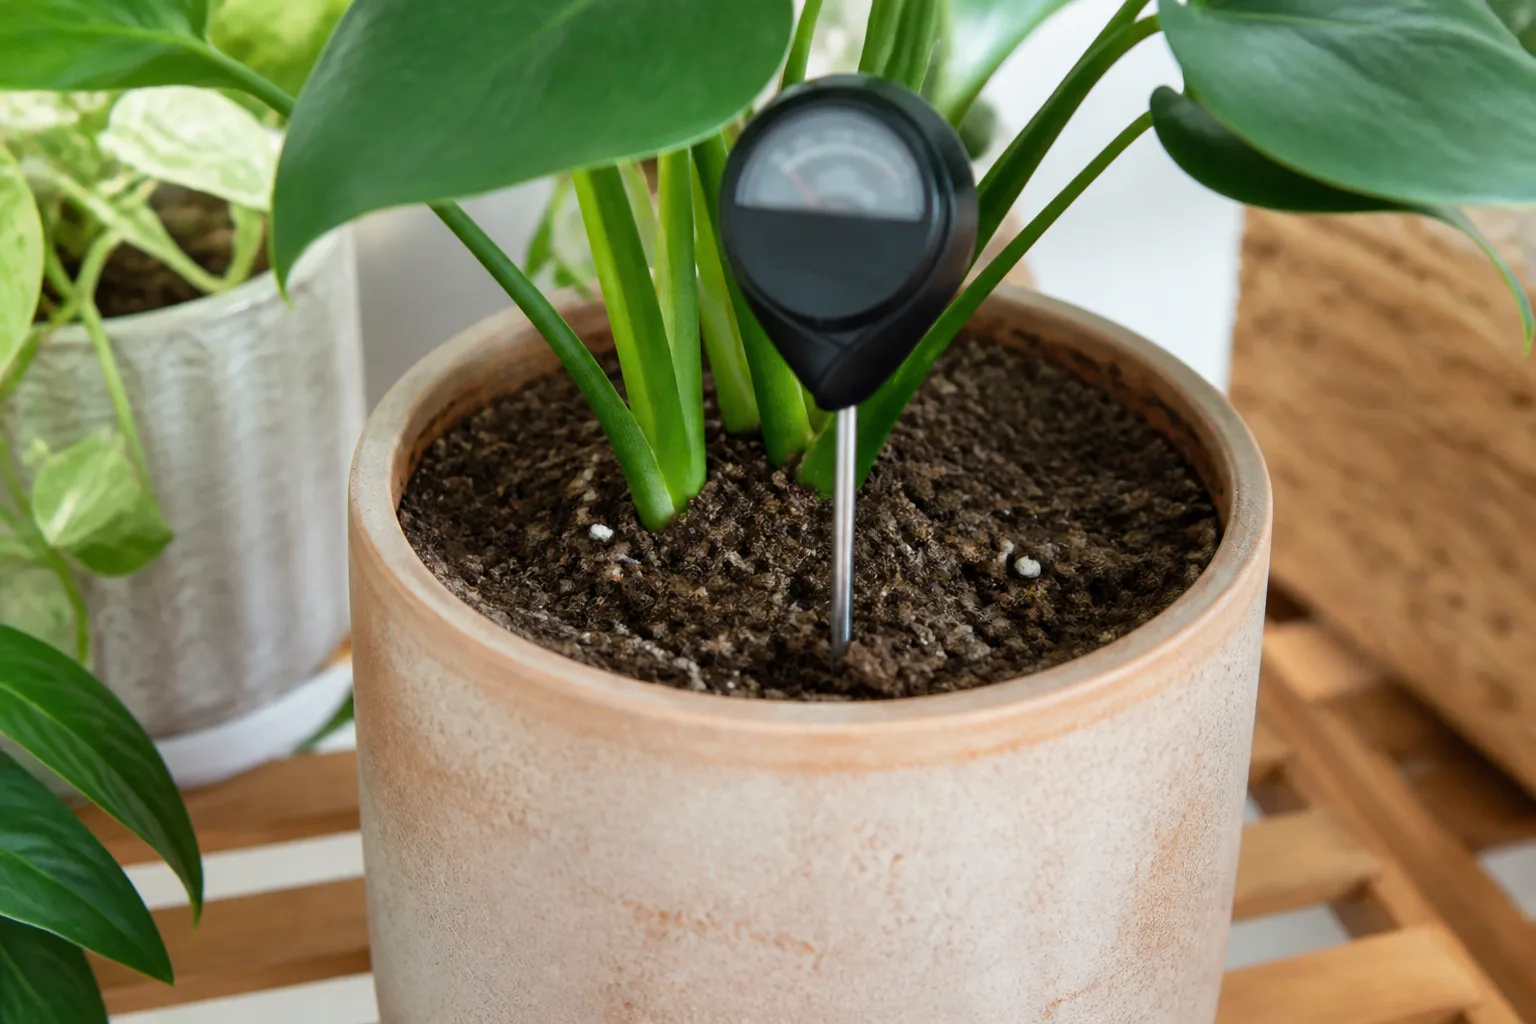
You are trying to sample where the plant’s roots are using water, not merely the surface crust or the drainage hole. For a typical nursery pot, start between the stem and the pot wall, where the probe can enter the root ball without touching the stem. In a broad planter, divide the accessible mix into zones and choose points around the central root mass rather than testing only one edge.
Plant roots do not form a perfect, even cylinder. A recently repotted plant may still have a compact original root ball surrounded by newer mix; a root-bound plant may have dense roots near the sides; a trailing plant can have stems clustered on one side. Use what you can see at the surface and what you know about the pot’s history to avoid treating a convenient empty corner as representative of the whole root zone.
Choose safe sampling points
For a medium or large pot, choose two or three spots spaced around the plant, and shift each slightly from the previous probe hole. In a very small pot, one or two careful samples may be enough; repeated probing can disturb a large share of the root ball. Stay away from the stem base, visible thick roots, the inner pot wall, and the exact center of a dense crown. In a wide pot where one side gets more light or airflow, include both the faster-drying side and a more shaded area on later checks, but keep the locations consistent when you compare cycles.
Do not make a hole just because a chart says to sample at a certain distance. The point is a useful sample that you can repeat without injuring the plant. If the plant is densely rooted, has a shallow root system, or grows in coarse bark with large air pockets, a probe may not be the right tool for that pot; use a skewer or pot-weight check instead of forcing a reading.
Set probe depth by pot and roots
There is no universal “four-fifths of the probe” depth that fits every houseplant. A long probe in a short pot can reach the bottom layer, drainage material, a saucer, or saturated mix just above the drainage holes; a short probe in a tall floor pot may sample only the upper part of the root zone. Match the insertion depth to the usable depth of the planted mix and the roots you need to assess, then repeat that depth at each location.
In a shallow pot, insert only as far as the root zone extends and the meter’s sensing area remains covered by mix. In a tall pot, take a mid-depth reading and, only if the probe length and roots allow it, a second deeper reading. You can compare upper and lower zones without putting the tip against the bottom. If your device reads along a broad section of the metal shaft, its manual may require a certain portion to be buried; follow that instruction only when it fits the container and does not drive the probe into roots or drainage hardware.
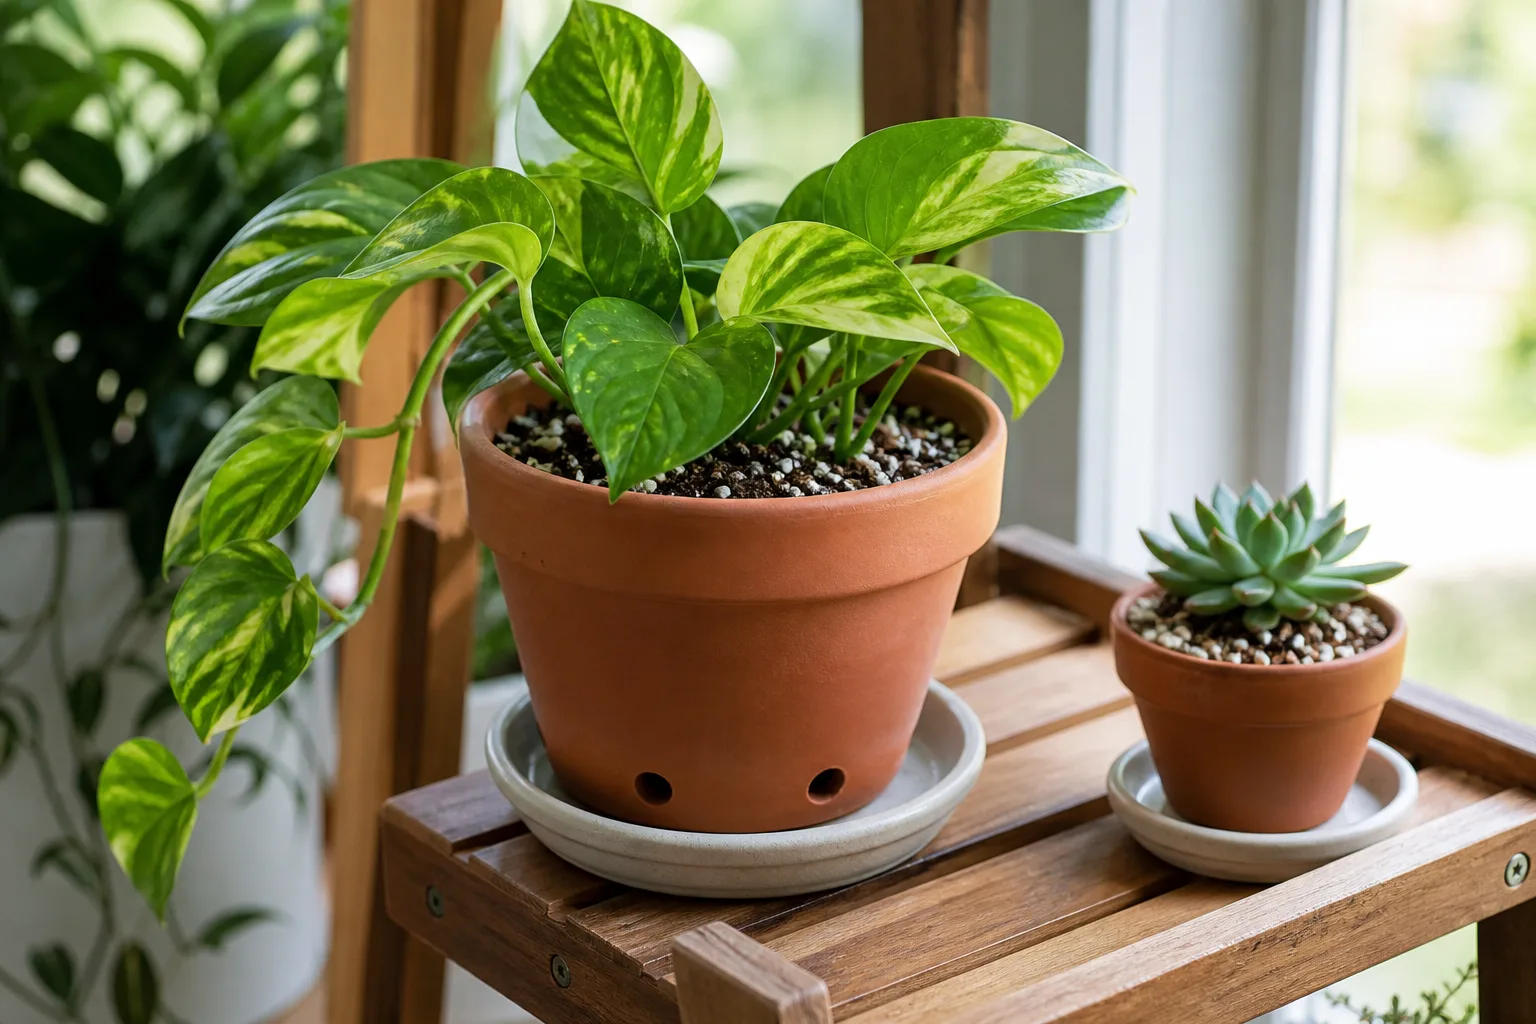
Container geometry changes the moisture pattern. Virginia Cooperative Extension notes that the upper inches of taller pots dry faster while shorter pots retain more moisture after watering, and that small pots tend to dry faster because they hold less mix. Unglazed terracotta also loses moisture through its sides more readily than nonporous plastic or glazed pots. These differences are why a reading from a shallow terracotta pot should not be compared as if it came from the bottom of a large plastic planter.
Insert the probe without forcing it
Set the probe at the chosen spot and push steadily with light pressure. Do not twist hard, hammer, or use the meter as a dibber. If you feel a sudden stop, hit a thick root, or see the shaft bend, withdraw it along the same path and try one nearby point. A small pebble, a dense root, a dry compacted pocket, or the pot itself can stop the probe; forcing it can damage roots or the instrument without improving the reading.
In very dry, hard, or bark-heavy mix, make a small pilot opening with a thin wooden skewer only if that can be done safely, then insert the probe into that opening without enlarging it aggressively. Do not pre-wet the soil merely to make a reading easier; that changes the condition you were trying to measure. If the meter cannot enter without force, choose another method for that pot and mark the meter as unsuitable for that medium.
Take several readings and record the pattern
Insert the probe at each selected point and hold it steady for the model’s recommended settling time. Some simple analog meters respond quickly; digital or combination meters may specify a wait. If the needle or number jumps around, do not average the moving digits in your head. Check that the probe is fully in contact with the medium, wait as directed, then remove it and retest one nearby point if the result still will not settle.
Write down the location and depth with each reading rather than recording a single number for the plant. A compact note might read: “pothos, 6-inch plastic pot, center-mid 3/10, side-mid 4/10, watered fully after checking; saucer emptied.” The exact numbers do not have meaning beyond your device and setup, but the pattern gives you a starting point. If one spot differs sharply, record that difference instead of smoothing it away; unevenness is often the most useful finding.
You do not need to probe every plant daily. Check when the plant is approaching its usual watering window, when conditions change, or when appearance and pot weight disagree with your routine. Frequent repeat sampling in the same tiny patch can compact the mix and disturb fine roots, so rotate within a limited set of marked or remembered locations rather than puncturing one hole again and again.
Interpret results by pot, medium, and plant
First compare readings at the same depth. If the upper point is dry but a lower point remains moist, the container is drying from the top down; that does not automatically mean the entire root ball needs water. If all sample points are trending drier, the whole root zone may be approaching the plant’s normal watering point. If one side is dry and the other wet, check whether light, heat, drainage, or root distribution explains the split before watering the pot uniformly.
The medium changes both water storage and probe contact. Fine, peat- or coir-rich mixes can hold more water than chunky blends with bark and perlite; airy mixes may leave a small resistance probe touching a dry particle or an air gap even while the roots are adequately moist. A meter may also behave differently in a recently fertilized mix or one with accumulated mineral salts. Electrical-resistance limits and other false readings are covered in more detail in the meter-versus-finger comparison guide, so treat an unexpected value as a cue to verify rather than as proof of thirst.
Then account for the container and the plant. A small pot often changes faster than a large one, and porous terracotta can dry differently from plastic. A succulent that tolerates a longer dry period and a moisture-loving fern do not share one “water now” threshold. Virginia Cooperative Extension describes these differences in potting media, containers, and houseplant water needs; the Royal Horticultural Society likewise advises adjusting container watering to the plant, mix, pot depth, and material. Use your plant’s care guidance to decide whether the measured pattern is acceptable, not a generic meter chart.
Decide whether the plant is ready for water
Use the display to answer a narrower question: “How does this root-zone sample compare with this plant’s usual dry-down?” If the readings are still near the post-watering baseline, the pot is heavy, and the lower mix is moist, wait—even if the surface looks dry. If all sampled points have moved toward the plant’s recorded watering threshold, the pot has become lighter, and the species is ready for water at that stage, water thoroughly and allow excess to drain.
A dry reading alone is not a reason to water every plant immediately. For a cactus or another plant that needs a pronounced dry period, the meter can show that the mix is dry without telling you whether enough time has passed or whether the plant is actively growing. For a plant that should not dry completely, a downward trend at several root-zone points can be a useful early signal. Pair the reading with the plant’s known needs and the conditions in the room, especially during a seasonal change in light and growth.
If the plant is wilting while the meter reads wet, do not add water automatically. Confirm that the pot drains, check for standing runoff, and inspect for a stale or sour smell, mushy stems, or other signs of root stress. Conversely, if the meter reads wet but the pot is unusually light and water races out around the edge, the probe may have found a damp pocket while the rest of the mix repels water. Water slowly in small passes and verify that the root ball becomes evenly moist before returning to the normal dry-down routine.
Check the root zone after watering
A post-watering check tells you whether water reached the area you sample. Apply water slowly across the surface, not only against the pot wall, until the mix is evenly wetted and runoff begins from drainage holes. Let the container drain fully and empty any catch tray; a decorative outer pot should not hold standing water around the nursery pot. BBC Gardeners’ World describes directing water to plant roots and giving containers a thorough drink rather than a superficial sprinkle, while Virginia Extension recommends hydrating the full volume of container mix and allowing drainage.
After the pot has drained, take a reading at the same points and depth you use for dry-down checks. You should see the trend move toward that pot’s “just watered” pattern, but do not expect every point to match. A stubbornly dry section after watering can indicate hydrophobic mix, a root ball that has pulled away from the pot, or water channeling down the sides. Slow repeated applications or a suitable bottom-watering method may help; follow plant-specific care guidance and do not leave the pot sitting in water indefinitely.
If the meter stays low everywhere after watering, verify the watering method before deciding that the meter is broken. Check whether the water drained immediately, whether the mix was very dry and repellent, and whether the probe is contacting medium instead of a root or air pocket. If the display hardly changes in any known moist or dry pot, read the manual and inspect the instrument rather than testing it in a glass of water; these devices are designed for soil or potting mix, not for immersion.
Build a useful baseline over watering cycles
A baseline is not a factory calibration. It is a record of how your specific plant and pot read at meaningful points in its watering cycle. During the next few cycles, check the same two or three spots at the same depth as the pot dries, then record the display, pot weight or heft, appearance, date, and conditions such as a bright week, a cool room, or recent repotting. After watering and drainage, take a comparable set of readings again.
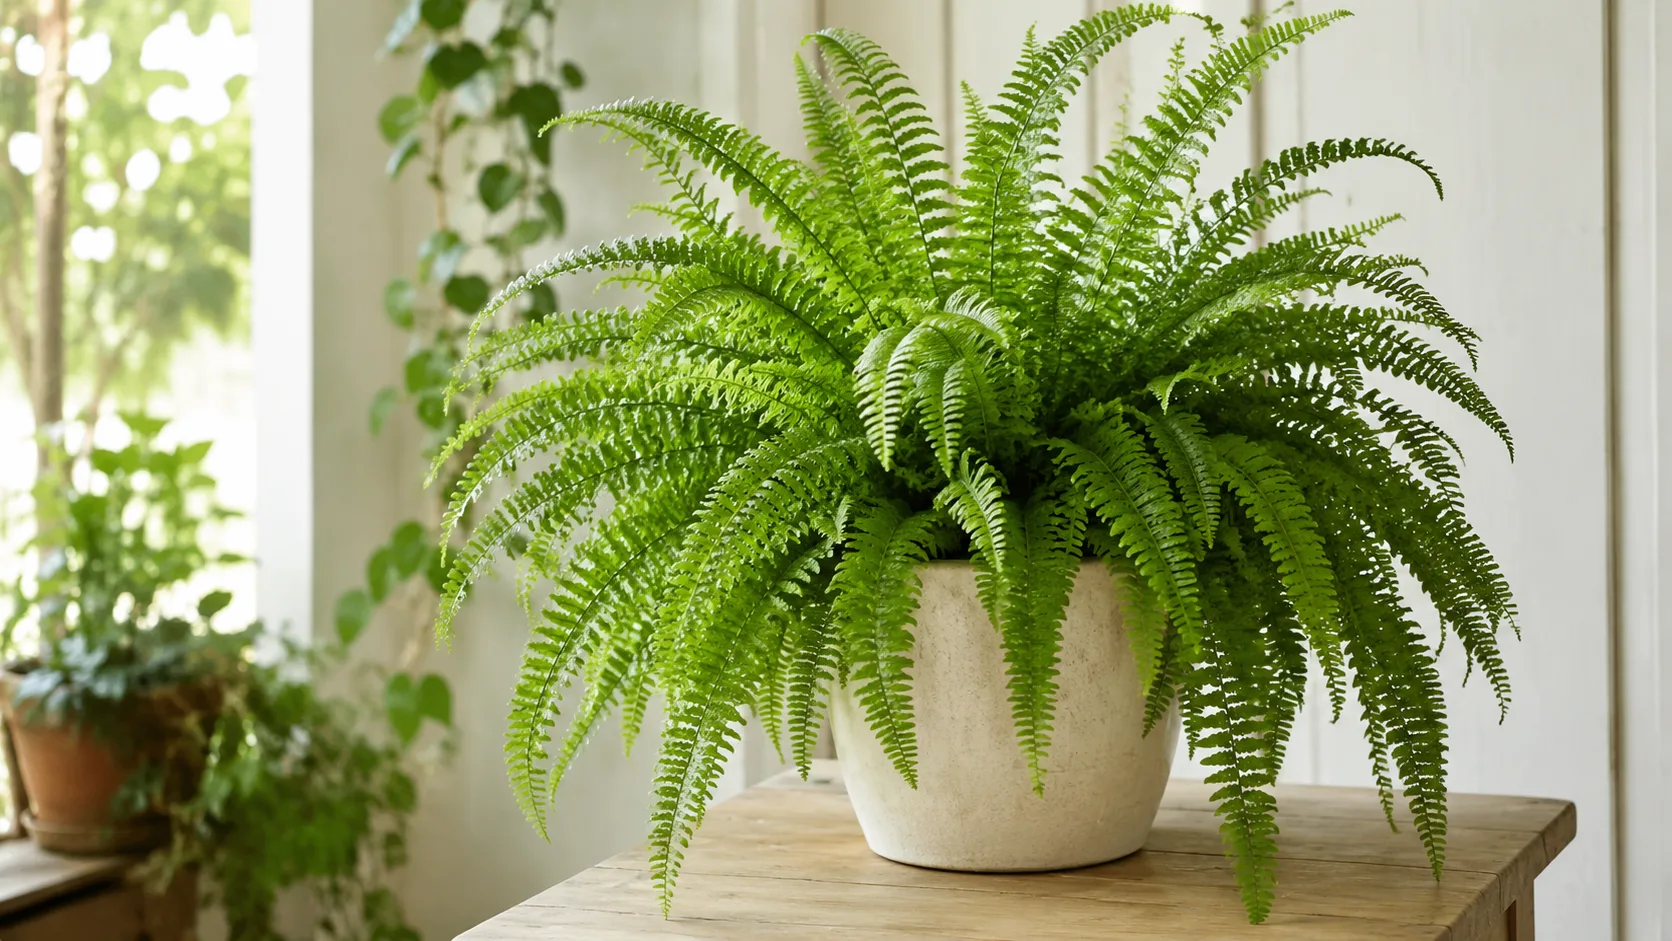
For example, suppose your pothos reads 8/10 at two mid-depth spots just after watering and falls to 4/10 at both as the pot gets lighter. If the plant stays healthy and the root zone is ready for water around that lower reading, you have a useful local cue. If a fern in a different mix looks stressed before the same number, its threshold should be different. The example is a way to log a trend, not a recommendation that 4/10 is a universal watering point.
Look for repeatable relationships, not perfect numbers. Does the pot usually feel much lighter by the time the readings move downward? Does the upper zone dry before the lower one? Does the plant remain healthy when you water at that point? If the reading and plant response repeatedly disagree, adjust your routine or check for a measurement problem. Rebuild the baseline after repotting, changing the mix, moving the plant to a brighter or cooler place, or switching to a different meter, because those changes alter the conditions being compared.
Troubleshoot a reading that seems wrong

When the reading conflicts with the pot or plant, pause and work through the easiest explanations. Remove and wipe the probe, choose another nearby spot, make sure the sensing portion is in contact with mix, and repeat the same depth. Compare multiple points rather than taking more readings in one hole. Inspect for coarse bark, a rock, an unusually dense root ball, a drainage layer, or a wet pocket that could explain the result.
If several readings stay high but the plant’s mix is dry and the pot is light, fertilizer or mineral salts may be affecting a resistance meter. If the meter shows dry while the pot is heavy, the probe may be touching an air gap or the display may not be suited to that mix. Recent watering can also make the profile uneven; wait until the pot drains and repeat the check instead of watering again to test the device. The detailed limits of different meter designs are in the moisture-meter comparison guide.
Use a wooden skewer or the pot’s weight as a second clue if a probe reading is doubtful. A skewer inserted carefully into the root zone can show whether mix clings to it, while heft helps reveal whether a container has lost much of its stored water. These methods do not produce a perfect measurement either, but they can tell you whether a strange dial value deserves trust. If the pot lacks drainage, remains waterlogged, or the plant shows worsening symptoms, solve that underlying problem rather than relying on a meter to authorize more watering.
Clean and store the meter between checks
Remove the meter after each reading; do not leave a handheld probe standing in the pot. Wipe the sensing shaft with a clean, dry cloth, paying attention to soil or residue near the tip, and store it dry. Follow the manufacturer’s instructions for any additional cleaning. Avoid soaking the handle, scraping a coated probe with an abrasive, or applying a household cleaner unless the manual says it is safe; probe materials and construction vary.
Clean between pots, especially if one plant has visible disease or pest problems. That simple step reduces the chance of carrying wet mix and residue from one container to another and keeps buildup from interfering with soil contact. If you notice pitting, a loose connection, or a probe that has bent, stop using it until the manufacturer’s care guidance confirms it is still serviceable.
Common mistakes that make readings less useful
The most common mistake is copying a number from a general chart as if all meters used the same scale. Another is sampling the surface in one plant and the bottom in another, then comparing the figures. Keep the instrument, location, depth, and timing consistent; if you change any one of them, note the change so it does not look like a real moisture trend.
Do not push the probe into resistance, drive it through the root crown, or make multiple holes in a small pot just to get a larger sample. Avoid measuring only at the rim, where water movement and roots can differ from the center. Do not leave a wet pot in its saucer while you wait for the display to improve, and do not water because a single location reads dry when the other samples and pot weight show a moist root zone.
Finally, do not mistake “meter use” for “watering schedule.” A routine can help you monitor; it cannot keep every plant on the same weekly cycle. Light, room temperature, air movement, plant growth, pot size, mix, and season all change how quickly a container dries. Recheck the actual plant and root zone rather than setting a calendar reminder that overrules the evidence in the pot.
When another moisture check is a better fit
A meter is less useful in a very small pot, an extremely shallow container, a plant with a dense fine-root mat, or a coarse orchid-style medium that leaves poor contact around the probe. It can also be awkward when you cannot reach the soil safely, when the device is too long for the pot, or when repeated insertion risks damaging roots. In those cases, use the plant’s care guidance alongside pot weight, a wooden skewer, a look at accessible drainage holes, or a careful check of the mix surface and root zone.
A meter does not diagnose root rot, poor drainage, pests, or a plant’s overall health. It reports a condition around its sensor. If the plant is declining, check its environment and roots instead of assuming the moisture reading explains every symptom. For a step-by-step watering routine after you have decided the pot needs water, continue with our guide to watering indoor plants.
Conclusion
Use a moisture meter as a repeatable sampling tool: choose safe points in the active root zone, match depth to the pot and roots, follow the meter’s instructions, and write down several readings instead of relying on one number. Interpret the pattern in the context of the plant, growing mix, container, drainage, and how the pot changes as it dries.
After a few watering cycles, you will have a more useful guide than any universal chart: the reading pattern associated with a fully watered pot, the way it changes as the root zone dries, and the point at which that particular plant is ready for water. If the display disagrees with the plant or the pot, verify the measurement and use another moisture clue before you act.