How to Remove Large Bushes and Shrubs Safely
Learn how to remove a large bush safely, from utility checks and branch cuts to root removal, disposal, and the point when a pro should take over.
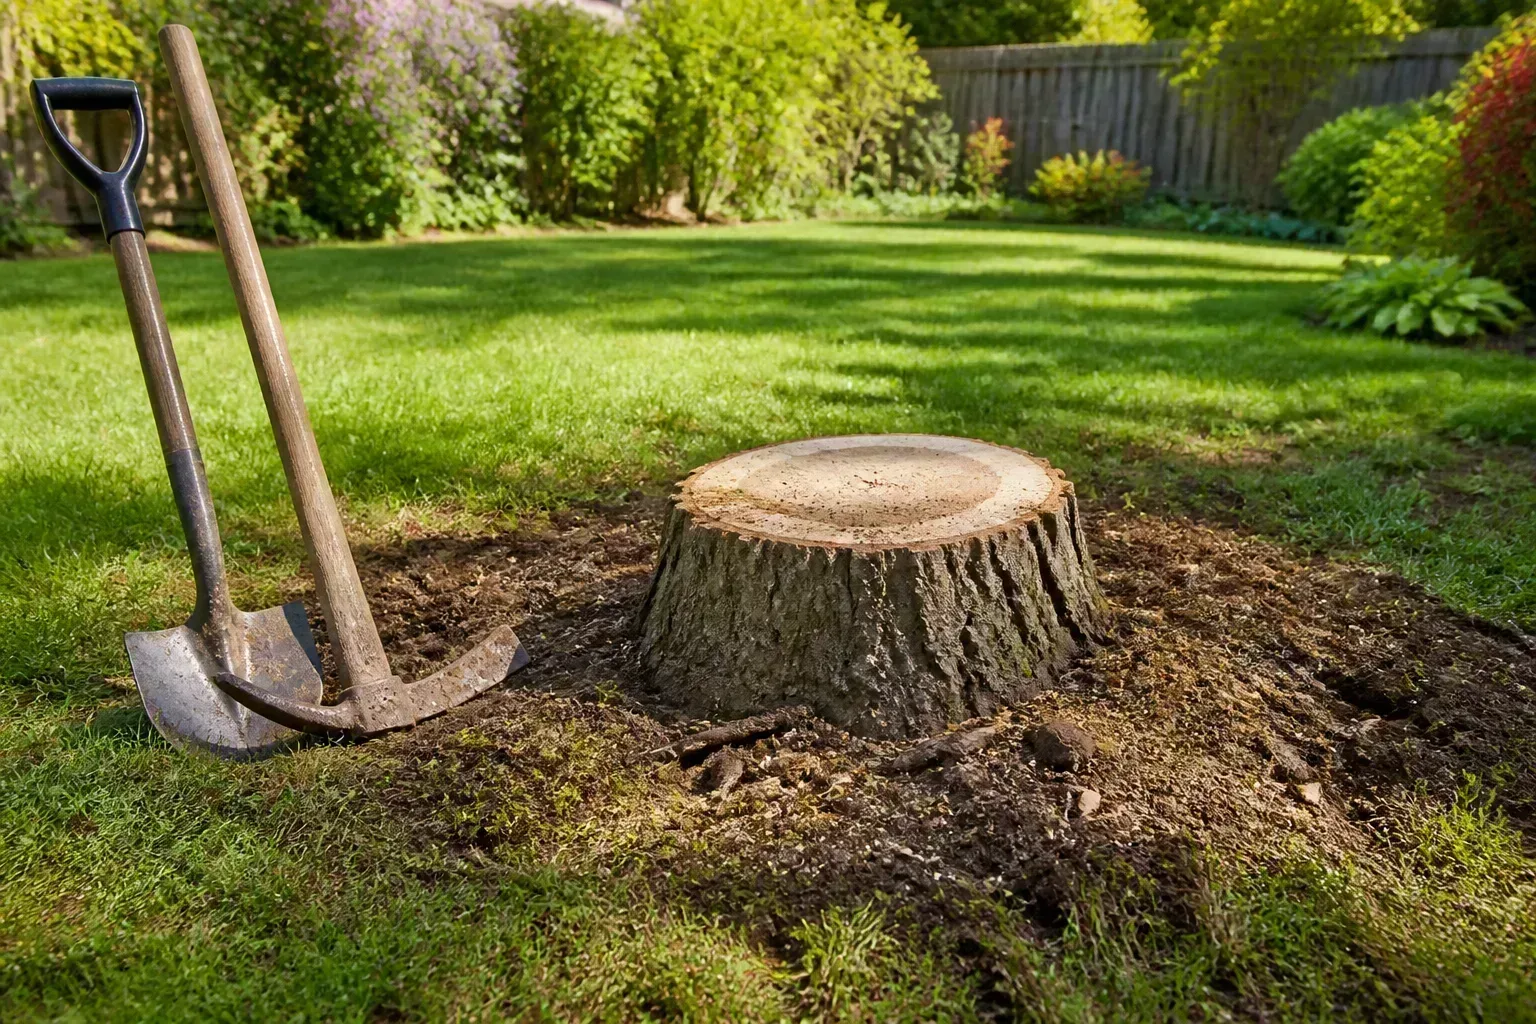
A shrub is not a safe DIY job just because it is shorter than a tree. A mature multi-stemmed plant can hide thorny or brittle branches, heavy wood under tension, deep roots, buried service lines, and a root mass that shifts suddenly when its last anchor is cut. The safest plan starts by deciding how much of the plant actually needs to come out and whether the site allows you to work without putting yourself, a helper, or nearby property in the line of fire.
If the shrub is close to a building, retaining wall, fence, septic system, utility marking, overhead wire, or other valuable plant, pause before making the first cut. A qualified, insured landscape or tree-care professional can assess a heavy or awkward removal and bring equipment suited to the space. The hand-removal sequence below is for a shrub that is fully accessible, has no unresolved utility conflicts, and can be dismantled from the ground with tools you know how to use.
Decide what “removed” needs to mean
“Remove the bush” can describe three different jobs: cut the top growth off, remove the root crown and as much of the main root system as practical, or clear the stump below grade so the area can be replanted or built on. These outcomes need different amounts of digging. If you are converting a bed to lawn, planting another shrub nearby, or installing paving, remaining wood and roots may interfere; if you simply need a clear sightline or safe passage, cutting low or grinding the stump may be enough.
Full root extraction is not always the best choice. Large roots may run under a path, wall, fence, or another plant, and forcing them out can disturb soil or damage what you meant to preserve. A stump grinder removes the stump and accessible surface roots to a chosen depth but does not excavate every root through the yard; for many landscape changes, that controlled clearance is more useful than chasing a sprawling root system.
The plant’s identity matters too. Some shrubs resprout from the crown or lateral roots after cutting, while others are much less persistent. The University of Minnesota Extension notes that pulling the root crown can work for some woody plants but is not effective for species that sucker from lateral roots; identify the plant and check species-specific guidance before assuming one dig-out will finish the job (University of Minnesota Extension).
Inspect the shrub and site before you start
Walk around the entire shrub and look for more than its visible height. Check how many stems emerge at the base, whether stems lean or cross, whether branches are dead or brittle, and whether one limb is trapped beneath another. Look overhead for branches that could fall, and look at the ground for rocks, edging, irrigation heads, low-voltage lighting, exposed roots, holes, pets, and places where a cut branch could roll or spring toward you.
Trace the likely fall and carry paths before cutting. Decide where branches will be set down, where a helper will stand, and how debris will leave the yard without being dragged across windows, cars, or garden beds. If the only way to handle the top growth would involve standing on a ladder, cutting above shoulder height, reaching over a fence, or pulling a bound stem toward yourself, the site is signaling that this is professional work.
Also check local rules before removal. Property boundaries, protected plants, nesting wildlife, conservation restrictions, or neighborhood requirements may affect when and how a shrub can be taken out. If you are unsure what the plant is, particularly if it has irritating sap, sharp thorns, or a reputation for spreading, get an identification before handling or disposing of it.
Locate public and private underground lines
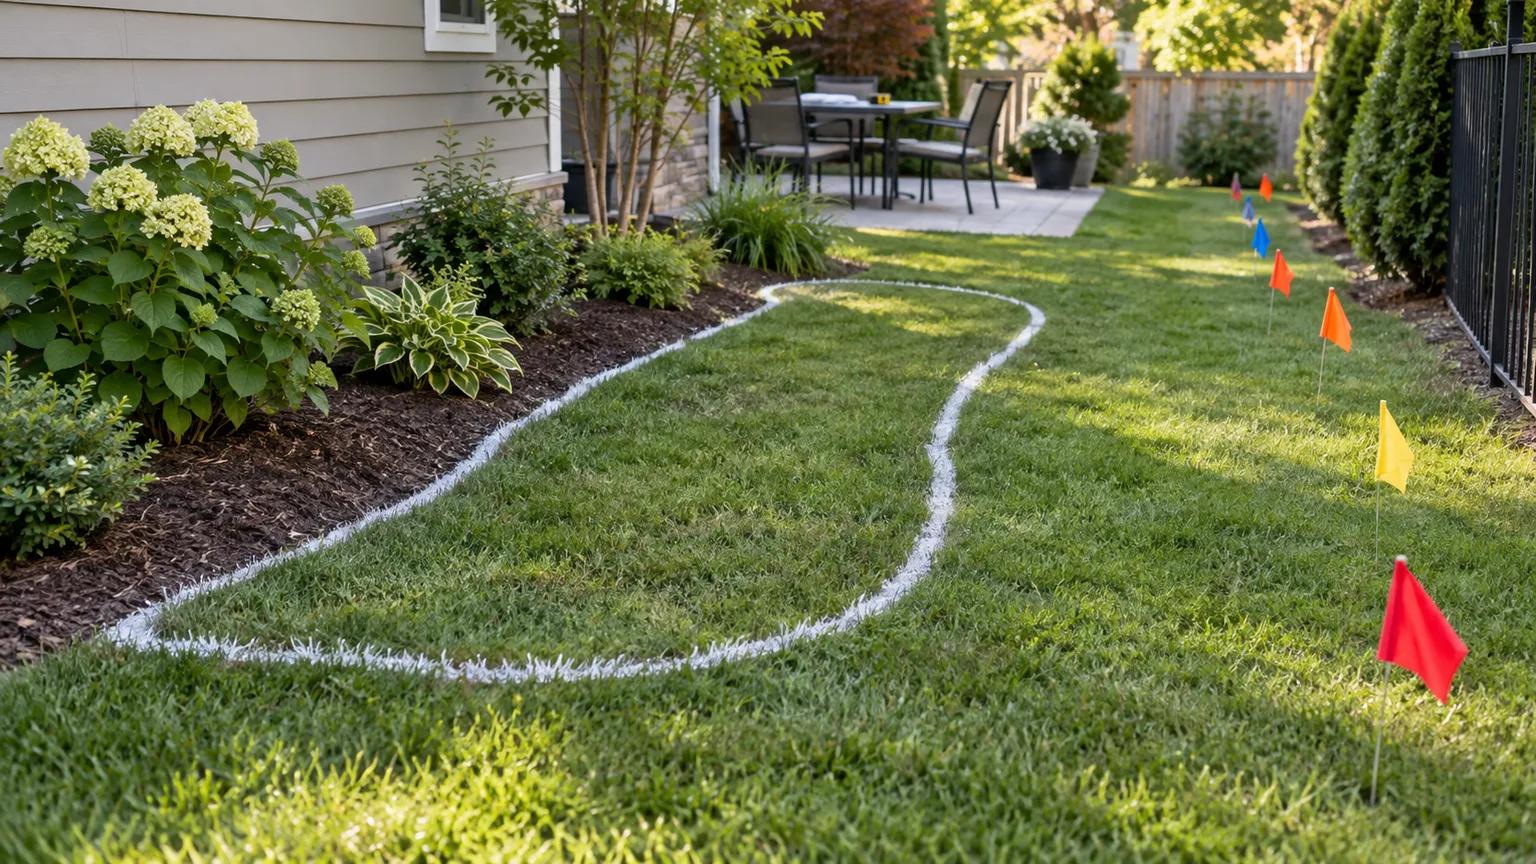
Any digging can strike a buried line, even when you are only removing a plant. In the United States, contact 811 or the state one-call service before excavation and wait until the required response period has passed and all notified utilities have responded. The waiting period and ticket rules vary by state; for example, Virginia 811 tells homeowners to request marks at least three working days before digging, while Indiana 811 instructs people to check positive response before work starts (Virginia 811, Indiana 811).
A public utility locate does not necessarily identify every line installed on the property. Irrigation, landscape lighting, a private electric feed, a gas line to an outbuilding, or other owner-installed services may need a separate private locator. Ask the utility center what it covers, check property plans if available, and arrange qualified help for unknown lines; do not use a shovel or metal probe to “find out” where a pipe or cable runs.
Once markings are in place, treat them as a boundary that changes the method. Do not dig or drive tools into a marked tolerance zone unless the local utility’s rules say how to expose the line safely. If the root crown sits on or near a mark, stop and speak with the utility or a qualified locator about a safe approach. Call the emergency number from a safe location if you damage a gas line, smell gas, see sparking, or encounter another immediate hazard; do not keep working or attempt a repair.
Choose a suitable day and stage the work area
Pick a time when you can work in daylight, take breaks, and stop without pressure to finish before dark. Moderate temperatures make sustained digging easier than hot weather, and soil that is slightly moist is usually easier to work than baked-hard ground. Avoid frozen, waterlogged, or slippery soil, which makes footing and tool control less reliable; after rain, wait until the ground is stable enough to stand on and dig without sliding.
Timing can also affect wildlife and plant handling. Before cutting, look for an active nest and check local wildlife rules; if nesting birds are present, delay the work or ask a local wildlife authority what is appropriate. If the shrub bears ripe fruit or seed, avoid scattering it while hauling branches, especially if it may be invasive.
Clear the work area of people, pets, hoses, toys, and loose debris. Keep children and bystanders well away from cutting and falling material, and agree on a simple stop signal with any helper. Place a tarp or a few light-duty containers outside the cutting zone for sorted material; do not make a tall, unstable pile beside the person using a saw.
Gather tools, protective gear, and help
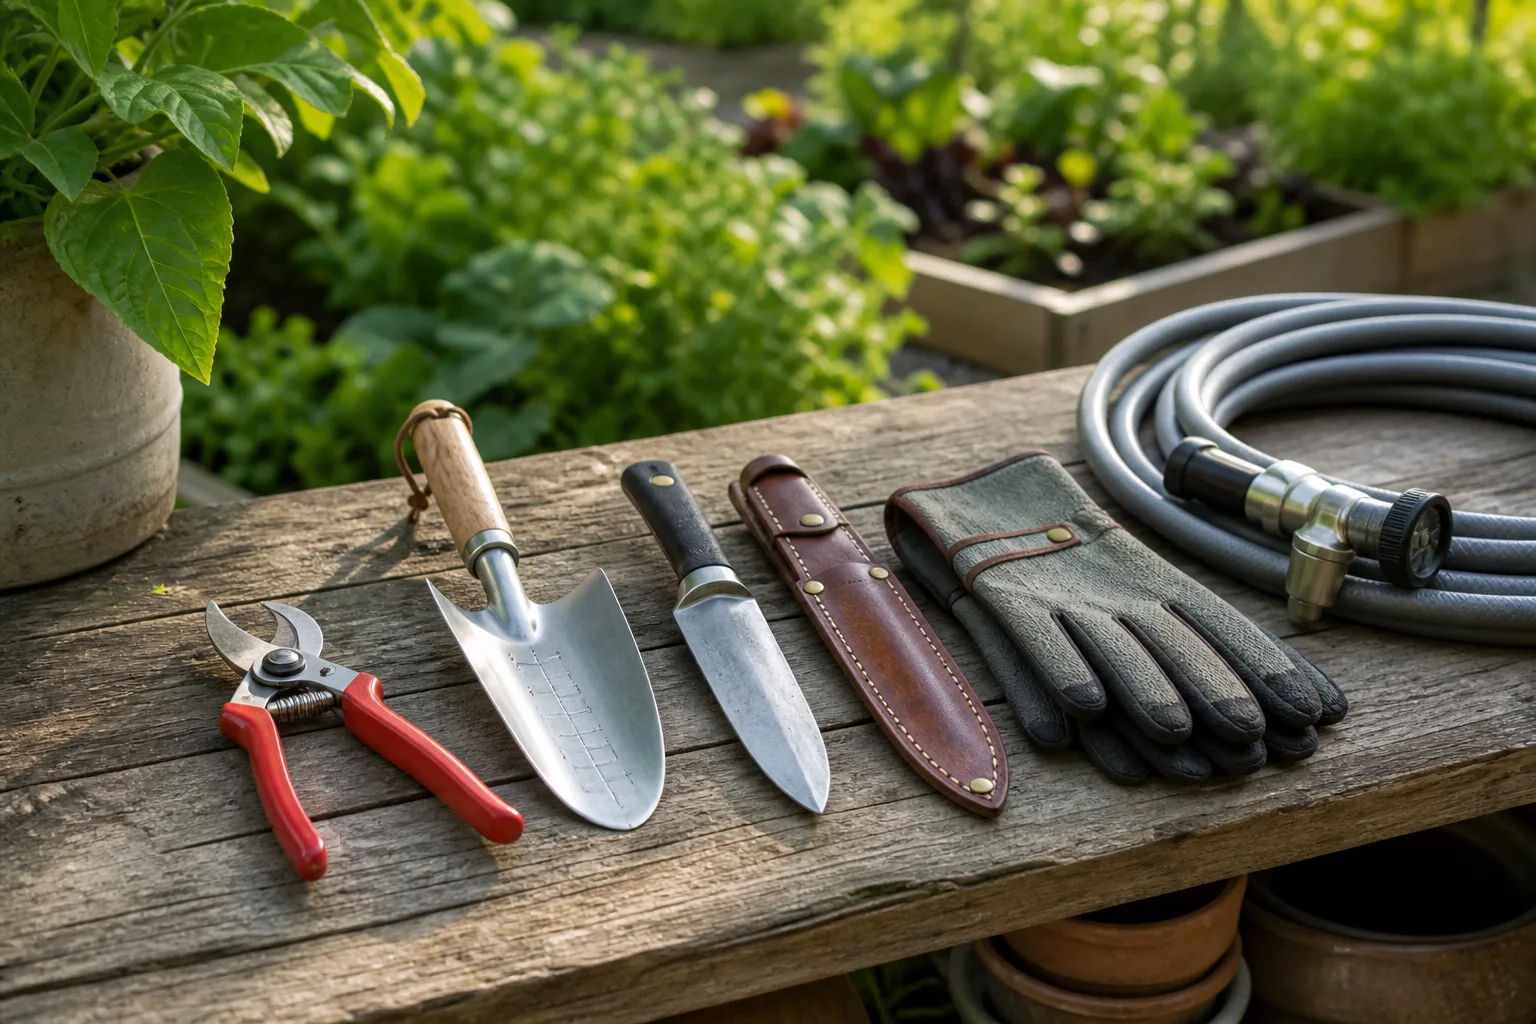
For a modest, accessible shrub, useful tools may include bypass pruners for thin shoots, loppers for stems within their rated capacity, a pruning saw for larger branches, a sturdy digging spade, a root saw, and a mattock only if you already know how to use one safely. Use sharp, sound tools in good condition and select a tool sized for the branch or root. A dull blade encourages force and slips; a tool that is too small for the cut can bind, bend, or break.
Wear sturdy closed-toe footwear with traction, long pants, eye protection, and work gloves suited to the plant. Add sleeves and thorn-resistant gloves for thorny shrubs; use hearing protection if you operate a loud power tool. A helmet may be appropriate where there is a falling-branch hazard, but protective gear does not make overhead cutting, ladder work, or an unstable shrub safe for an untrained operator.
A helper can keep people and pets out of the work area, carry light branches, or call for assistance, but should not stand next to a cutting tool or in the path of a branch. Do not ask someone to hold a branch while you cut it. Heavy wood and a wet root ball are not ordinary lifting loads; plan to reduce the load, use suitable mechanical help, or stop rather than strain your back trying to lift or drag it.
Cut the shrub down in controlled sections
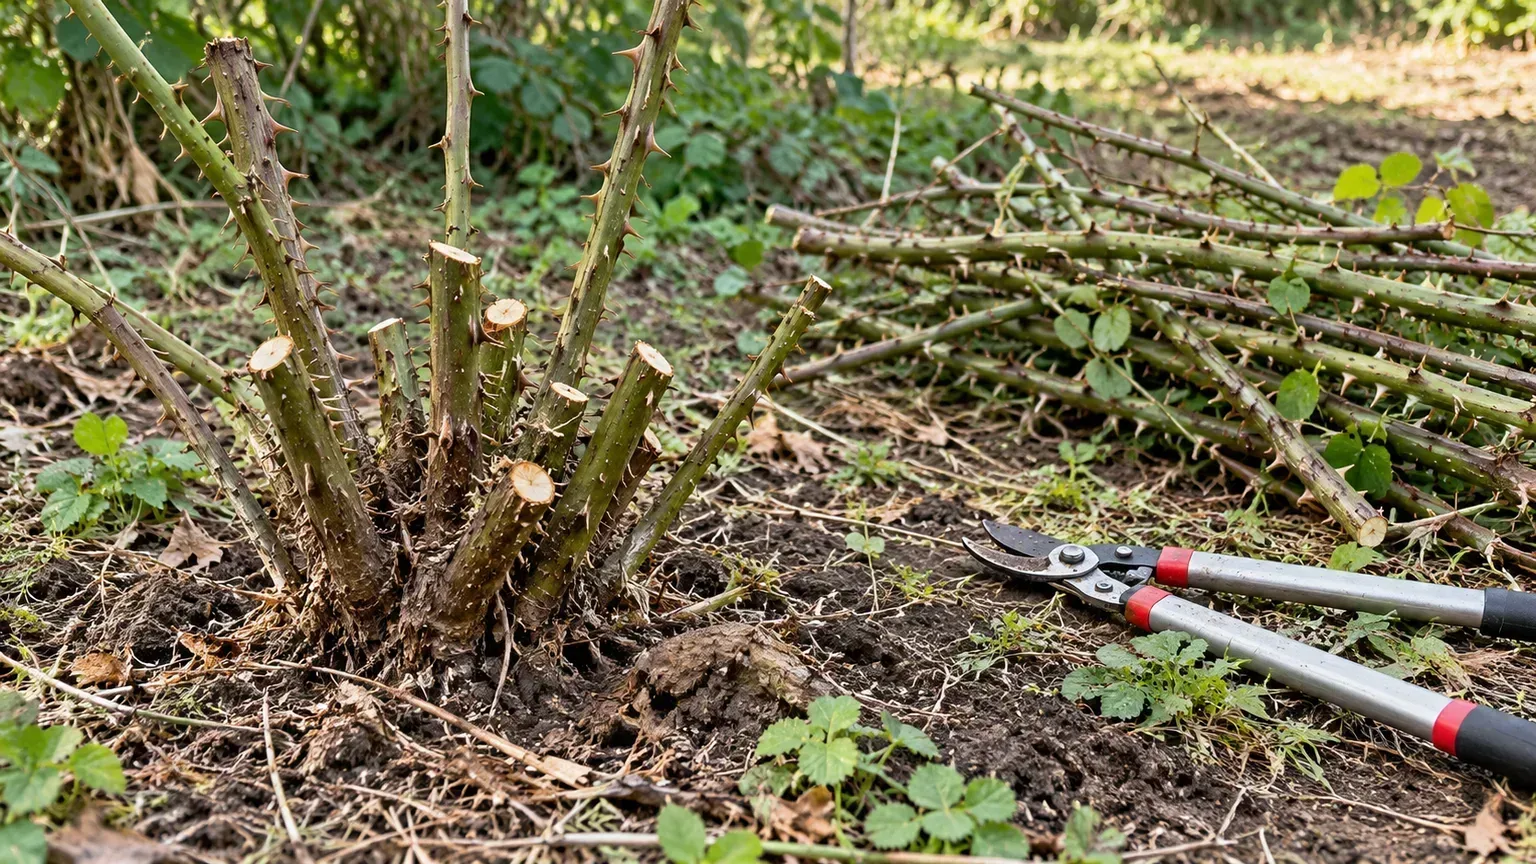
Start with an unloaded plant and a clear route for each piece. If the canopy is dense, remove only small outer twigs that you can reach from stable ground, then work inward so you can see the structure. Keep a short, manageable section of the main stems at the base to serve as a handhold during root work, but leave enough space that it cannot trip you or create a sharp stake.
Use hand pruners, loppers, or a pruning saw only within their intended capacities. Cut one small branch at a time and watch what it is resting on; a branch may spring, roll, or drop when its support disappears. Do not stand beneath a limb, place your head in its path, or cut a branch that is under tension unless you know how it will move as the wood releases.
A useful sequence is to shorten the outer canopy first, then take off side stems in manageable pieces, and finally reduce the remaining framework from the ground. Set each cut piece down deliberately and move it out of the work zone only after the tool is put down or safely secured. Long, springy branches should not be thrown or dragged across someone else’s path.
Know when a saw changes the job
If removing the shrub requires a chainsaw, pole saw, ladder, climbing, overhead cuts, or handling wood that is trapped or under tension, the safer choice for most homeowners is to hire a trained professional. Chainsaws can kick back, bind, and throw a branch unexpectedly; a short written guide is not hands-on training. OSHA’s chainsaw guidance calls for appropriate head, eye/face, hearing, hand, foot, and leg protection, along with equipment checks and safe operating procedures (OSHA Chainsaw Safety QuickCard).
Do not use a chainsaw to cut roots in soil or finish a stump at ground level. Dirt and stones can damage the chain, the bar can pinch, and a stump can shift as it is cut. The OSHA working-safely fact sheet also warns about branches under tension and the need to maintain control; if you do not already know how to assess those hazards and operate your specific saw, stop and arrange professional removal.
Never pull a shrub over with a vehicle, lawn tractor, winch, or improvised rope. A root can release suddenly, a strap or anchor can fail, and the plant or equipment can move in an unpredictable direction. That can injure a bystander, damage a structure, or pull against a buried service. Use a professional who can choose a controlled method when the plant will not come apart with ordinary hand tools.
Expose the root crown without blind digging
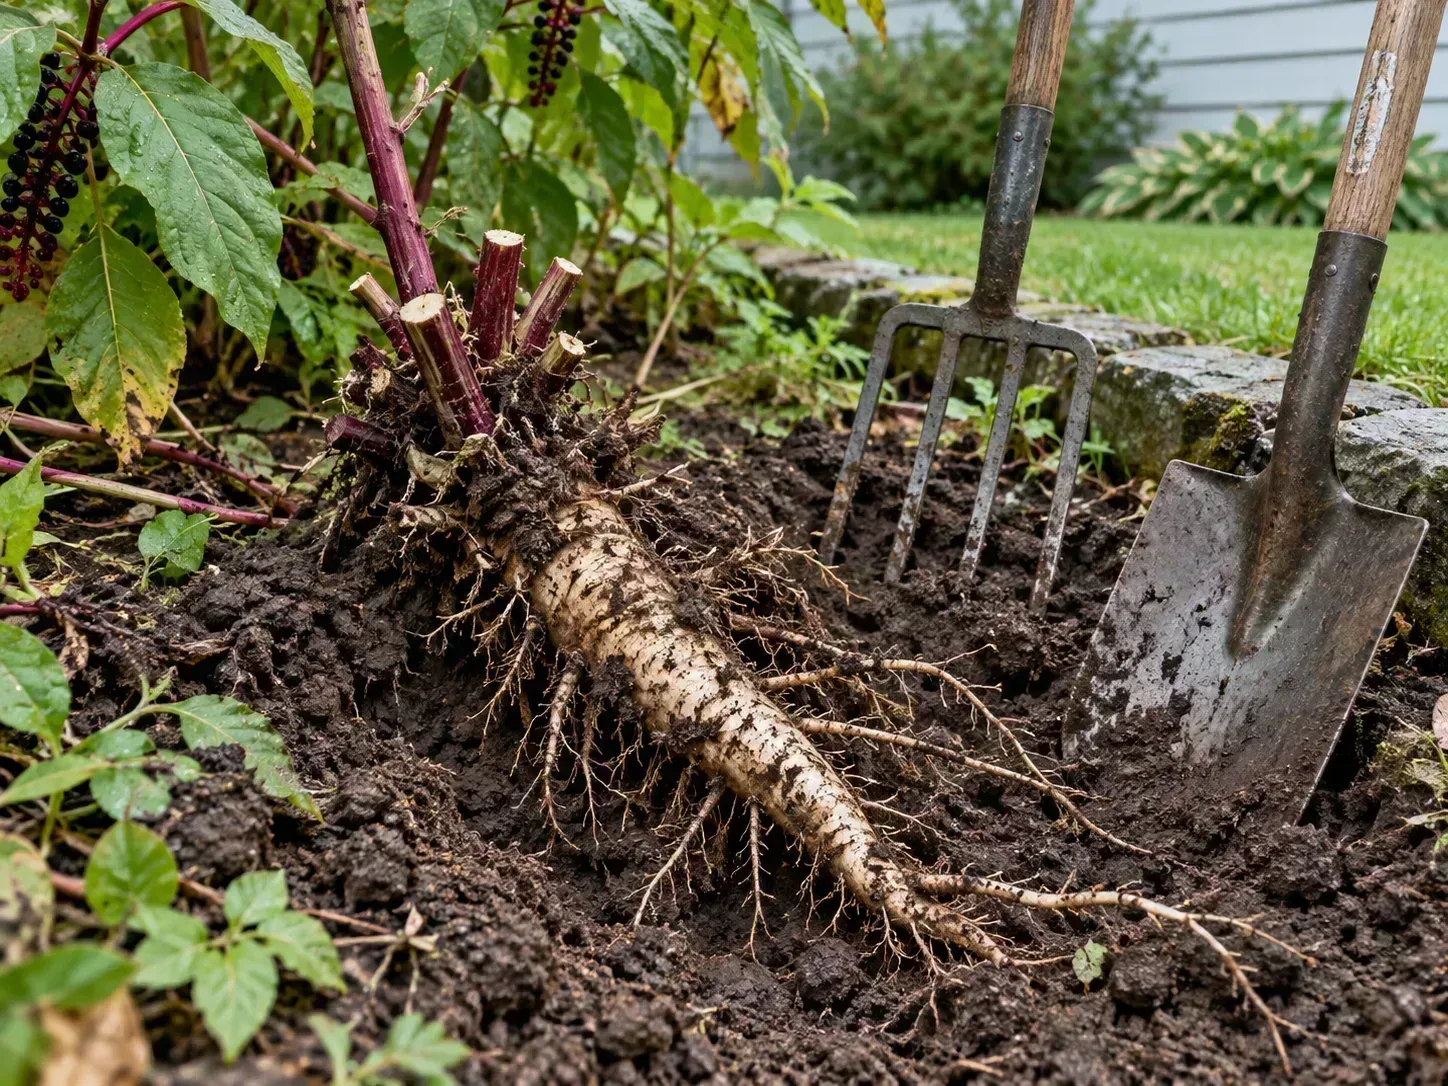
When the top growth is reduced and the work area is clear, use a spade to remove soil around the base in a shallow ring. Start far enough from the stems to avoid striking the crown blindly, then work inward as roots become visible. Scrape soil away in thin layers and pause whenever you encounter a line, pipe, cable, hard obstruction, or an unexpected change in soil.
The goal is to see where the main stems flare into the root crown and which roots actually anchor the shrub. You do not need to excavate a deep, narrow trench or dig a perfect circle around the plant. Expose the accessible roots in stages, keeping the hole broad enough to work from stable ground and shallow enough that its sides do not collapse around your feet.
If roots extend beneath a wall, slab, walkway, or fence, do not lever against that structure. Roots can be intertwined with the footing or hardscape, and force can crack, lift, or loosen it. If removing the roots is necessary near a foundation, drainage feature, retaining wall, or septic system, have a qualified contractor or arborist assess the job before continuing.
Sever roots and free a manageable root mass
Once visible, cut each accessible root with a tool designed for it. A sharp root saw or loppers sized for the root may work; use a mattock only with a clear swing path and enough space that the head cannot hit your legs, another person, a line, or an object hidden in the soil. Keep your hands away from the cutting path, and do not swing blindly into a dense root zone.
After a few roots are severed, gently test the remaining stem base by moving it only a small amount. The aim is to find which roots still anchor it, not to jerk the entire shrub free. If the plant moves, expose the roots that are still holding it and cut them deliberately; if it barely moves, roots run under an obstruction, or the mass is too heavy to control, stop and reassess rather than increasing force.
A root ball containing soil can be far heavier than it looks. Remove soil from around and beneath the crown where it is safe, reduce the root mass in pieces if the plant species and goal permit, and use a hand truck or other rated equipment only on stable ground and with a clear route. Do not lift with a twisted back, do not stand downhill of a mass that could roll, and do not put a person in a hole to free a root ball that might settle or collapse.
If you only need to eliminate visible wood below grade, cutting the remaining accessible crown and grinding or chipping the stump may be more controlled than extracting every root. Roots left in the soil usually decay over time, but that is not appropriate if a planned footing, paving project, or new planting needs the space. Tell the contractor what will occupy the spot so they can choose the depth and method accordingly.
Stop and hire a professional when conditions warrant
There is no single trunk diameter that makes every shrub safe or unsafe to remove. A multi-stemmed shrub with flexible growth in open, soft soil can be easier than a smaller woody plant wedged between a house and a utility cabinet. Judge the whole job: access, branch position, root spread, terrain, utility marks, nearby property, the tools required, and the weight of material you must move.
Hire a qualified, insured professional if any part of the job involves overhead lines, a power saw you are not trained to use, a ladder or climbing, branches over people or buildings, unstable or storm-damaged stems, difficult slopes, heavy machinery, a large root mass, or digging near a public or private service. For tree-like or high-risk woody growth, you can search for an ISA-credentialed tree-care professional through TreesAreGood’s Find an Arborist directory. Ask for proof of insurance and a written scope that states whether the quote includes hauling, stump grinding, or root excavation.
A good estimate should describe the removal method, how the crew will protect nearby surfaces, the stump depth, debris disposal, and what happens if they discover an unmarked line or a root under a structure. Ask whether they will contact 811 and whether you need to arrange a private locate. Do not treat “we have done this before” as a substitute for a clear work plan.
Manage suckers and invasive shrubs
Cutting at ground level does not always kill a woody plant. Depending on species, the remaining crown or lateral roots may send up shoots; some plants can also persist from root fragments. If the shrub is a known invasive or persistent sucker, first look up a locally appropriate removal plan rather than repeatedly cutting shoots without a follow-up strategy.
For some species, removing the root crown is effective; for others, repeated monitoring or a labeled cut-stump treatment may be part of an integrated approach. Avoid broad, improvised herbicide use around desirable plants, drains, water, or wildlife. Follow the product label and local rules exactly, and consult your county extension or a licensed applicator if the species or method is uncertain. Extension guidance emphasizes that control is species-specific and can take repeated visits (University of New Hampshire Cooperative Extension, mechanical control).
Do not leave cut stems with viable seeds or root pieces where they can resprout. Keep seed heads contained as you move material, clean soil and plant fragments from tools before using them elsewhere, and check the site for new shoots through the next growing seasons. A removal is not finished for a persistent species until you have a plan to monitor and respond to regrowth.
Sort branches, roots, and diseased material
Separate healthy woody branches from seed-bearing, invasive, or diseased material. Healthy branches may be chipped, used as mulch, or delivered to a municipal yard-waste site if local rules allow. Branches too large to handle safely should be cut by a professional or hauled as the municipality requires; do not rent a chipper unless you know its operating procedure and can feed it without placing hands near the infeed.
Invasive shrubs need species-specific disposal. Some can grow from fragments or spread by seed, and ordinary compost or an unattended brush pile can move the problem to another part of the yard. University and extension guidance recommends checking the species and local disposal rules, containing reproductive material, and using a designated facility or method that prevents viable plant parts from spreading (UNH Cooperative Extension disposal guidance, Penn State Extension).
If the shrub was diseased or heavily infested, keep its material out of a casual backyard compost pile unless local extension guidance confirms an appropriate treatment. Most home piles do not reliably heat every piece; UNH Extension notes that difficult-to-control diseased plants and weeds with seeds may survive ordinary composting (UNH home composting guide). Follow municipal rules for bagging, hauling, or disposal, and do not burn brush unless it is legal and safe under local fire conditions.
Backfill and prepare the site for its next use
Before filling the hole, remove sharp protruding wood and any loose debris that would interfere with mowing or planting. Backfill in manageable layers with suitable soil and firm it gently to reduce large voids; do not compact it so hard that water cannot move through. If the ground settles after watering or rain, add soil as needed and regrade so water drains away from foundations and paths rather than forming a depression.
If you plan to plant in the same spot, consider whether the remaining large roots will compete for space or decay beneath the new plant. Move a replacement plant to a nearby location when the root system is extensive, or wait and observe how the soil settles. Do not bury branches or a large woody root mass under a thin layer of topsoil and expect a stable planting bed; decaying wood can leave voids and change the grade over time.
For a lawn, spread soil in lifts and restore the surface gradually so mower wheels do not drop into a hidden hole. For a new bed, use the opportunity to correct drainage and choose a replacement that fits the available light, mature width, and maintenance needs. Keep the area marked or temporarily fenced until the hole is stable and safe to walk across.
Avoid common removal mistakes
The most consequential mistake is starting to dig before a utility locate is complete. A second is cutting the whole shrub into a tangled pile before deciding where the wood will land; the branches then hide footing hazards, trap tools, and make it hard to see what is under tension. Set an order before work and keep the cutting and carrying areas separate.
Do not try to make the task faster by cutting at shoulder height, climbing into the shrub, swinging a mattock in a crowded work area, pulling with a vehicle, or prying against a wall. Do not stand on the side where a cut stem can fall, and do not keep going when fatigue makes your footing or judgment worse. Stop when the plan changes, the tool binds, the root mass shifts unexpectedly, or you find something you did not account for.
Another common error is equating a clean-looking cut with permanent control. Some shrubs rebound from roots or crowns; some invasive species spread when seed-bearing branches or viable root pieces are moved. Identify the plant, dispose of it correctly, and make follow-up checks part of the job instead of assuming the first afternoon is the last step.
Conclusion
A safe shrub removal is a series of controlled decisions: decide whether you need the roots out, identify what is growing, inspect the site, arrange utility locates, and choose tools that match the work. Cut only from stable ground, expose roots gradually, sever them without yanking, and stop when the weight, location, or equipment exceeds what you can manage safely.
If a saw, ladder, power line, structure, buried service, unstable branch, or heavy root mass enters the job, hire a qualified, insured professional and agree on the stump depth and debris plan before work starts. Then dispose of the plant according to its species and local rules, backfill the site, and monitor for settling or regrowth. That approach may take more planning than simply cutting the bush down, but it reduces the chance that a landscaping chore turns into a utility strike, property repair, or preventable injury.



