How to Make a Soaker Hose From an Old Garden Hose
Make a simple garden soaker hose from an old hose, cap, and drill. Get a cautious starter pattern, a flow test, and soil-based watering advice.
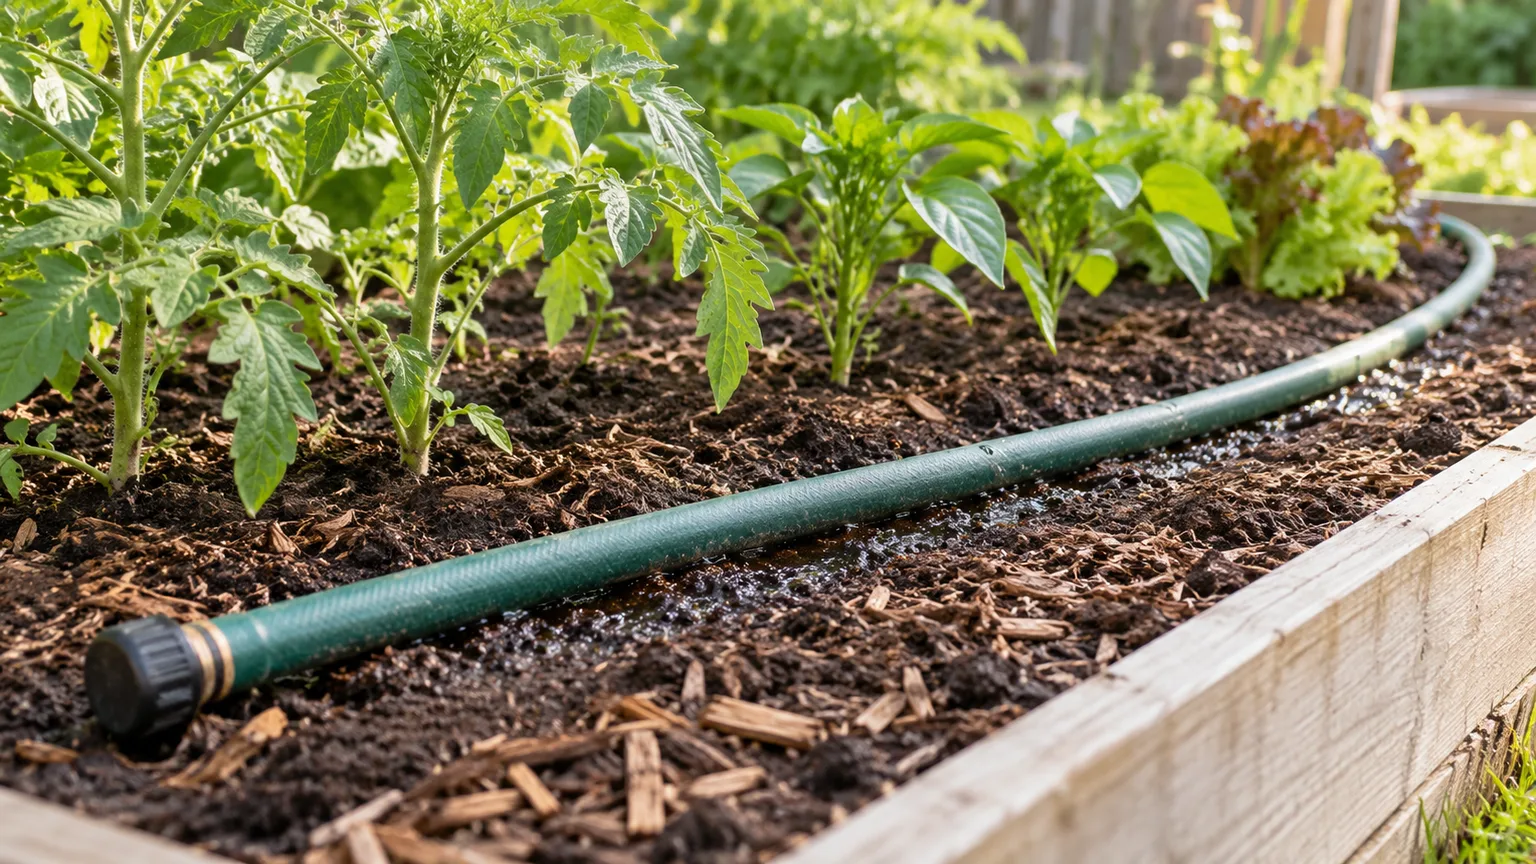
A sound old garden hose can become a simple, low-pressure watering line with a drill, a cap, and a few careful tests. The conversion is inexpensive, but the result is different from a commercial porous soaker hose: water leaves through individual holes, so pressure and wetting can vary along the line.
The reliable method is to start with one short test section, make small holes on one side, cap the far end, and open the faucet only enough to produce a slow seep. Then check the soil itself before deciding how long to run it or whether the pattern needs changing.
First decide whether a drilled hose fits the job
A drilled hose works best as a simple experiment for a small, fairly level vegetable row, flower bed, or shrub border where you can observe it while it runs. It can deliver water near the soil instead of spraying foliage, and a line under mulch loses less moisture to sun and wind than one left exposed. The University of Nevada Reno Extension describes soaker hoses as a low-pressure way to deliver water along planting rows or snake through wider beds, while noting that deeper root zones need longer irrigation than a quick surface wetting.
A regular hose is not porous rubber or purpose-made emitter tubing, however. Drilling creates discrete outlets; it does not create a pressure-compensated system, and there is no universal hole size or spacing that guarantees uniform watering across every hose material and water supply. Think of the first section as a trial you can adjust, not a finished irrigation product with a published flow rate.
Choose another method if the bed is steep, the line needs to be long, the garden must run unattended, or each plant needs a precisely measured amount of water. A standard porous soaker hose or drip kit costs more, but its material and fittings are designed for irrigation and are easier to size and regulate. For high-value crops or a large bed, a predictable system is usually worth more than reusing a hose that cannot spread water evenly.
Choose an old hose that can still hold pressure
Lay the hose straight and inspect the full length, especially the first few feet near the faucet, old repair joints, and spots that stayed in the sun. Do not modify a hose with cracks, blisters, soft swollen areas, exposed reinforcement, brittle sections, crushed kinks, or couplings that leak after a washer is replaced. A worn outer surface may be cosmetic; a weak wall can split once water pressure builds behind the cap.
A hose that once carried pesticide concentrate, fuel, oil, or another chemical should not be reused to water an edible bed. If its history is unknown and the inside smells strongly of chemicals or contains residue, reserve it for a non-food ornamental area only if it is otherwise sound, or discard it. Do not use a garden hose as a drinking-water line; keep irrigation water from flowing back into household plumbing by using a hose-faucet vacuum breaker where required or recommended locally, as DuPont’s municipal drinking-water guidance explains.
Gather a hose cap, drill, and flow-control valve
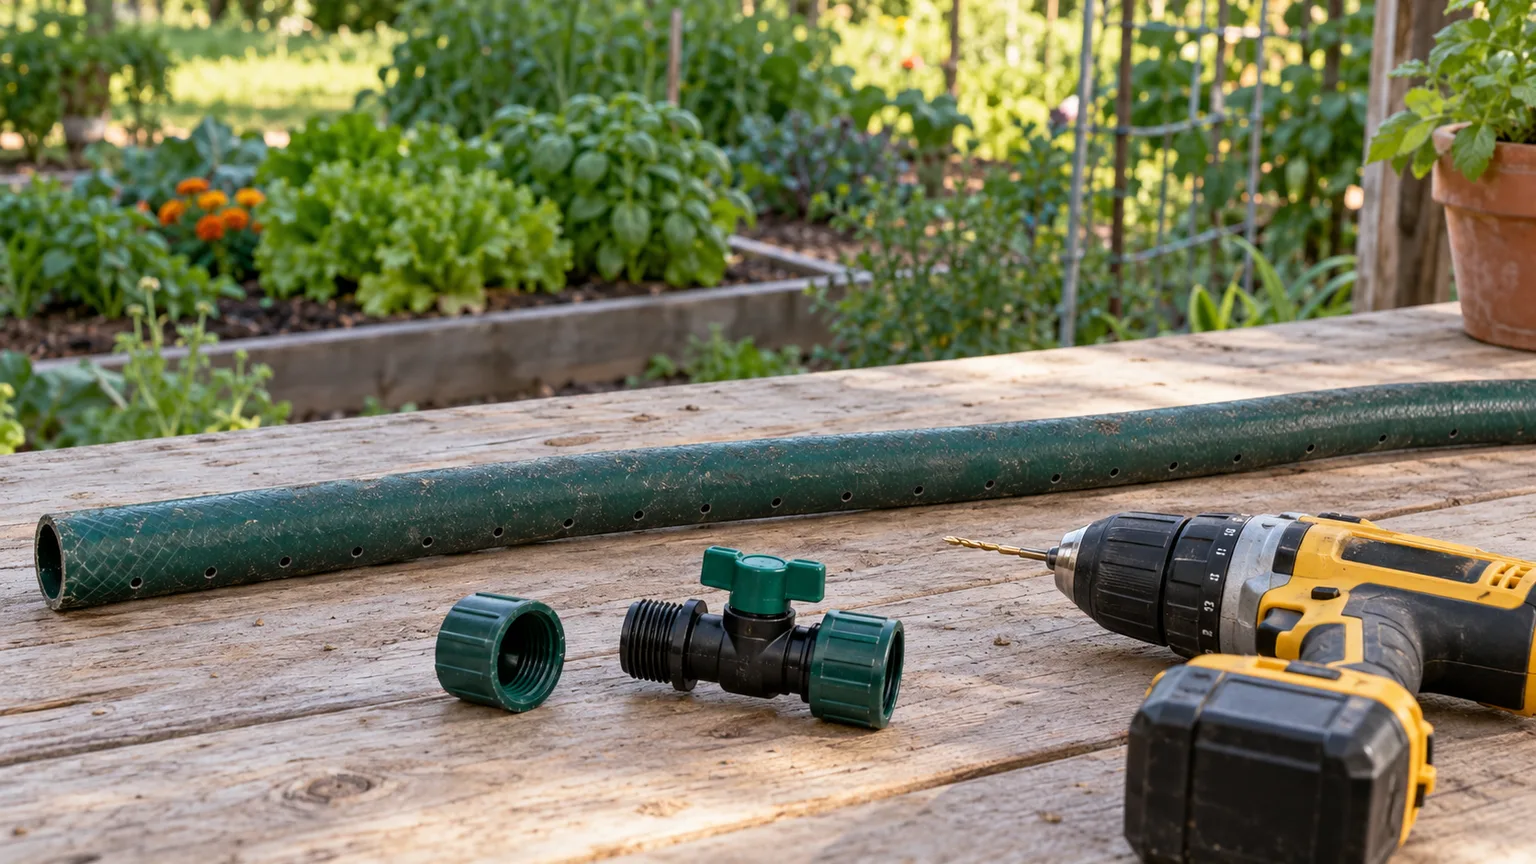
You need an intact garden hose, a threaded cap that fits its free outlet, a cordless drill, a small drill bit, a hose washer, and a hose-end valve or flow-control fitting. A short ruler or tape measure, marker, scrap wood to support the hose, eye protection, and a few landscape pins make the work more controlled. The valve is useful because a fully open faucet can make large jets from small holes; it lets you throttle the flow while watching the line.
Check the hose-end threads before buying a cap. Most garden hoses use a swiveling female connection at the faucet end and a male fitting at the outlet, so the cap needs to match the outlet thread, and the inlet washer must be present and flexible. If you plan to use a timer later, first prove that the hose and every connection stay dry and stable under a supervised test; a timer cannot compensate for an unreliable homemade line.
Plan a short test section and hole pattern
Start with a straight section about 10 to 15 feet long rather than drilling the entire hose at once. Keep the finished soaker portion to about 25 feet or less when you want the most even delivery: Colorado State University Extension’s vegetable irrigation guide advises keeping soaker lines short, generally no more than 25 feet, because the beginning can deliver more water than the far end on a longer run. A longer ordinary hose can serve as an unperforated lead-in from the faucet to the bed, but it does not add useful soaking length.
There is no tested, one-size-fits-all drill pattern for converting every garden hose. For a cautious first trial, use a small bit around 1/16 inch and mark a single row at roughly 6-inch intervals on the side that will face the soil; these dimensions are a conservative starting point for testing, not a manufacturer’s specification. Avoid the very large, closely spaced holes sometimes suggested for DIY versions: an opening that behaves like a nozzle can empty water too quickly near the faucet and leave the rest of the bed dry.
Plan the line so it follows the plants rather than crossing bare paths. On a 4-foot-wide raised bed, multiple runs may be needed for coverage; Colorado State Extension uses about 12-inch line spacing as a starting layout for drip or soaker lines in that width, but the moist zones from a drilled hose still need to be checked in your own soil. If the bed slopes, plan several short lines across the contour instead of one long line running downhill.
Make a DIY soaker hose
Work on a stable surface with the hose drained and the faucet off. Secure it so it cannot roll, keep the drill square to the wall, and stop if the bit catches or the hose begins to split. Drill only after you have tested whether the particular hose material can take a clean pilot hole.
1. Flush and measure the hose
Remove the outlet cap and run clean water through the hose for a minute or two to push out grit that could block the new openings. Let it drain, then check again for leaks, soft sections, or a hidden kink; if any structural weak spot appears, use another hose instead. Colorado State Extension notes that irrigation outlets can clog with dirt, algae, or salts and recommends flushing soaker lines periodically.
Measure only the length you can lay beside the plants without sharp bends or unnecessary loops. Mark the test section and leave the rest untouched until the first section passes its watering test. This preserves the option to change the spacing or abandon the conversion before you have drilled a long hose full of holes.
2. Mark one soil-facing row
Lay the hose so one side faces up and mark a straight line along that side, keeping the planned holes several inches from either fitting. Space the pilot marks evenly, starting around every 6 inches for a small test section. One row is easier to compare and control than holes drilled around the full circumference.
When the line is installed, turn the perforated side down or slightly toward the soil. Water then moves into the root zone rather than spraying leaves, the path, or your shoes, and mulch can sit over the hose without pressing dirt directly into every outlet. If you cannot identify which side you drilled after moving the hose, add a small marker near the inlet or use a removable stake as a direction cue.
3. Drill small pilot holes
Wear eye protection and keep the hose supported on a scrap board. Use the small bit to drill through only the near wall at each mark; do not push through the far wall or widen each hole by rocking the drill. Stop after the test length, brush away loose fragments, and inspect the holes for cracks radiating from their edges.
A neat row of small holes is easier to throttle than a row of large openings. If the initial run does not wet enough soil, you can add a second set of small holes in gaps or drill a second short test section with slightly closer spacing; you cannot make an oversized hole smaller again. Do not enlarge a hole just because the line takes longer to seep than a sprinkler—slow infiltration is the point, and soil moisture decides whether the output is enough.
4. Cap the outlet and add flow control
Screw the matching cap onto the hose’s outlet end and check that the hose washer at the faucet connection sits flat. Attach the faucet end to a hose-end flow-control valve if available, then connect the modified hose to the water supply. A separate pressure regulator is more appropriate when you install irrigation tubing designed for low-pressure operation; do not assume a generic regulator will automatically make a damaged hose safe.
Open the faucet gradually while you stay beside the hose. Back the valve down until the holes seep or drip steadily without squirting, and shut the water off immediately if the wall bulges, a fitting weeps, or a jet opens into a split. A small seep is the intended output; a tight hose full of pressure is not.
Test the hose before installing it
Before burying the line in a bed, lay it on a bare, level patch of soil and turn it on at the low setting. Watch the first, middle, and last third for several minutes, then compare the size and spacing of the damp areas. If the beginning is wet while the end remains dusty, stop and shorten the run rather than running it longer in the hope that the far end will catch up.
After about 30 minutes, check under the hose with a finger, narrow trowel, or soil probe. UGA Extension’s soaker-hose guidance suggests looking for moisture about 2 inches deep and roughly 1 inch to either side of the hose as one practical check; the exact wetting pattern changes with soil texture, hose output, and pressure. If moisture barely reaches the surface, make a small adjustment and test again; if puddles form or water runs away, reduce the flow or use shorter on-and-off cycles so the soil can absorb it.
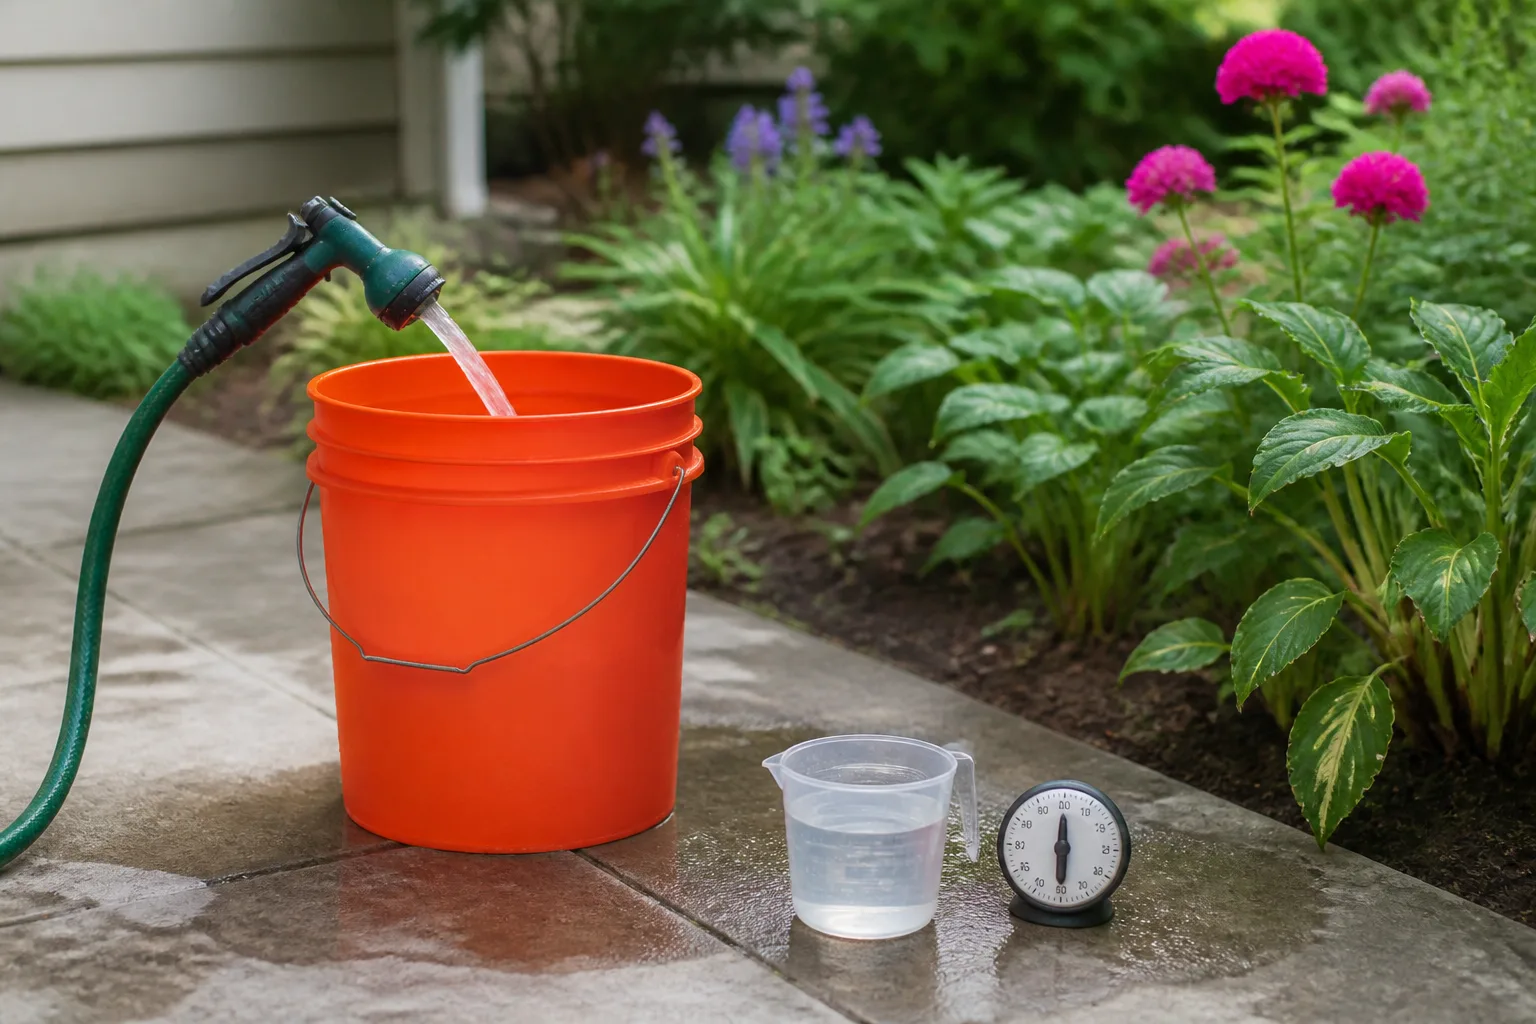
For a more repeatable comparison, place three shallow cups beside the first, middle, and last sections, run the hose for the same short interval, and compare collected water. This is not a calibration standard, but it shows whether the line is severely front-loaded before you commit it to a bed. The final decision still comes from checking how deeply the garden soil is wet after irrigation.
Lay the line where roots can use it
Set the hose beside the root zone, not tight against stems or trunks. For a vegetable row, place it parallel to the plants and close enough that the damp strip reaches their active roots; for a shrub border, make a broad curve around the outside of the root area rather than pressing the hose against the woody base. Pin it where it wants to move, especially around bends and at the outlet cap.

Run water once before you cover the line so you can spot leaks, jets, or missed patches. A thin mulch layer can shade the hose and reduce surface evaporation, but leave the fittings and enough hose visible to inspect and flush it. Colorado State Extension recommends placing an actual soaker line on the soil surface under mulch or burying it shallowly; an old drilled hose is easier to maintain when it remains accessible beneath light mulch rather than deeply buried.
Match the layout to the bed and soil
Use one short run for a single row or narrow border, then add a parallel line if the damp strips do not meet across the bed. In sandy soil, water tends to move downward faster than sideways, so closer line spacing may be needed; in heavier clay, the wetting pattern can spread more laterally but the soil may absorb water slowly. Do not guess from the surface alone—lift a small mulch patch and feel the soil between the hose and the plant after the first irrigation.
On a slope, water pressure and gravity make a long drilled line especially uneven. Shorter sections laid across the slope are easier to control, and you can open each section separately if one side wets faster. Avoid routing a DIY line over a walkway, where water can create a slippery patch, or into places where it will keep weeds growing without watering useful plants.
Set run time by checking soil moisture
Do not copy a fixed “30 minutes twice a week” schedule onto a hose whose output you have not measured. The time needed depends on hole size and spacing, hose length, faucet pressure, soil, plant roots, wind, heat, rain, and whether mulch covers the bed. Epic Gardening’s soaker-hose guide likewise notes that flow and line length affect run time, while Colorado State University Extension recommends determining irrigation duration from soil moisture rather than treating one time as universal.
A rough weekly target can help you understand scale, not replace inspection. Many vegetable gardens use about an inch of water per week in typical conditions, but the need rises in hot, dry, windy weather and falls when rain has already soaked the root zone; crop type and growth stage matter too. Set a rain gauge near the bed if you want to estimate rainfall, then check soil under the mulch before turning the hose on again.
After the first run, use a trowel to see whether moisture reaches the depth of the crop’s active roots. Nevada Extension notes that many vegetable roots occupy the upper 6 to 12 inches, while deep-rooted crops can go farther; you do not need to wet that full depth every time, but a damp surface alone is not proof that roots received enough water. If the soil is wet and cool several inches down, wait; if it is dry where roots are growing, lengthen the next run modestly or add another line.
Early morning is a practical time to water because cooler conditions reduce evaporation and let you inspect the bed before the heat of the day. A soaker line keeps water off leaves better than overhead watering, but follow any local watering restrictions and do not let a timer run while a connection leaks. Gardeners’ World’s guidance on hosepipe bans advises checking the water company’s rules rather than assuming a hose is allowed; follow the equivalent local rules where you garden. In clay soil, pause if water begins to pool; let it infiltrate before resuming rather than forcing more water across the surface.
Fix uneven seepage, jets, and clogs
A homemade line has no pressure-compensating emitters, so some variation is normal. Treat a pronounced difference as a layout problem to solve, not as a signal to leave the faucet open longer.
Dry end or dry strip
First check for a kink, a cap or valve partly closed, and visible debris at the holes. Remove the end cap, flush the hose with the faucet open briefly, then cap it again and retest; if the first half still seeps far more strongly, divide the perforated portion into shorter lines or move the bed to multiple separately controlled sections. Colorado State Extension advises soaker runs around 25 feet or shorter for more uniform delivery and shorter separate runs on sloped ground.
If the hose wets a narrow strip but the plants remain outside it, move the line closer to the roots or add a parallel run. Do not solve a dry strip by drilling large holes everywhere: bigger outlets can flood the near end, increase runoff, and make the distribution even less predictable. If the hose itself has softened or stretched near a hole, retire that section rather than patching a pressurized line and covering the repair with mulch.
Sprays, puddles, or hose damage
A stream shooting from a hole usually means the faucet is open too far, a hole is oversized, or the hose wall is splitting. Throttle the valve and observe again; if the jet persists at low flow or the wall bulges, turn the water off and replace the section. Do not leave a damaged hose connected to a timer or unattended faucet.
Puddles beside the hose can mean excessive flow, compacted soil, a low spot, or an irrigation session longer than the soil can absorb. Reduce the flow, run a shorter cycle, allow water to soak in, and check below the surface before continuing. If only a few outlets are dry, flush first; if hard-water scale or embedded debris keeps blocking them, replacement is more reliable than forcing a pin into the holes and changing their size.
Clean and store the hose between seasons
Before the first use each season, remove the cap and flush the hose to push out sediment. Repeat after a clogged-water event or before winter storage, then allow the line to drain fully; soil, algae, and mineral deposits can reduce flow through irrigation outlets. Keep the hose out of direct sun when it is not in use, and protect it from sharp tools, mower blades, and heavy foot traffic.
Check the hose while it is running at the start of the season and after moving it. Replace a flattened washer, tighten a loose coupling by hand, and open the outlet cap occasionally to rinse out debris. If any hole becomes a tear, the material turns brittle, or leaks multiply, do not keep adding tape or extra holes—retire the hose and use an irrigation product designed for repeated low-pressure watering.
Choose a manufactured soaker hose when the DIY line falls short
A drilled hose is useful when you want to reuse a sound length of hose for a small bed and are willing to monitor the result. It is not the best choice for a long row, slope, unattended schedule, uniform coverage of a wide bed, or a garden where missed watering has serious consequences. Colorado State Extension distinguishes soaker hose from emitter tubing and cautions that high pressure can split irrigation lines or pop connections; those designed parts are easier to regulate than holes drilled into an ordinary hose.
A commercial porous soaker hose seeps along its body, while drip tubing places measured emitters at set intervals. The porous hose fits continuous rows and borders; drip emitters are easier to position at separate plants, and a complete system can include a filter, pressure regulator, valve, and backflow preventer. If the DIY hose sprays, floods the near end, or leaves the far end dry after a short test, buying a purpose-made line is the practical repair—not a failure of the reuse idea.
Conclusion
You can turn a sound old garden hose into a basic soaker line by drilling one row of small pilot holes, capping the outlet, and controlling the flow. Keep the first section short, start with a conservative pattern, and test it on soil before drilling or covering the full hose.
Let the damp root zone, not a timer estimate, tell you whether the layout works. If the hose splits, sprays, or waters unevenly even after you shorten and adjust it, switch to a manufactured soaker hose or drip kit built for the bed.