How to Grow Green Onions From Seed—and Regrow Them
Grow scallions from seed or root ends, with clear timing, spacing, watering, potting, and harvest guidance for beds, containers, and a windowsill.
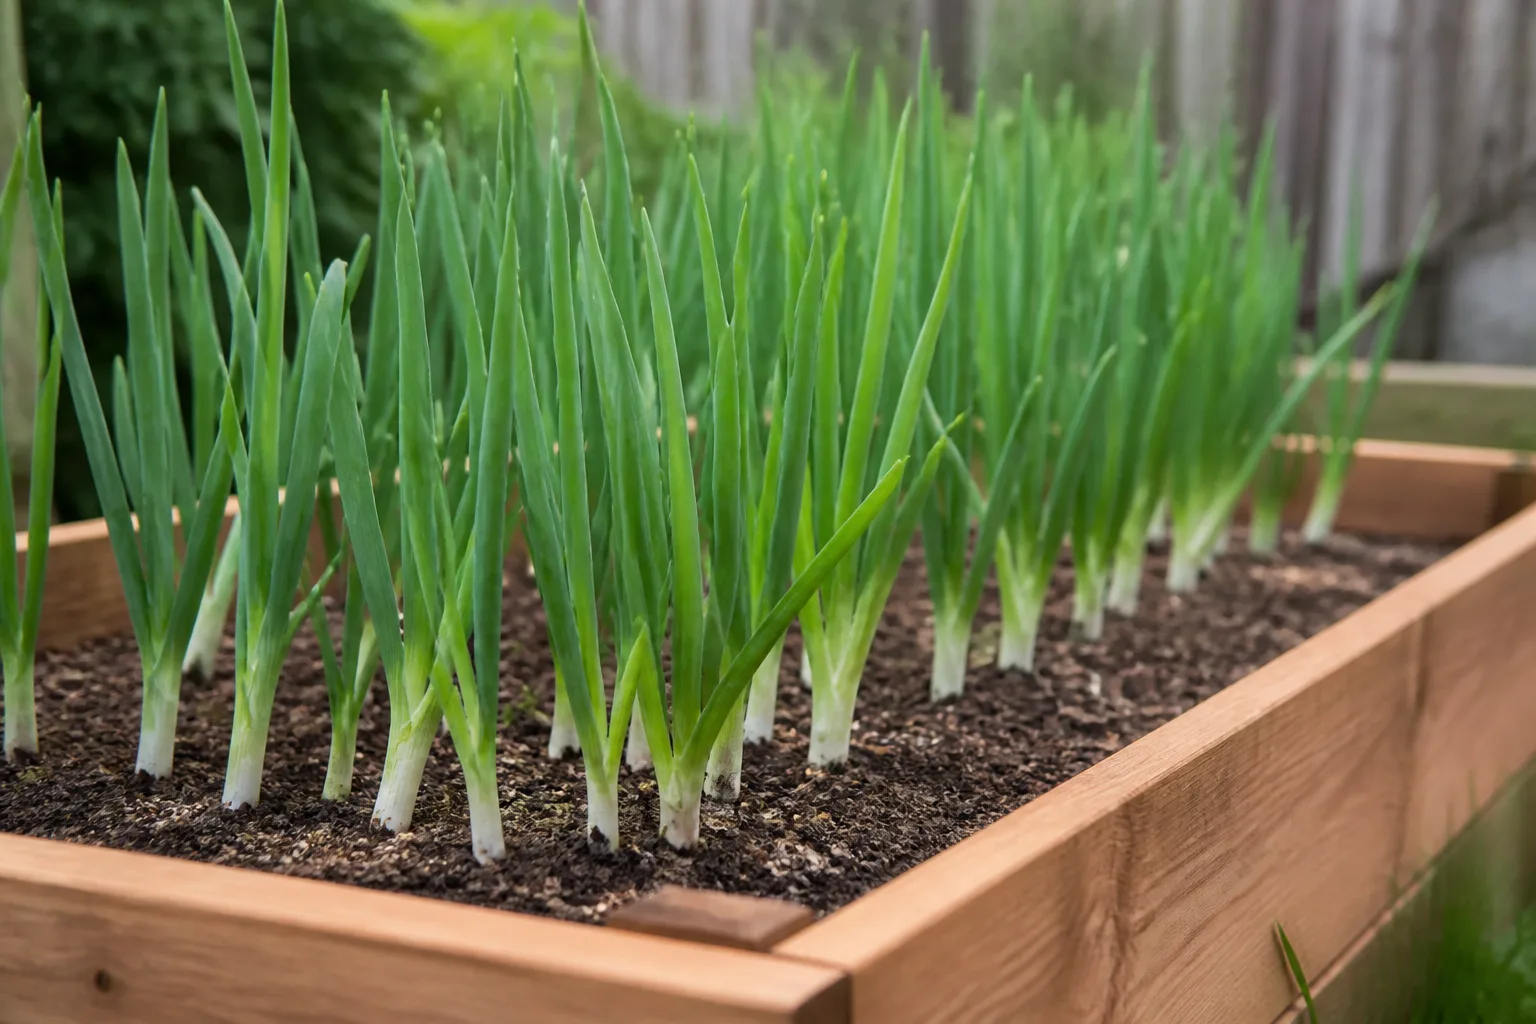
Green onions are a quick, space-efficient crop, but the best way to grow them depends on what you mean by “green onion.” You can sow true bunching onions for a repeat harvest, grow ordinary onion varieties and pull them young, or plant rooted ends from a grocery-store bunch. Seeds give you the most reliable long-term supply; scraps give you a small head start, especially once they move from a jar into soil.
For a first crop, choose a bunching onion such as Allium fistulosum, sow a short row or container, and keep the shallow root zone evenly moist. Most gardeners can begin harvesting when plants are pencil-thick or otherwise large enough to use; the packet’s days-to-maturity estimate is a guide, not a deadline. You can extend the season by sowing a little more every few weeks while your weather stays suitable.
Choose the right onion for the harvest you want
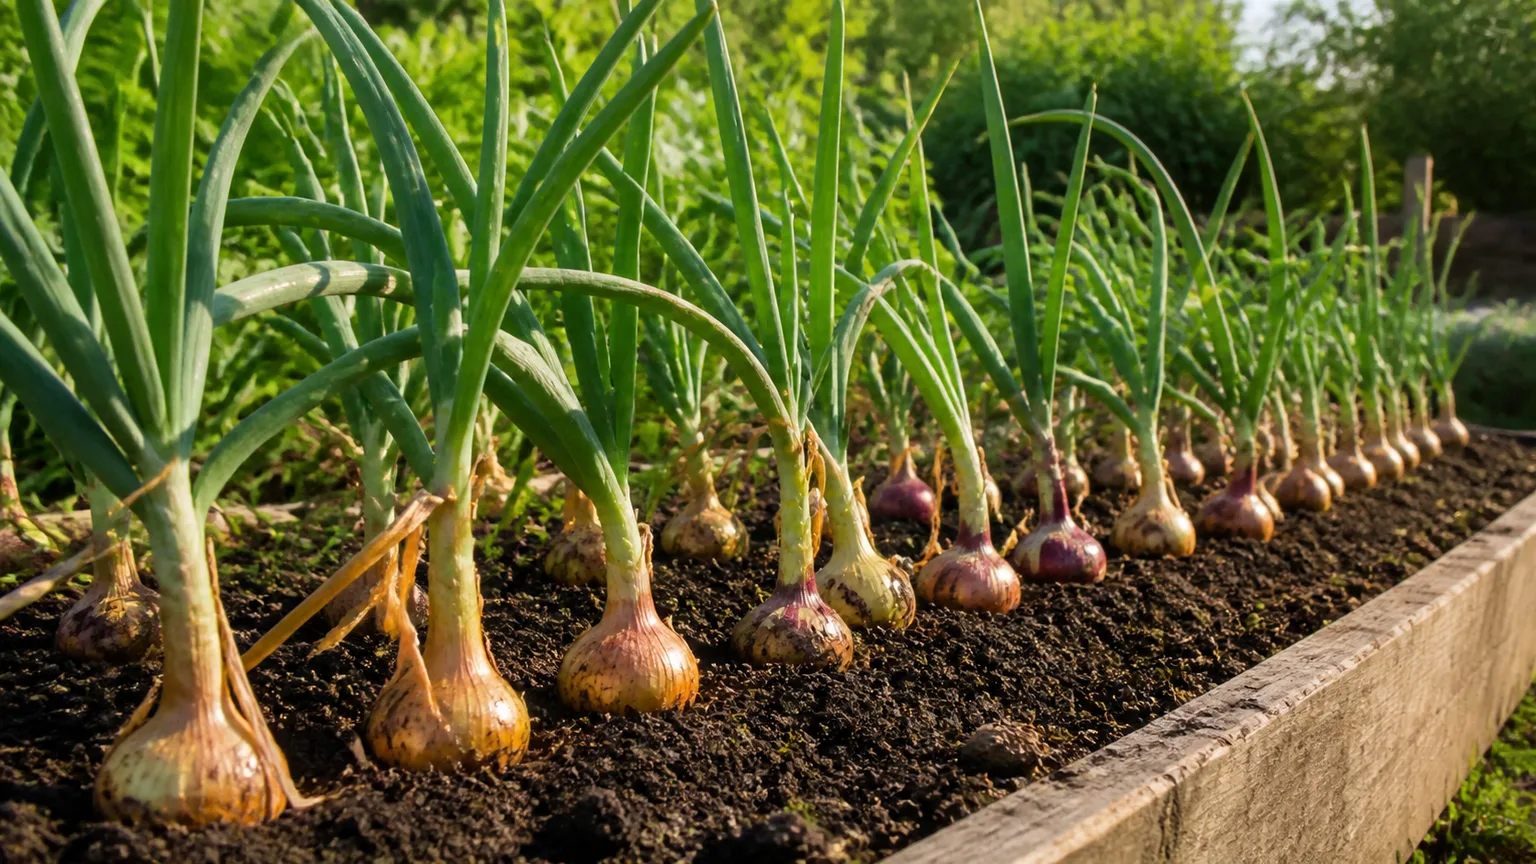
“Scallion,” “green onion,” and “spring onion” are used loosely in seed catalogs, grocery stores, and recipes. A true bunching onion, usually Allium fistulosum, makes upright leaves and a slender white base without developing a large storage bulb. Many grocery-store green onions, however, are ordinary bulb onions (Allium cepa) harvested before the bulb swells. Both are edible young, but the non-bulbing bunching type is the more straightforward choice when the goal is repeated scallion harvests; UC Master Gardeners explain the distinction and list both as common green onion sources.
Look for words such as bunching onion, scallion, or non-bulbing on the packet. If the packet names a cultivar, check its days to maturity and climate notes. Varieties such as ‘Evergreen Hardy White,’ ‘White Lisbon,’ or ‘Tokyo Long White’ are common options, but availability and performance vary by region; a locally recommended cultivar is often a better bet than choosing by name alone.
If you already have regular onion seed, you can still grow it as a green onion. Sow it thickly and harvest some plants while young, before the bulb expands. If you leave those same plants in the ground, they may progress toward bulb formation; frequent leaf cutting can slow that process, so do not expect a young bulb onion to behave exactly like a perennial bunching onion.
When to sow for steady harvests
Green onions are cool-season friendly and can be planted in spring, with another sowing later for a fall crop where the growing season allows. Rather than follow a single month on a calendar, use workable soil and the directions for your variety. Oregon State University Extension says bunching onion seed can be sown outdoors once soil reaches about 50°F, while its local climate guidance and your own frost pattern determine the practical window. In very hot regions, spring and fall may provide better growth than midsummer; in mild coastal or subtropical climates, sowing windows can be longer.
Indoor sowing is useful when spring arrives late or you want established seedlings ready for an early transplant. Starting a small batch every two to four weeks is more manageable than sowing a huge patch at once, and UC Master Gardeners recommend repeating small plantings every three to four weeks for a steady supply. Stop or slow succession sowing when heat or cold is likely to stall growth in your area.
The seed packet’s “days to harvest” often begins at sowing, but weather, light, watering, and cultivar change the pace. Many garden references put scallions in the neighborhood of 60 to 80 days from planting, while some cultivars or conditions take longer; use plant size and tenderness alongside the number printed on the packet. Harvest a few as a test rather than waiting for every plant to reach the same size.
For a balcony or small patio, stagger sowings in separate pots instead of crowding one planter with all the seed you have. One pot can be growing while another is being harvested, and the spacing stays easier to manage. In a short season, choose faster-maturing seed and prioritize the spring or early-fall window rather than sowing into weather that will stall growth.
Choose a bed or container that drains well
Pick a sunny spot that receives at least six hours of direct light on most days. Green onions tolerate some partial shade, but persistent shade, nearby weeds, or a crowded bed can leave their narrow leaves weak and slow. A raised bed is convenient because it drains well and makes it easier to see weeds among the fine leaves.
Work compost into loose, well-drained soil before sowing if the bed is low in organic matter. Do not use a rich, soggy mix to compensate for poor drainage: roots need steady moisture, not standing water. A thin mulch layer can reduce evaporation and weed competition after seedlings are established, but keep it light enough that the small plants are not buried.
For a container, choose a pot at least six inches deep with open drainage holes. Fill it with fresh potting mix rather than dense garden soil, which can compact in a pot and stay wet around the roots. A window box, wide planter, or small grow bag works; width gives you more harvest space, while depth and drainage protect the crop from fast drying and waterlogging. Oregon State University Extension’s container guidance also calls for a six-inch-deep pot with drainage.
Start green onions from seed
Onion seeds are small, so steady moisture during germination matters more than elaborate equipment. Use fresh seed if you can, label the sowing date and cultivar, and avoid burying seed too deeply. Keep the surface damp until seedlings appear, then shift to even watering rather than leaving the tray saturated.
Direct sow for the simplest setup
Direct sow when the bed is workable and local conditions suit the seed packet. Make a shallow furrow about ¼ inch deep, scatter seed thinly, cover lightly, and water gently so the seed does not wash into a clump. UC IPM’s onion-culture guidance gives about ¼ inch as a planting depth for onion seed and emphasizes maintaining good soil moisture; its guidance also notes that surplus seedlings can be thinned and used as scallions.
You can sow a narrow row or a short, three- to four-inch-wide band. A band is efficient when you want many small scallions, while a row is easier to weed and harvest one plant at a time. Mark the line clearly because the earliest onion leaves resemble grass, and pull weeds while they are tiny rather than waiting until their roots tangle with the crop.
Germination may not be perfectly even. If seedlings are patchy, first check whether the seedbed dried out or crusted over; do not reflexively reseed the entire row after only a few days. Onion seed can take longer in cool soil, so give a fresh sowing a reasonable window before deciding it failed. If the seed is old or the site repeatedly dries, start the next batch in a controlled tray or use fresh seed.
Start indoors for an earlier, more controlled crop
Sow indoors roughly eight to ten weeks before your planned outdoor planting date, following the cultivar packet if it differs. Use cell trays or a shallow seed-starting container with drainage, sow a few seeds per cell, and cover them lightly. A warm room helps germination, but once the shoots emerge, strong light is the priority: put the seedlings under a grow light close enough to prevent stretched, floppy growth, or use the brightest available window and rotate the tray.
Keep the mix evenly moist but not waterlogged. If several shoots emerge together, you can leave them as a small cluster for a bunching harvest or separate them carefully at transplant time. Savvy Gardening describes growing seedlings in small cell clusters and setting those clumps into the bed; that approach works well when you want tidy bunches, while individual seedlings make more sense if you want to size up each plant.
Before transplanting outdoors, harden seedlings off over about a week by gradually increasing their time outside in a sheltered spot. Set them at the depth they grew in the tray, water them in, and protect them from a sudden hot, dry spell. Burying the base very deeply is unnecessary for a normal scallion crop; if you want a longer white shank, gently hill loose soil around established plants rather than packing wet soil into their leaves.
Thin and transplant without crowding
Thin direct-sown plants when the seedlings are large enough to handle. Use the seed packet’s spacing as your main guide; one to two inches is common for small scallions, while plants left to grow thicker need more room. Snip or pull the thinnings and use them in the kitchen if they are clean and healthy. Thinning is not wasted seed: it gives the remaining plants room, airflow, and less competition for water.
For indoor starts, separate a cluster only if you want individual plants. If you prefer bunches, transplant the cluster intact and space clumps several inches apart, leaving enough room to get a hand or small tool between them. Water after transplanting, then check the bed the next day; loose roots can dry quickly in sun and wind even when the soil surface looked moist at planting.
Care for steady, tender growth
Green onions need a simple routine: enough light, moisture that reaches the shallow roots, and a bed that is not crowded by weeds. They do not need constant fussing or heavy fertilizer. Check the plants when you water; if the leaves are upright and the soil is slightly moist below the surface, the crop is probably on track.
Keep shallow roots evenly moist and weeds down
The roots sit close to the surface, so a container can dry faster than a garden bed. Water when the upper layer begins to dry, soaking the mix until excess drains from the pot; in a bed, water deeply enough to moisten the root zone rather than sprinkling the leaves every day. Adjust for rain, heat, wind, and pot size instead of relying on a fixed schedule.
Consistently dry soil can slow leaf growth and make the harvest stronger-tasting, while soggy soil can cause root and base rot. If leaves yellow after repeated watering, feel the soil and inspect the base before adding fertilizer. If the pot stays wet for days, clear its drainage holes, empty the saucer, and let the mix breathe before the next watering.
Weed early and shallowly. Onion roots are easy to disturb, so pull weeds by hand when they are small, or mulch lightly after the seedlings are established. UC IPM and Savvy Gardening both stress moisture and weed competition as practical constraints for onions; this matters especially in crowded rows where a few fast-growing weeds can overtake the narrow leaves.
Feed only when soil fertility calls for it
If you added compost to decent garden soil, extra fertilizer may not be needed for a short scallion crop. In a container, nutrients can run low after repeated watering and repeated harvests, so use a balanced vegetable fertilizer according to its label if growth stalls despite good light and moisture. Avoid applying concentrated fertilizer against the white bases, and do not assume that more nitrogen will fix pale leaves caused by waterlogged roots or shade.
A thin layer of finished compost can refresh a bed between sowings. For plants grown mainly for leaves, modest fertility supports steady growth, but heavy feeding is not a substitute for drainage, light, or even moisture. If the crop is growing vigorously and the leaves are a healthy green, skip the extra feed.
Regrow store-bought green onions from root ends
A grocery-store bunch can provide rooted bases for another small harvest if the roots and basal plate remain intact. Cut the edible leaves above the white base and keep the little root tuft attached. A base that has been sliced through the root plate, feels mushy, or smells sour is a poor candidate; start with firm, fresh pieces instead.
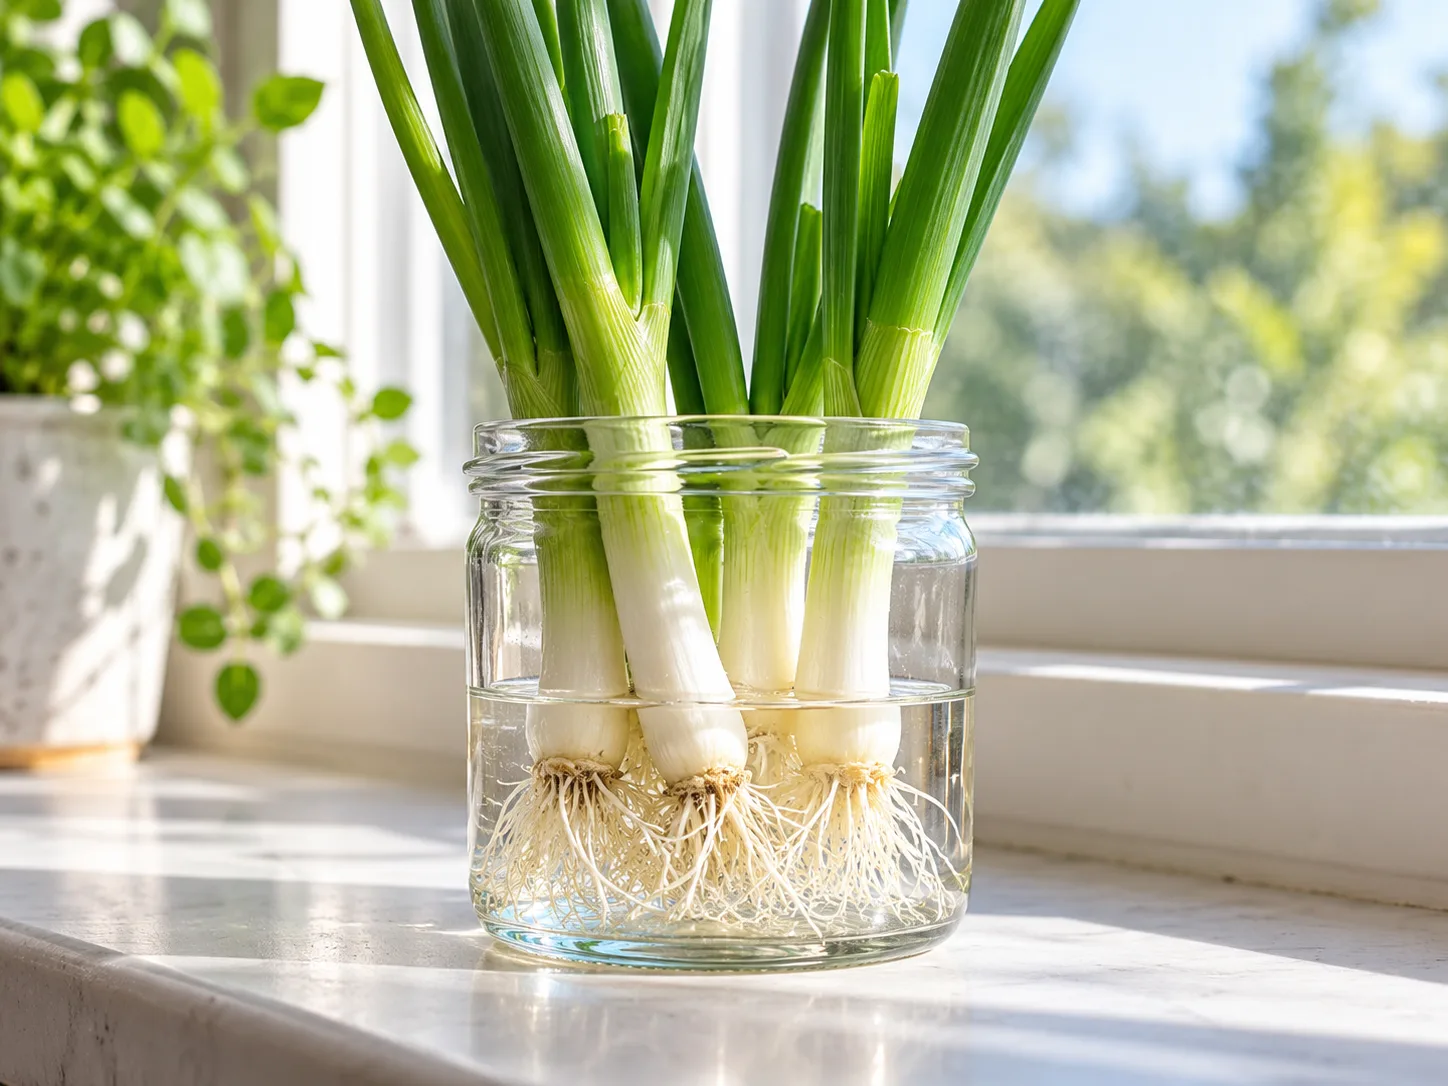
Use water as a short starter, not a permanent growing system
Stand the root ends upright in a small jar and add only enough clean water to cover the roots. Keep most of the white stem above the waterline, place the jar in bright light, and refresh the water every few days or sooner if it turns cloudy or smells off. New green growth may appear quickly because the base already contains living tissue and roots; it is restarting growth, not creating a full plant from a severed leaf.
The jar is a convenient way to see new shoots, but water alone does not supply the range of nutrients a plant needs for sustained growth. A piece of old scallion may push out leaves for a while, then produce thinner growth or soften at the base. Better Homes & Gardens recommends moving rooted green onions into soil once new shoots are a few inches long, and A Piece of Rainbow’s regrowing guide notes that soil-grown scraps make larger plants than water-grown ones.
Treat water regrowth as a brief bridge or a windowsill experiment, not an endless harvest promise. If the base becomes slimy, cloudy water persists after refreshing, or the leaves collapse, discard that piece and clean the jar before trying another. Keep the jar out of hot direct sun, which can warm the water and speed deterioration.
Move rooted bases into potting mix
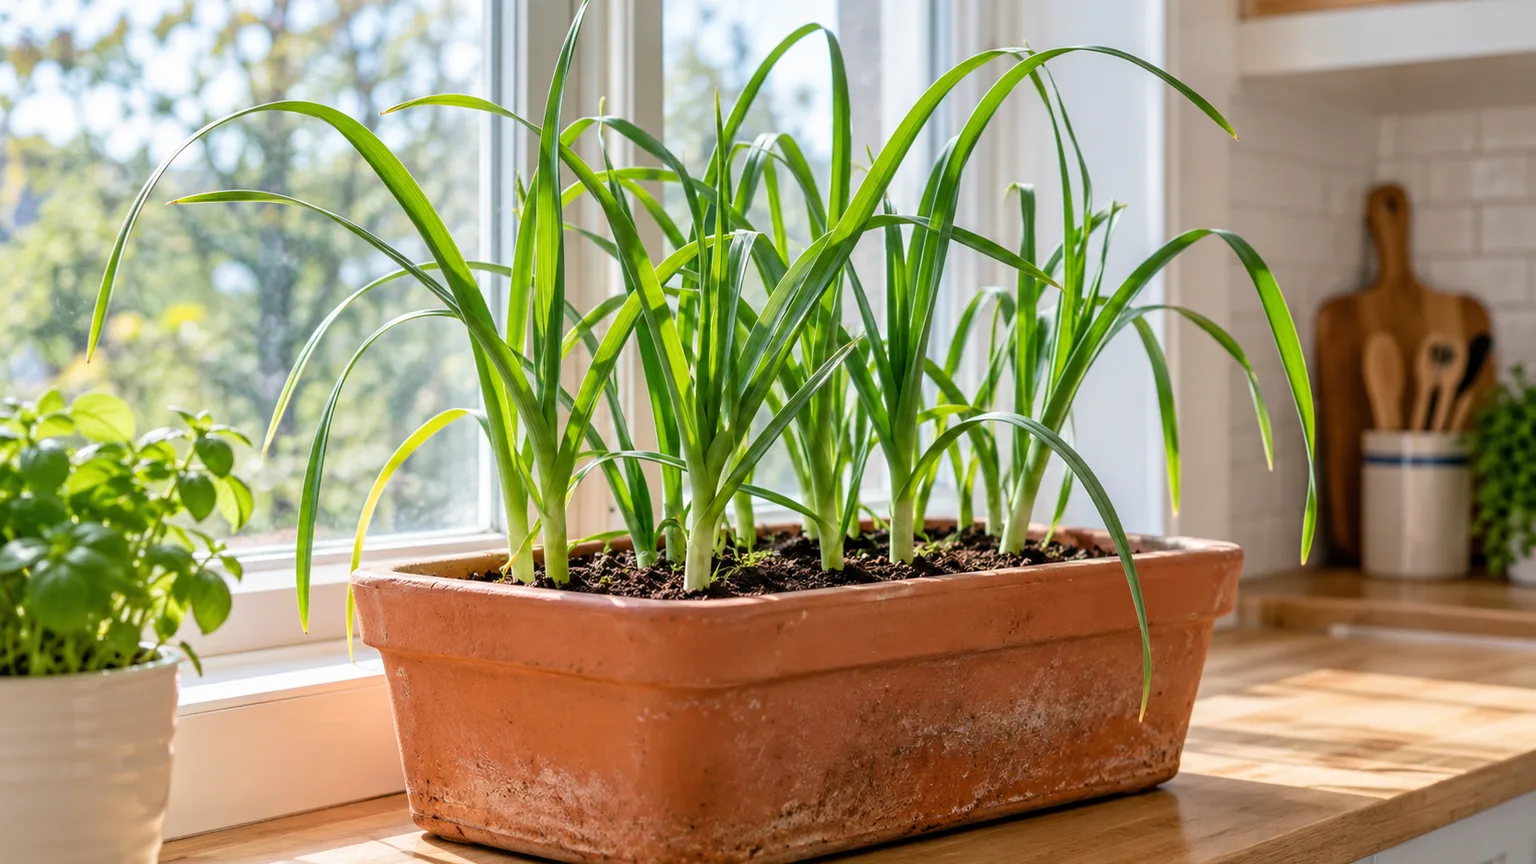
For a longer-lived plant, fill a small pot with damp, well-draining potting mix and make holes deep enough for the roots. Set each base so its roots are covered and its white stem is supported, with the green growing point above the surface. Gently firm the mix and water until it drains. If the scraps have already developed long, delicate roots in water, handle them by the base rather than tugging on the root strands.
Place the pot where it receives several hours of strong light. A sunny outdoor spot is often brighter than an indoor windowsill, but acclimate a newly potted plant to direct sun over several days. Keep the mix lightly moist while roots adjust, then water when the surface begins to dry. After the base is established, harvest a few outer leaves at a time and leave the center intact for new growth.
A rooted scrap can become a useful plant, but it will not necessarily produce a thick, uniform bunch like fresh seed. The remaining base is small, and repeated cutting draws on its stored energy. If you want a continuous supply for cooking, plant several rooted ends as a bonus and start a separate seed row for dependable volume.
Harvest by leaf or whole plant
You can begin harvesting when the leaves are large enough to use and the bases are sturdy; many gardeners use pencil-thick plants as a practical cue. A crop may reach that stage around 60 to 80 days after sowing, but cool conditions, short days, shade, and cultivar all affect the calendar. UC Master Gardeners report that scallions are often harvested through the season at roughly 60 to 80 days, while Better Homes & Gardens gives a broader 60-to-90-day window. The plant’s size and tenderness are more useful than treating either estimate as a guarantee.
For a partial harvest, cut a few outer leaves cleanly, leaving the center leaves and rooted base in place. Avoid repeatedly cutting every leaf to the soil line; the plant needs green tissue to keep growing, and severe cutting slows recovery. With bunching onions, you can also pull an entire plant when you want the mild white base, then use thinning as a way to make space for its neighbors.
In a dense patch, harvest alternate plants first and let the rest grow larger. This simple pattern gives you tender young scallions now and more substantial stems later without maintaining separate beds. Rinse harvested greens, dry them well, and refrigerate; if the tops wilt quickly, wrap them loosely in a barely damp towel and use them soon.
Troubleshoot thin, yellow, or bolting plants
If the seedlings emerge but stay threadlike, check crowding and light first. Thin plants that are packed together, move indoor starts closer to a suitable grow light, and weed around the row. If the bed is dry below the surface, water more thoroughly; if it is continuously wet, improve drainage before adding fertilizer.
Yellow leaves can be older outer leaves aging naturally, but widespread yellowing often points to stress. Check whether the soil is soggy, whether the pot drains, and whether weeds are competing for moisture. If the plants have been in the same area with onion-family crops and show stunted or damaged growth, remove badly affected plants and rotate the next allium sowing to another part of the garden; UC IPM lists crop rotation and good site conditions among its onion-culture recommendations.
A flower stalk means the plant is bolting. Heat, seasonal change, or a plant’s age can trigger flowering, and the leaves may become tougher or stronger in flavor. You can still eat healthy leaves and the unopened flower stalk, or let some flowers mature if you want seed from an open-pollinated variety. If the goal is tender greens, harvest the remaining useful plants and sow a fresh batch when your local weather is more favorable.
Conclusion
For a dependable green onion patch, sow a bunching onion variety in workable soil, keep the shallow roots evenly moist, and thin the seedlings before they compete. Grow ordinary bulb onions as scallions if that is the seed you have, but know they are harvested young rather than kept permanently non-bulbing. A container can work well when it is at least six inches deep and drains freely.
Rooted grocery-store ends are worth planting, especially if you move them from a jar into potting mix, but treat them as a bonus crop rather than a substitute for seed. Harvest outer leaves when you need a small amount, pull whole plants when you want the white base, and sow another small patch every few weeks during a suitable season. That rhythm is the simplest route to fresh scallions without relying on a single crop or a water jar that cannot feed a plant forever.