How to Grow and Care for Balloon Flowers Outdoors
Balloon flowers bloom from puffed buds, but their slow spring start and fragile roots can trip up new growers. Learn when to plant, water, prune, and sow seed.
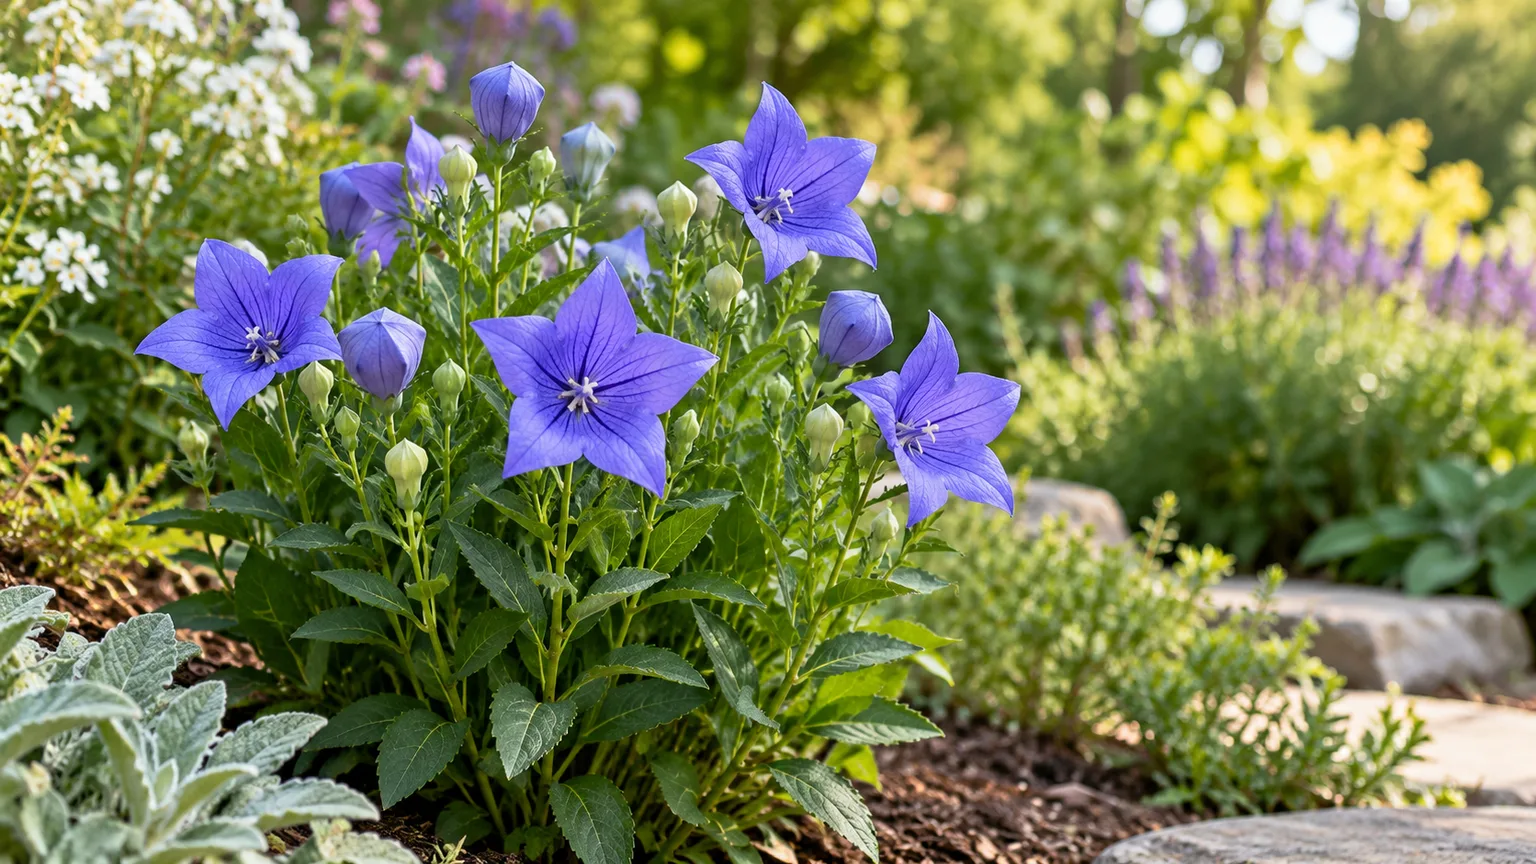
Balloon flower (Platycodon grandiflorus) is a hardy perennial whose rounded buds swell before opening into wide, five-pointed flowers. That unusual bud stage is the charm; the plant’s two less obvious traits are just as important to growing it well: it emerges late in spring, and its fleshy roots do not like being disturbed.
Choose a place where it can stay for years, give it sun and soil that drains, and be patient when the garden wakes up before it does. With those decisions made, balloon flower is a relatively low-maintenance border plant that returns each year in USDA hardiness zones 3–8. NC State Extension describes it as a clump-forming perennial with a fragile fleshy root system; University of Illinois Extension also notes its slow establishment and very slow spring emergence.
Balloon flower at a glance
| Trait | What to expect |
|---|---|
| Botanical name | Platycodon grandiflorus |
| Type | Deciduous, clump-forming perennial |
| Typical size | About 1–2 feet tall and 1–1.5 feet wide; compact cultivars are shorter |
| Light | Full sun to partial shade |
| Soil | Moist, fertile, well-drained; loam is a good fit |
| Bloom | Usually summer; timing shifts with region and cultivar |
| Hardiness | USDA zones 3–8 |
Those are useful starting ranges, not promises for every cultivar. The RHS plant profile gives a broad mature height of roughly 10–60 cm and notes that plants can take two to five years to reach their mature size, so check the label when height matters.
Balloon flower is a garden perennial, not a low-light indoor plant. It can be grown in a pot outdoors, but its seasonal growth cycle, sun needs, and winter hardiness make a permanent garden bed the simplest option for most gardeners.
Choose a sunny, well-drained site
Aim for at least six hours of direct sun on most days if you want the strongest flowering. Balloon flower also tolerates partial shade; in a hot-summer garden, morning sun with some protection from the harshest afternoon heat can keep plants looking fresher without sacrificing all their bloom. Deep shade usually produces a looser plant with fewer flowers.
Drainage matters more than achieving a perfect soil-pH number. NC State Extension describes a preference for well-drained, slightly acidic soil, while the RHS lists balloon flower for loam across acidic, neutral, or alkaline conditions; both point toward a soil that stays reasonably moist without remaining saturated. If your bed holds water after rain, choose a raised or sloped position rather than planting in a low pocket.
A loamy bed with organic matter is a good target. In dense clay, improve the whole planting area with finished compost and make sure water can move away; adding a little grit to one planting hole will not correct a heavy, poorly drained bed. In very sandy ground, compost helps hold enough moisture for new roots. Avoid fresh manure or a heavily fertilized pocket, which can push leafy growth at the expense of sturdy stems.
Before planting, watch the site after a normal rain and note how quickly it drains. If it stays shiny or muddy well into the next day, balloon flower is a poor fit there unless you can raise the bed or redirect runoff. Solving drainage before planting is easier than trying to rescue an established plant whose roots resent digging.
Plant once and protect the fleshy roots
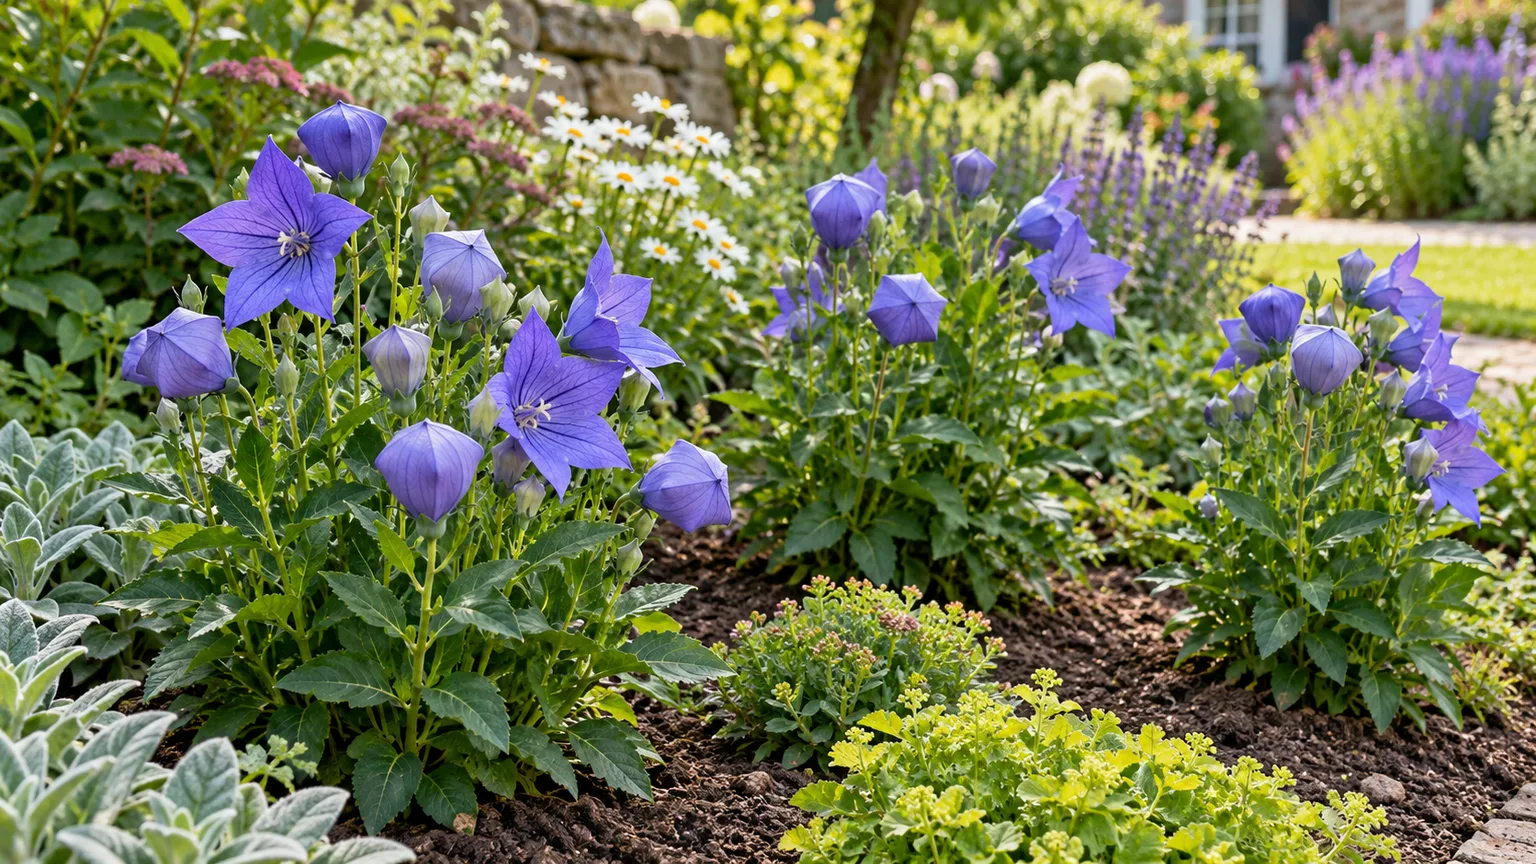
Spring is a straightforward time to plant a nursery-grown balloon flower: wait until the ground is workable and severe frost is past, then water it in. In mild climates, a cool fall planting can also work while there is enough time for roots to settle before the soil freezes, but a newly planted specimen should not enter winter bone-dry or sitting in wet ground. Container-grown plants are easiest to handle before hot weather stresses them.
Give the clump room according to its cultivar. A general spacing of about 12–18 inches suits many standard forms, while a label for a taller or wider cultivar should take priority; short cultivars can sit closer to the front of a border. The mature clump is more attractive when air and light reach its stems, and adequate spacing also makes it easier to spot damaged leaves.
Set the plant at the same depth it grew in its nursery pot. Slide the root ball out gently, keep it intact, and avoid tugging, teasing, or trimming healthy roots; backfill with the soil you removed, press lightly, and water thoroughly. NC State Extension warns that division and transplanting are difficult because the fleshy root system is fragile, so do not treat a balloon flower like a perennial that can be casually lifted and split.
This is the moment to decide where the plant will live. Keep it out of spots that will later need frequent digging, edging, or bulb planting, and place a marker nearby before the foliage disappears in autumn. A little planning now prevents the common mistake of damaging a healthy dormant crown later.
Water for establishment, then ease back
During its first growing season, water deeply when the soil begins to dry rather than giving it frequent shallow sprinkles. Check the soil near the plant with a finger: if the top inch or two is dry and there has been little rain, water slowly at the base until the root zone is moist. In a cool or rainy spell, wait; a calendar-based schedule can keep an already-wet bed saturated.
Once established, balloon flower usually needs supplemental water only when rainfall has been scarce and the soil is drying several inches down. It can tolerate a short dry spell better than standing water, but long drought during bud formation can stress the plant and shorten its display. A layer of organic mulch helps even out moisture; leave a small open ring around the crown so mulch does not stay packed against the stems.
Use the plant’s condition and the soil together. Limp leaves with dry soil after a hot week point toward drought stress, while yellowing lower leaves in wet soil call for less water and better drainage. Shriveling buds alone are not a diagnosis: check whether the soil is dry or soggy before changing your watering routine.
Feed lightly rather than chasing growth
Balloon flower does not need a high-octane feeding plan. If the bed is reasonably fertile, a thin top-dressing of finished compost in spring is usually enough to maintain soil structure and provide modest nutrients. Keep compost off the crown and avoid burying the plant’s emerging shoots.
If the soil is poor or a soil test shows a deficiency, use a balanced garden fertilizer at the label rate in spring. Do not add fertilizer simply because a plant is slow to emerge or has not flowered by early summer; this species can take time to establish, and feeding will not correct shade, waterlogging, or root injury. Excess nitrogen often means more soft foliage and less reliable structure, so skip repeated applications.
Keep stems upright and flowers opening
Flowering generally arrives in summer, often around July and August in temperate gardens, but local weather and cultivar affect the exact window. The balloons open into blue or violet-blue stars most commonly, with white and pink cultivars also available. Flowers are held above the foliage, which makes the swollen buds and open blooms visible even in a mixed border.
Deadhead only if you want a tidier plant, a longer display, or fewer seed pods. Snip a faded flower just below its base while leaving nearby unopened buds on the stem; the remaining buds can still open. If you want to save seed, leave a few flowers to form dry pods, then collect them before they split and scatter.
Tall cultivars may need support, especially in windy gardens or soil that encourages soft, lush growth. Place a slim support or grow-through ring early in the season, before stems are crowded with buds, so you can guide the plant without tying tightly around fragile stems. If the plant flops every year, choose a naturally compact cultivar next time rather than repeatedly cutting the whole clump back once it is flowering.
A clean pair of pruners is all you need for deadheading or removing a damaged stem. Cut only the portion that is finished or broken; removing every stem in midsummer sacrifices unopened buds and the foliage the plant needs to replenish its roots.
Expect a late spring return
Balloon flower dies back aboveground after the growing season and returns from its perennial root system. The catch is that it may emerge noticeably later than nearby perennials, sometimes when a bed already looks active and gardeners are tempted to replant the empty space. The University of Illinois Extension calls its spring emergence very slow, and practical growing notes from Blooming Expert flag the same spring delay.
Mark the crown in fall with a low stake or plant label before the foliage dies. In spring, leave the spot undisturbed while neighboring plants leaf out; do not fork, cultivate, or transplant there just because you cannot yet see shoots. If the plant has been in the ground for years and the marker remains in place, patience is safer than digging around for roots.
Cut the dead stems back to the base in autumn or early spring once they are clearly dry. If you prefer to keep a visual reminder through winter, leave a few old stems until spring cleanup, then remove them before new growth is crowded. Keep mulch loose and pulled back from the crown; the goal is to protect soil, not create a wet collar over the plant.
A dormant plant can be difficult to distinguish from a loss, especially after an unusually cold winter or a wet season. Check for a soft, foul-smelling crown or a history of standing water before deciding it has died. If there is no clear rot, wait for warmer soil and avoid probing with a trowel, which can injure the very roots you are trying to find.
Grow balloon flowers from seed
Seed is the most practical way to raise several plants without disturbing an established clump. Balloon flower seeds are very small, and light helps them germinate, so press them onto the surface of the seed-starting mix instead of burying them under a thick layer of soil. A peer-reviewed germination study indexed by PubMed found that light and temperature significantly affected germination; it identified 25°C (77°F) with light after a short soak as an optimal test condition.
That study gives a useful direction, not a guarantee that every seed packet will behave identically in a home tray. A practical guide from Blooming Expert reports germination in roughly two to three weeks under favorable conditions, while Gardening Know How describes collecting seed from dry pods and sowing in spring. Follow the seed supplier’s instructions if they differ, but keep the seed exposed to light and the surface consistently moist.
Start seed indoors with light
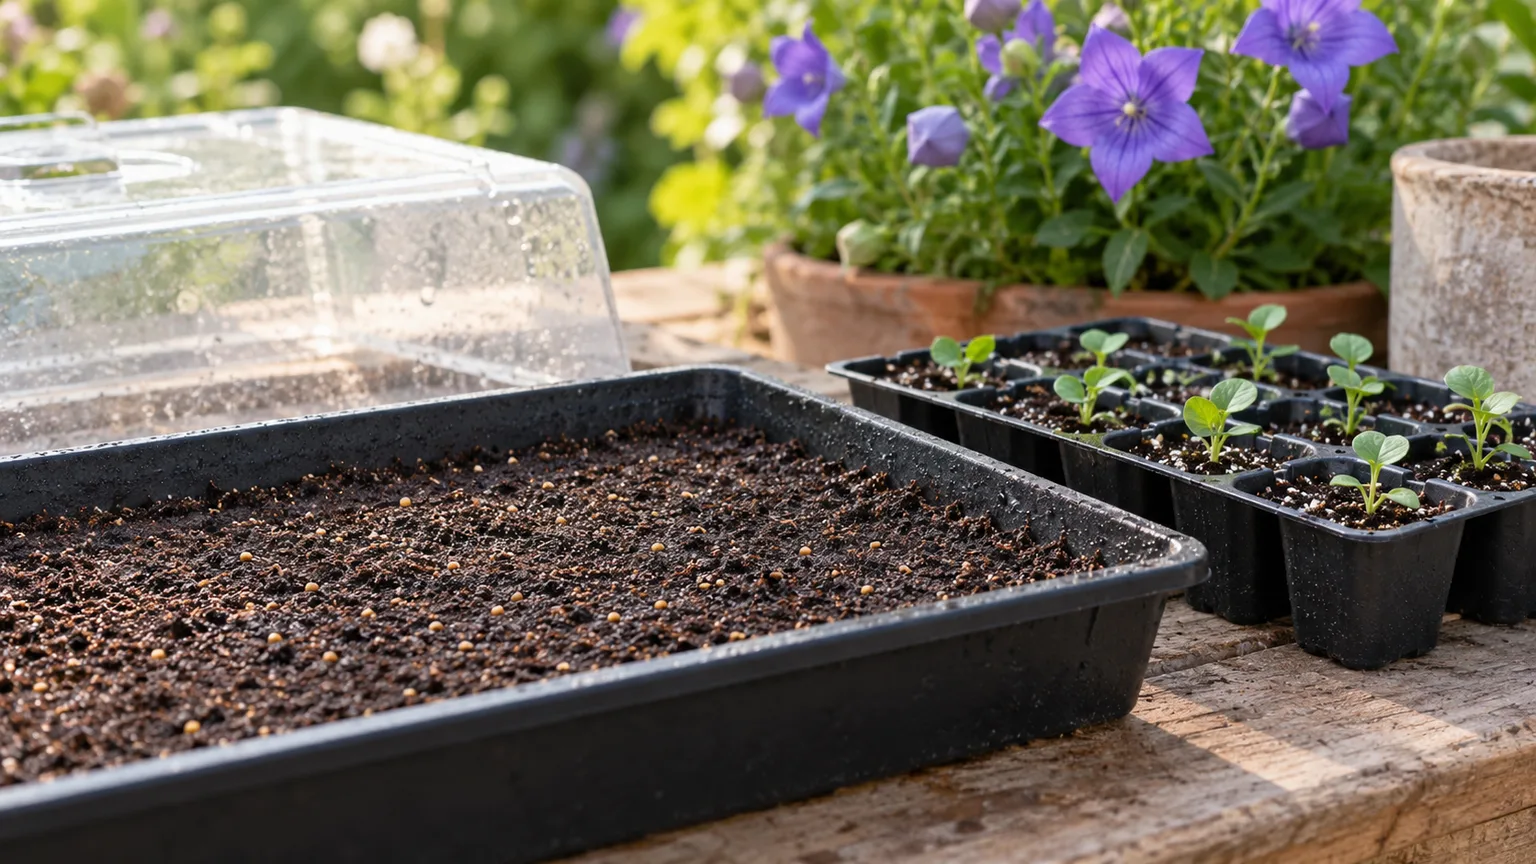
Start indoors in late winter or early spring, around six to eight weeks before your expected last frost. Use a clean tray or small pots filled with moist, fine seed-starting mix; scatter seeds on top, press them into contact with the mix, and do not cover them. A clear cover can slow drying, but vent it if condensation drips constantly or the surface stays waterlogged.
Set the tray in a bright position with steady warmth, around 70–77°F if you can manage it. Keep the surface damp with a fine mist or bottom watering, then drain excess water so the tiny seeds are not floating or buried. If seedlings emerge unevenly, keep caring for the whole tray rather than pouring water over it to speed the slowest cells.
Once seedlings have a few true leaves, move them into deeper individual cells or small pots so roots have room to develop. Handle the plug, not the stem, and disturb the roots as little as possible. Harden the seedlings outdoors gradually after frost risk has passed, then plant them in their permanent place; repeated potting-on and transplanting create extra root disturbance without much benefit.
A seed-grown plant may flower in its first summer if it was started early and grows well, but first-year bloom is not a reliable pass/fail test. Some plants spend that season establishing roots and produce a stronger display later. If the seedlings stay alive and make healthy leaves, let them settle rather than forcing flowers with extra fertilizer.
Direct-sow after frost
You can sow directly into a prepared bed after frost danger has passed and the soil is workable. Choose the permanent site first, loosen the surface, press the seed in place without covering it, and water with a gentle spray so the seed stays exposed. Mark the row or cluster clearly; seedlings are small, and the mature plant will not appear aboveground early the following spring.
Direct sowing is simpler but less controlled than a tray. Rain can move tiny seeds, weeds may emerge at the same time, and the young plants are harder to protect from slugs. For a small number of plants or a garden with heavy weed pressure, starting in cells is usually easier.
Propagate or move an established clump carefully
Do not divide balloon flower just because the clump is old. Unlike many perennials, it can remain in place for years and is difficult to lift cleanly because the root system is fleshy and fragile. RHS guidance recommends propagation by seed or rooted basal shoots; NC State Extension also lists seed and division but cautions that division and transplanting are difficult.
If you need another plant, start with seed or look for a small rooted basal shoot that can be separated without excavating the whole clump. A division is a last-resort option for a plant that must be moved, not a routine rejuvenation task; do it in spring while growth is small, take as much root as possible, and expect the move to set the plant back. Avoid stem cuttings as your default method when the supported, lower-disturbance options are seed or rooted shoots.
If the plant must be relocated, prepare the new hole first, water the old plant, and lift a generous root ball rather than pulling at the crown. Replant at the same depth and water in gently. Even careful handling may not prevent a pause in growth, which is why choosing a permanent location at the beginning is the better strategy.
Pick a cultivar that fits its place
Cultivar choice determines whether you need support, where the plant belongs in a border, and whether a pot is realistic. The species can reach about two feet, while compact selections are only a few inches to around a foot tall. A label from a local nursery is more useful than assuming all balloon flowers share the same height.
| Cultivar | Approximate height | A useful placement |
|---|---|---|
| ’Astra Blue’ | About 4 inches | Rock garden, edging, or a small pot |
| ’Sentimental Blue’ | About 6–12 inches | Border front or container |
| ’Fairy Snow’ | About 6–12 inches | A low white-flowering edge |
| ’Mariesii’ | About 18–24 inches | Middle of a perennial border |
| ’Hakone Blue’ | Around 2 feet | Taller border, with support if needed |
The University of Illinois Extension profile lists those forms with varying heights and colors; NC State Extension notes that ‘Astra Blue’ is a dwarf cultivar. Use the table as a placement guide, then check the tag because stock, growing conditions, and cultivar naming can vary.
If you want blue blooms at the front of a path, a dwarf form is a better choice than trying to restrain a tall cultivar. For a mixed border, repeat one variety in small groups so the flowers read as a deliberate drift rather than isolated dots. White and pink selections can soften a blue planting, while the inflated buds add interest before the flowers open.
Grow balloon flowers in a container
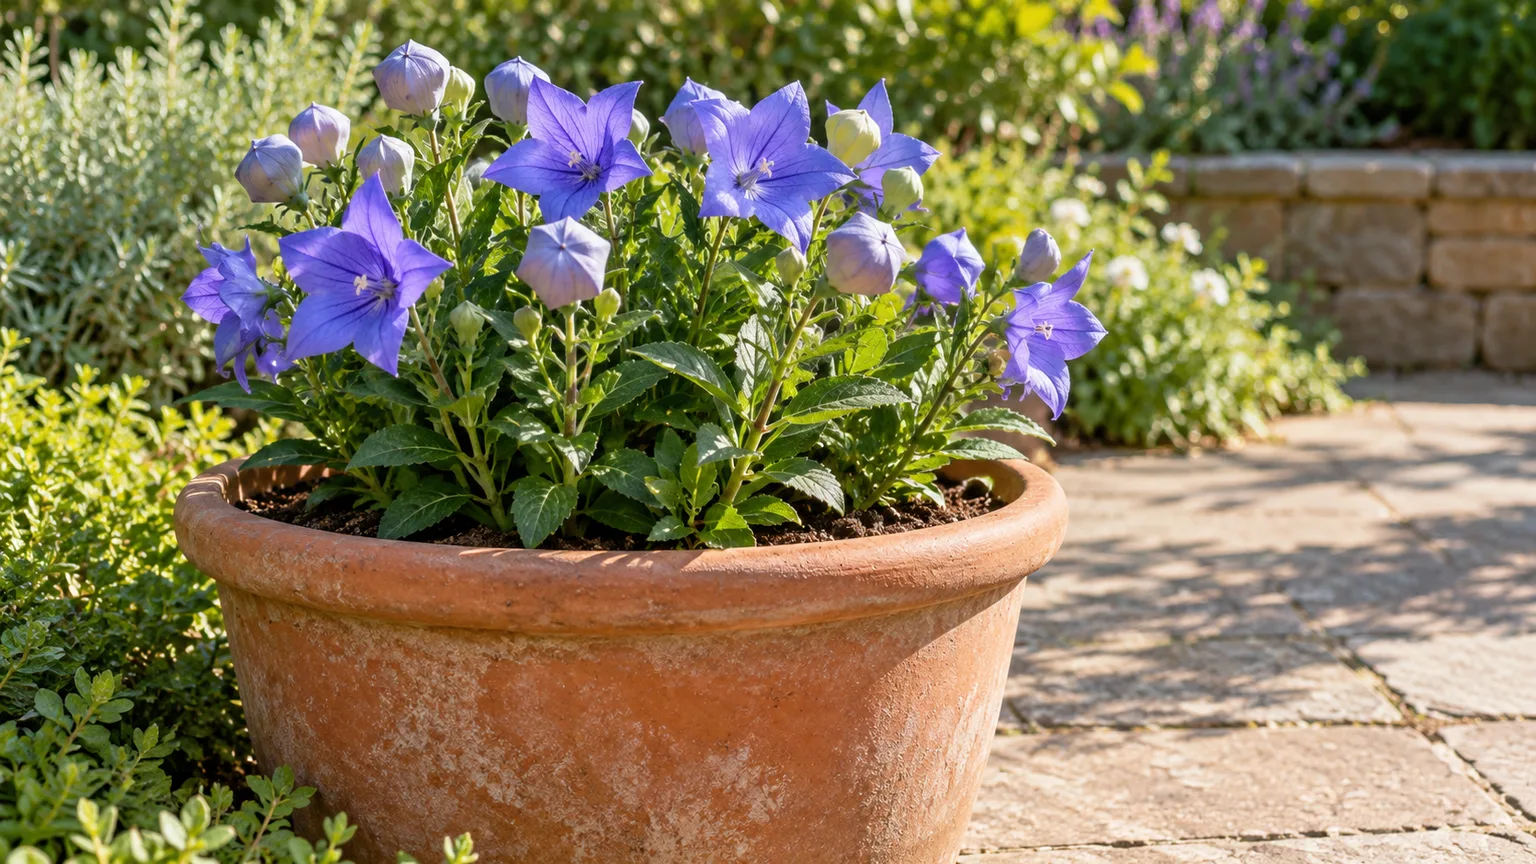
Choose a deep, stable pot with unobstructed drainage holes. A depth of roughly 10–12 inches gives the root system more room than a shallow bowl; select a dwarf cultivar to keep the plant proportionate and reduce the chance of stems leaning over the rim. A container-specific growing note from Blooming Expert likewise recommends a deep pot and a free-draining mix.
Use fresh potting mix rather than dense garden soil, and do not place a layer of gravel at the bottom as a substitute for drainage. Set the root ball at its original depth, water until excess runs from the bottom, and empty any saucer that holds water. Container mix dries faster than a garden bed, so check it more often in hot weather while still allowing the surface to begin drying between waterings.
Keep the pot outdoors in the light conditions described above. Balloon flower is a hardy perennial, but roots in a pot are more exposed to winter cold than roots in the ground; in the coldest part of its range, shelter the container against a protected wall or sink it into the soil for winter. Do not bring it into a warm room as a year-round houseplant and expect the same cycle as an outdoor perennial.
Troubleshoot from the whole plant
One symptom rarely tells the whole story. Before watering, feeding, spraying, or digging, check the soil moisture, crown condition, recent weather, and how much light reaches the plant; those observations usually narrow the cause more quickly than a treatment guess.
Yellow, soft foliage points to wet roots
Yellowing leaves can occur for several reasons, but yellow lower foliage paired with soft stems and persistently wet soil is a warning to check drainage. Stop watering until the root zone begins to dry, remove standing water from the surrounding bed, and make sure mulch is not pressed against the crown. If the crown itself is brown, soft, or foul-smelling, root or crown rot may already be advanced; a fungicide will not correct a waterlogged site.
If the leaves are crisp or the soil is dry several inches down, the plant may instead need a thorough drink. Water at the base and reassess after the soil is moist rather than giving a small splash every day. The same plant can wilt from either very dry or very wet roots, so soil condition is the deciding check.
No spring shoots may be normal dormancy
Balloon flower is one of the later perennials to return. If the plant was healthy last year and its marked site has not been disturbed, wait through early spring instead of scratching around the crown. The University of Illinois Extension profile specifically notes very slow emergence.
Look for other evidence before you write the plant off: was the bed waterlogged through winter, did digging occur over the crown, or does the marker show the plant was moved? If there is no such damage, give the soil time to warm. Do not fill the space with a shovel or a new perennial until you are confident the original clump is gone.
Floppy stems or few flowers have more than one cause
A tall cultivar in shade may stretch toward light, while a plant in rich, nitrogen-heavy soil can make lush, weak stems. Give the plant more sun if its location allows, stop unnecessary feeding, and add a support early enough that it catches the stems without bending them. If the site is shady and the cultivar is tall, replace it with a compact selection rather than continually cutting it down.
Few flowers can also follow a recent transplant or first-year seedling. Those plants may be establishing roots, so do not respond with heavy fertilizer or repeated division. Give them a season in a suitable site; if a mature clump still produces few blooms, check sun and drainage before changing the soil chemistry.
Chewed leaves and spots need different responses
Small irregular holes on young leaves often point to slugs or snails, which the RHS plant profile lists as possible pests. Inspect at dusk or after rain, remove hiding debris close to the plant, and hand-pick pests where practical. Protect seedlings first; established clumps generally have more foliage to spare.
Powdery-looking patches, dark spots, or gray fuzzy growth are not the same problem as chewing. Remove heavily affected leaves, improve air movement, and water at soil level; avoid applying a fungicide until you have a positive diagnosis and a product label that covers the plant and problem. The RHS describes balloon flower as generally disease-free, so first correct obvious stress such as crowding, wet foliage, or poor drainage.
Conclusion
The most reliable balloon flower care plan is simple: choose a sunny or lightly shaded site with good drainage, plant the root ball at its original depth, and leave the clump where it can stay. Water regularly while a new plant establishes, then irrigate only through dry spells; deadhead for a tidier display and stake tall forms before they flop.
Remember the late spring emergence and mark the crown before autumn dieback. If you want more plants, sow seed on the surface or use a rooted basal shoot rather than routinely dividing a fragile established clump. A compact cultivar in a deep outdoor pot can work, but a permanent border spot remains the easiest way to enjoy those inflated buds and summer stars year after year.