How to Grow Peas in Containers: A Practical Guide
Choose a pea variety and pot that fit your space, then follow clear steps for sowing, support, moisture, troubleshooting, and picking tender pods.

A pot of peas succeeds when three choices fit together: a compact enough variety, a container with room for roots and a stable support, and a sowing date that gives the plants cool weather while they flower. Get those right and even a balcony can produce fresh snap peas, snow peas, or shelling peas without a garden bed.
Container peas are not a miniature version of a full row. A pot holds less water and nutrient reserve, and its trellis catches wind, so the crop needs closer attention and usually yields fewer pods than an in-ground planting. The advantage is control: you can move the pot away from a cold snap or a sudden heat spell, keep the soil clean, and put the harvest near the kitchen.
What container peas can—and can’t—do
Peas are cool-season annuals that grow quickly from seed and can make use of vertical space. They suit patios, balconies, courtyards, and sunny doorways where a raised planter or large pot is more practical than a vegetable bed. A modest container can provide repeated handfuls of pods, but it will not match a long row in total volume; grow them for freshness and convenience rather than a pantry-sized harvest.
The edible garden pea is Pisum sativum. Do not confuse it with sweet pea, a flowering ornamental grown for its fragrant blooms; sweet pea seeds and pods are not food. For edible crops, choose a seed packet that clearly identifies shelling/garden peas, sugar snap peas, or snow peas, and check the mature height before buying.
Peas also have a short productive window. They tend to establish and flower well in cool weather, then slow or stop setting pods as heat builds. That makes timing and container placement more important than complicated pruning or frequent fertilizer.
Choose a pea type and variety that fit your space
The three common edible types differ mainly in what you eat and when you pick it. Choose based on the meal you want, then match the cultivar’s height to the support you can safely anchor.
| Type | What you eat | Harvest cue | Container fit |
|---|---|---|---|
| Shelling or garden pea | The round seeds, removed from the pod | Pods feel full; shell a test pod to check tenderness | Dwarf forms suit pots; vining forms need a taller trellis |
| Sugar snap | The crisp, fleshy pod and the peas inside | Pods are plump but still tender | Compact cultivars are easiest; climbing cultivars need firm support |
| Snow pea or mangetout | The flat, tender pod | Pick while the peas inside are still small | Dwarf types fit smaller supports; all benefit from airflow and easy picking |
For a small container, look first for “dwarf,” “bush,” “compact,” or “patio” on the packet. ‘Sugar Ann’ is one compact snap-pea option; ‘Little Marvel’ is a dwarf shelling pea. There are also short snow-pea cultivars, but maturity days and height vary by supplier, so use the specific packet rather than assuming every named type stays small. The Royal Horticultural Society’s pea guide lists compact selections such as ‘Sugar Ann’ and notes that pea varieties range from dwarf plants to vines around 6 feet tall.
Tall vines can still work in a large container if you have a secure trellis and enough vertical clearance. They often make harvesting easier because the pods hang above the soil, but they increase wind load and can shade nearby plants. On an exposed balcony or a narrow ledge, a dwarf type in a broad pot is the safer, simpler choice.
Time sowing around cool weather, not a fixed date
In spring, sow outdoors when the container mix is workable, cool, and not waterlogged. A soil temperature around 40–50°F (4–10°C) is a useful range to consider, with faster and more reliable emergence as the mix warms; young pea plants tolerate light frost, but flowers and pods are more vulnerable. A Minnesota Extension guide describes good growth around 55–65°F and warns that flowering and pod production stop when temperatures climb above about 85°F. Local weather, variety, and the pot’s exposure still matter more than a single date on a calendar.
A container warms and cools faster than garden soil. On a sunny balcony, a dark pot beside a reflective wall may heat the root zone well before the forecast sounds extreme. If the mix is still very cold and saturated, wait a little or start a few seeds in a protected, well-lit place; if daytime temperatures are already trending hot, sowing late is unlikely to rescue a spring pod crop.
For a fall crop, count backward from your first expected hard frost using the seed packet’s days to maturity, then add a margin for slower autumn growth. Germination can be poor if the potting mix is still hot, so start when nights are easing and protect the pot from harsh afternoon sun while seeds establish. A fall sowing works best where enough mild weather remains for flowering and pod filling; it is not a dependable second crop in every climate.
Choose a container that gives roots and trellis room
For a useful harvest of edible pods, a 5-gallon container about 12–16 inches deep is a good practical starting point for many gardeners. A wide window box or trough can work if it holds a comparable volume, has drainage holes, and gives you a place to secure a trellis. Aim for roughly 18 inches or more of width when you want a row of plants rather than a few seeds in a single pot.
Recommendations differ because they describe different goals and varieties. The University of Wisconsin’s container guide gives peas as a crop that can fit a minimum of 2 gallons and 4–6 inches of depth, while the UC Master Gardener Program’s container article recommends 5-gallon or larger pots at least 12–16 inches deep for snap peas. The RHS container guidance focuses on a large container at least 18 inches wide. These are not necessarily contradictory: a small dwarf planting may survive in a smaller pot, but a larger root reservoir is more forgiving, holds moisture longer, and gives a trellis a steadier base.
Think about the filled weight and the wind before choosing a tall pot. Wet potting mix is heavy, and a mature vine can act like a sail; place the container where it cannot fall onto a walkway, and use a broad base or a low-profile trellis on windy balconies. If you need to move it seasonally, put the empty pot on a wheeled plant caddy before filling it.
Fill with a loose mix and protect drainage
Use a quality container potting mix rather than scooped garden soil. Potting media stay lighter and drain more predictably in a pot; dense garden soil can compact, slow root growth, and remain wet around the base. If the mix contains compost, that is usually enough to get seeds started without adding a strong fertilizer at planting.
Check that every drainage hole is open before filling. A small piece of mesh or a coffee filter can keep mix from washing out of a large hole, but do not pack the bottom with gravel or create a separate “drainage layer.” Fill the whole root space with mix; the important thing is that excess water can leave freely and the pot does not sit in a full saucer.
Leave about an inch of headspace so you can water without spilling mix over the rim. Set the pot in its final location while it is still easy to move, add a thin mulch layer after seedlings emerge if the surface dries quickly, and make sure the trellis can be installed without blocking the drainage holes or destabilizing the base.
Sow seeds directly in the container
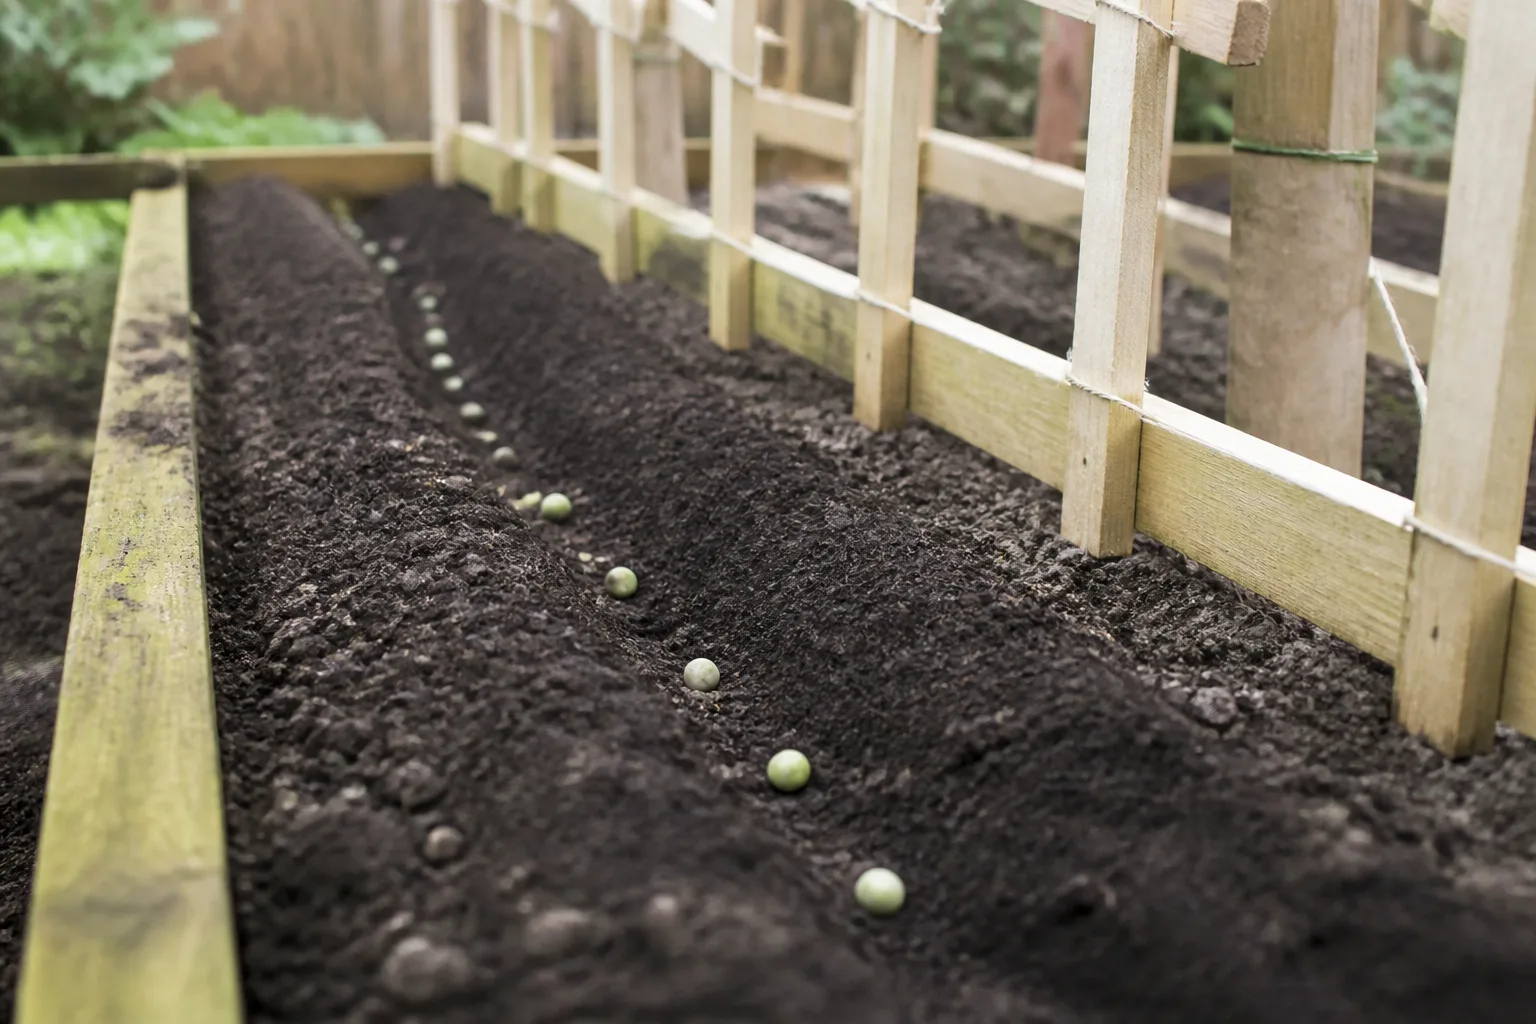
Direct sowing is generally easier than transplanting peas, whose young roots dislike rough handling. Water the potting mix before sowing if it is very dry, then sow sound seeds about 1 inch deep and 1½–2 inches apart. Cover them loosely, press the surface gently so seeds contact the mix, and water with a soft flow that does not expose them.
In a round pot, arrange seeds in a ring a few inches in from the edge, leaving a clear place for a central or rear support. In a trough, use one row along the trellis side or two staggered rows if the container is wide enough for light and air to reach both. Do not fill every inch with seeds: crowded vines become harder to water and inspect, and the pods disappear in the foliage.
Peas can be sown dry. Soaking overnight is optional, not a requirement; it may speed germination slightly, but seeds left in water too long can deteriorate. If you choose to soak, plant them promptly while they are swollen but still firm. Handle seed gently because cracked or split peas are more likely to rot in cool, damp mix. Savvy Gardening’s seed guide likewise treats soaking as optional and advises planting soaked seeds right away.
Keep the top few inches of mix evenly damp while the seeds germinate, not saturated. Depending on temperature and seed freshness, emergence can take roughly a week or longer. If several seedlings emerge in one tight cluster, snip out the weakest at soil level rather than tugging it and disturbing neighboring roots; the seed packet’s spacing instructions take priority when they differ from a general guideline.
Install support before vines start reaching
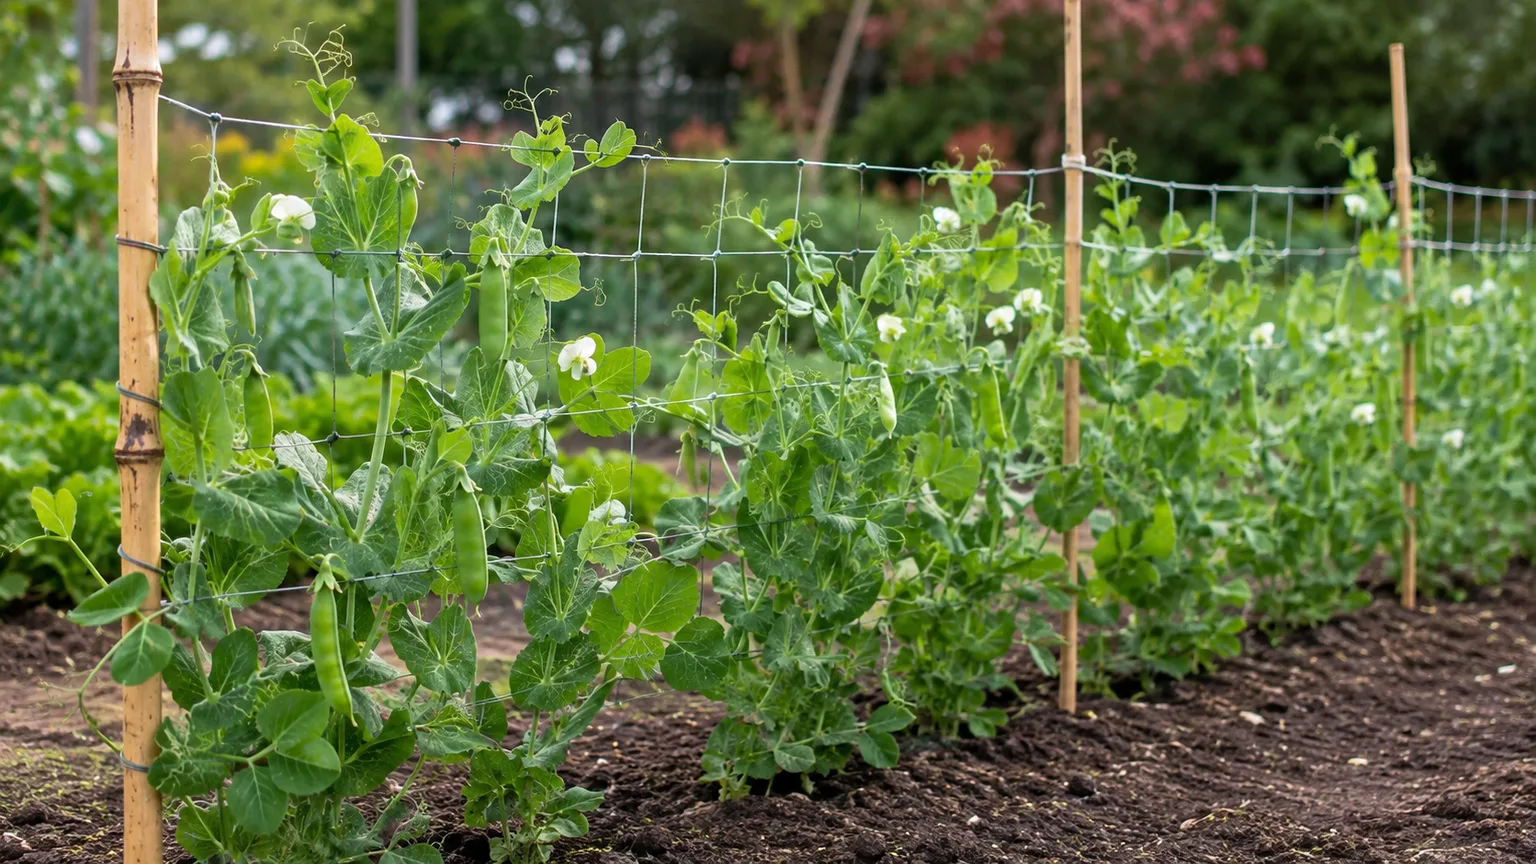
Most edible peas climb with tendrils: thin curling structures that grasp narrow netting, string, twiggy branches, or a grid. They do not wrap reliably around a wide smooth pole, and a mature plant can pull over a support that felt sturdy when it was empty. Put the trellis in place before sowing or while seedlings are small, when you can avoid cutting through established roots.
For a container, use a short A-frame, a small wire panel, pea netting stretched between stakes, or a compact tomato cage with narrow openings. Anchor the support in the pot only if it has enough depth and the stakes do not crowd the seed zone; alternatively, secure a freestanding frame behind the pot. Never rely on an unsecured balcony rail or lean a tall panel where a gust could push the whole container over.
The vine may need a little guidance toward the mesh as it grows. Lay a tendril near the support or loosely redirect the tip; tight ties can pinch stems and are rarely necessary. The RHS advises sizing supports to the variety’s eventual height, with small pea sticks for compact types and stronger netting or wire for tall vines. A pea trellis that can be lifted out at the end of the season also makes cleanup easier.
Give peas sun without turning the pot into a heat trap
Choose a bright outdoor spot with about six hours of direct light as a starting point. Peas tolerate some light shade, but a dim corner produces stretched stems and fewer flowers; hot afternoon sun reflected from concrete or glass can be just as limiting. In warm weather, morning sun with light afternoon shade can keep a container cooler without leaving the vines starved for light.
Use the pot’s mobility to respond to weather, not to chase sun every few hours. Move it a short distance away from a heat-reflecting wall during an early heat wave, or put it in a sheltered position before a strong wind. If flowers are already setting pods, avoid a dramatic move that suddenly changes exposure or dries the root ball.
Provide air movement around the foliage, especially if the plants are dense. A trellis against a wall can work, but leave a little space behind the leaves so damp foliage dries. Do not wedge pots so tightly together that you cannot reach the back of the vine to harvest.
Keep root-zone moisture steady
Container mix dries faster than ground soil because air reaches more of its surface and the roots have a limited reservoir. Check moisture with a finger an inch or two below the surface, and check again near the container edge on windy or hot days. Water thoroughly when the upper layer begins to dry and the deeper mix is no longer evenly moist; let excess drain, then empty the saucer.
During germination, do not let the seed zone dry out. Once the vines are established, avoid swinging between dusty-dry mix and constant saturation. The most important period is flowering through pod filling, when drought stress can cause flowers or tiny pods to abort and can leave peas small or tough. The RHS recommends checking container compost regularly because it can dry rapidly; a fixed “once a week” schedule is unreliable on a small, exposed pot.
Water at the soil surface rather than spraying the leaves, preferably early enough that any splashes dry quickly. If water runs straight down the sides and out, the mix may have dried until it repels water. Apply water slowly in two passes, allowing the first to soak in, or set the pot briefly in shallow water until the top surface feels damp, then drain it completely.
A thin layer of clean straw or fine compost can reduce evaporation, but keep it away from stems and do not use a thick wet mulch in cool, rainy weather. If you will be away, a larger pot, a sheltered position, and a tested drip line or self-watering setup are more reliable than leaving the container in a bucket of standing water.
Feed lightly and use inoculant only when it helps
Peas are legumes and can form a partnership with soil bacteria that fixes atmospheric nitrogen into a form the plant can use. They do not need repeated high-nitrogen feeding, and excess nitrogen can favor leafy growth at the expense of flowers and pods. The Utah State University Extension pea guide notes that additional nitrogen can delay flowering and reduce pod set when peas already have adequate fertility.
Commercial potting mixes vary. Read the bag: if it contains a starter fertilizer or a substantial amount of compost, wait and observe instead of automatically adding more. In a low-nutrient mix, a diluted liquid feed labeled for edible crops may help once flowering begins; choose a balanced or relatively potassium-forward product and follow its label rather than guessing a dose. The RHS suggests a potassium-rich liquid feed for container-grown peas from the first flowers, while other extension guidance says supplemental feeding may not be needed in a fertile mix. The condition of the mix is the difference.
Pea inoculant is a powder or granular product containing compatible nitrogen-fixing bacteria. It is optional in an ordinary home pot, but may be useful when growing peas in fresh, inert potting mix that has never hosted legumes. Buy a product labeled for peas, check that it is in date, and apply it exactly as its label directs; keep treated seed out of direct sun and do not assume inoculant will correct waterlogging, heat, or poor drainage.
Harvest each pea type at its own stage
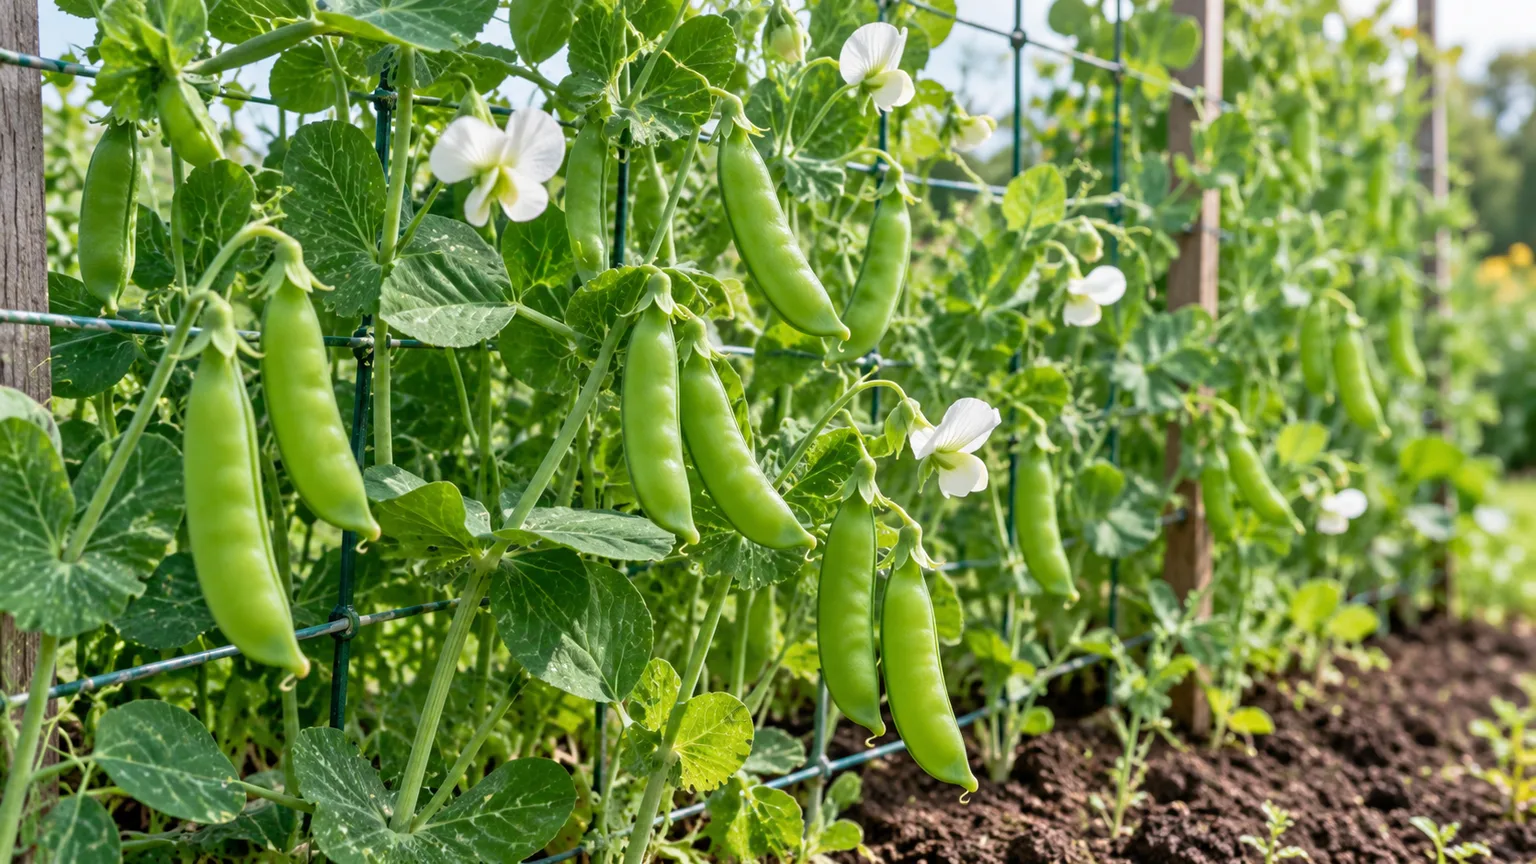
Check the plant as soon as the first flowers fade; a fast cultivar may produce usable pods around 50–70 days after sowing, but the seed packet is the better timing guide. Harvest with one hand holding the vine and the other pinching or snipping the pod so you do not yank the plant from its support. Pick at least every day or two during the main flush, because hidden overripe pods are easy to miss in dense foliage.
| Pea type | What to look for | What happens if you wait |
|---|---|---|
| Snow pea | A flat, crisp pod at or near packet size; peas inside are just small bumps | The pod becomes rounded and less tender |
| Sugar snap | A filled, rounded pod that still feels crisp and sweet | The seeds enlarge, and the pod can become stringy or starchy |
| Shelling pea | A plump pod with full-sized peas; open one to check | Peas become starchy and skins tougher as they overmature |
Taste a test pod when you are unsure. There is no single pod length that works for every cultivar, and the seed packet may specify a shorter or longer harvest window. The University of Minnesota Extension guide describes the distinct cues for snow, snap, and shelling peas and notes that quality declines quickly after peas mature.
Pea shoots are edible, but take only a few tender tips from a plant you are growing for pods. Removing growing tips reduces climbing and flowering sites. If you want a bigger shoot harvest, sow a separate dense patch and cut the seedlings young rather than stripping the main container crop.
Cool the pods soon after picking and eat them while fresh for the best texture. Shell garden peas promptly if you will not eat them right away; edible-pod peas can be refrigerated in a breathable bag. For a larger flush, blanch and freeze pods or shelled peas while they are still tender instead of leaving them on the vine until the plant is past its best.
Extend the crop with a second sowing
Peas produce over a limited cool-weather window, so a second pot can spread the harvest better than trying to make one plant last indefinitely. Sow another container two or three weeks after the first if the forecast still offers several weeks of suitable cool weather. Compact varieties are useful for this staggered approach because a few pots can be moved and supported separately.
A fall sowing can work where late summer transitions to a long, mild autumn. Count backward from the first expected frost using the packet’s maturity estimate and leave extra time for cooler days; a crop planted into hot potting mix may germinate poorly, while one planted too late may flower without filling pods. In a region with hot summers and early frost, a spring crop may be the only reliable pod harvest.
Once the season becomes consistently hot, switch the container to a warm-season crop rather than continuing to fertilize exhausted vines. Peas can be removed when production drops or foliage declines; the pot can then be refreshed with new mix and replanted with a crop suited to the current temperature.
Troubleshoot a weak or unproductive container crop
Start with the symptom and the root zone. Check mix moisture, drainage, temperature, and light before reaching for fertilizer; in containers, those conditions explain more pea failures than a missing supplement.
Seeds fail to emerge or leaves turn yellow
If seeds have not emerged after about two weeks, gently uncover one seed near the edge of the pot. A firm seed may simply need more time in cool mix; a soft, split, or foul-smelling seed likely rotted in saturated media. Re-sow with fresh seed, keep the surface damp rather than wet, and make sure the drainage holes are open. Seeds planted much deeper than about an inch may also struggle to reach the surface.
Yellow lower leaves can be normal as an older plant finishes, but widespread yellowing or wilting points to a condition to correct. Feel the mix: if it is soggy and smells sour, improve drainage and let it approach evenly moist before watering again. If it is bone dry, water slowly until the entire root ball is rehydrated. Pale, stalled growth in a wet or cold pot is not automatically a nitrogen deficiency.
If the seedlings are tall, thin, and leaning, give them more light and check that the trellis is close enough to reach. Avoid digging around the stems to inspect roots; pea roots are easily disturbed, and the plant may not recover from repeated probing.
Vines flower but make few pods
First check temperature and watering around bloom. Peas commonly set poorly when a container heats up or dries repeatedly; move the pot to a cooler bright spot and keep moisture more even while flowers are opening. A plant covered in dark green leaves but few blossoms may have received too much nitrogen, too little sun, or a variety that needs more time to mature.
Pea flowers usually pollinate without hand work, so do not start by shaking or brushing every flower. Look for flowers that drop after hot afternoons, shriveled buds after a dry spell, or pods that start and then stop enlarging. If the crop has already faced several weeks of heat, replacing it with a warm-season vegetable is often more sensible than trying to reverse the weather.
Powdery leaves or insect damage appear
A white powdery film can be powdery mildew, especially late in the season when foliage is crowded and conditions favor disease. Improve airflow, water the mix rather than the leaves, remove badly affected material, and avoid handling wet plants. Do not compost diseased vines unless your compost system reliably reaches temperatures that destroy pathogens.
Inspect the growing tips and undersides of leaves for aphids, and look around the pot rim and mulch for slugs or snails. A brief rinse or hand removal can be enough for a small population; protect seedlings from birds with a light physical cover if needed, and remove it when it blocks growth or airflow. If you use any treatment on an edible crop, choose only a product labeled for that use and follow its directions and harvest interval.
Clear the container safely when the crop finishes
When the vines stop flowering or leaves decline in persistent heat, cut the stems near the mix instead of pulling hard on the roots. Healthy foliage can be composted; discard diseased or heavily infested material according to local guidance. Peas are annuals, so the plant will not restart as a perennial after the season ends.
Empty the pot if the mix is compacted, salty, or diseased, then wash the container and clear blocked holes before the next crop. If the plants were healthy, you can refresh a reusable potting mix with new material and compost, but do not assume an old container mix has the structure or nutrition of a fresh bag. Rotate the next crop when possible, especially after root disease, and do not reuse visibly sick roots or vines.
Before sowing again, check whether the weather suits peas or a different crop. A cool-season pot can become a warm-season tomato, bean, or herb planter; matching the next plant to the season is usually the simplest way to keep the container productive.
Conclusion
To grow peas in containers, choose an edible type and a compact variety that match your trellis, then use a roomy pot with open drainage and quality potting mix. Sow directly in cool weather, keep moisture steady through flowering and pod fill, and harvest by the pod type rather than waiting for every pea to look the same.
Start with one stable container and a support you can secure safely. If the vines are healthy but the crop fades as temperatures rise, that is often the end of the pea season—not a reason to keep feeding them. A well-timed pot may give a small harvest, but pods picked fresh from a balcony or patio are exactly where container peas earn their space.



