How to Get Your Garden Ready for Spring
Start spring gardening with less guesswork: learn when soil is workable, what to clean up, what to plant first, and which jobs can wait.
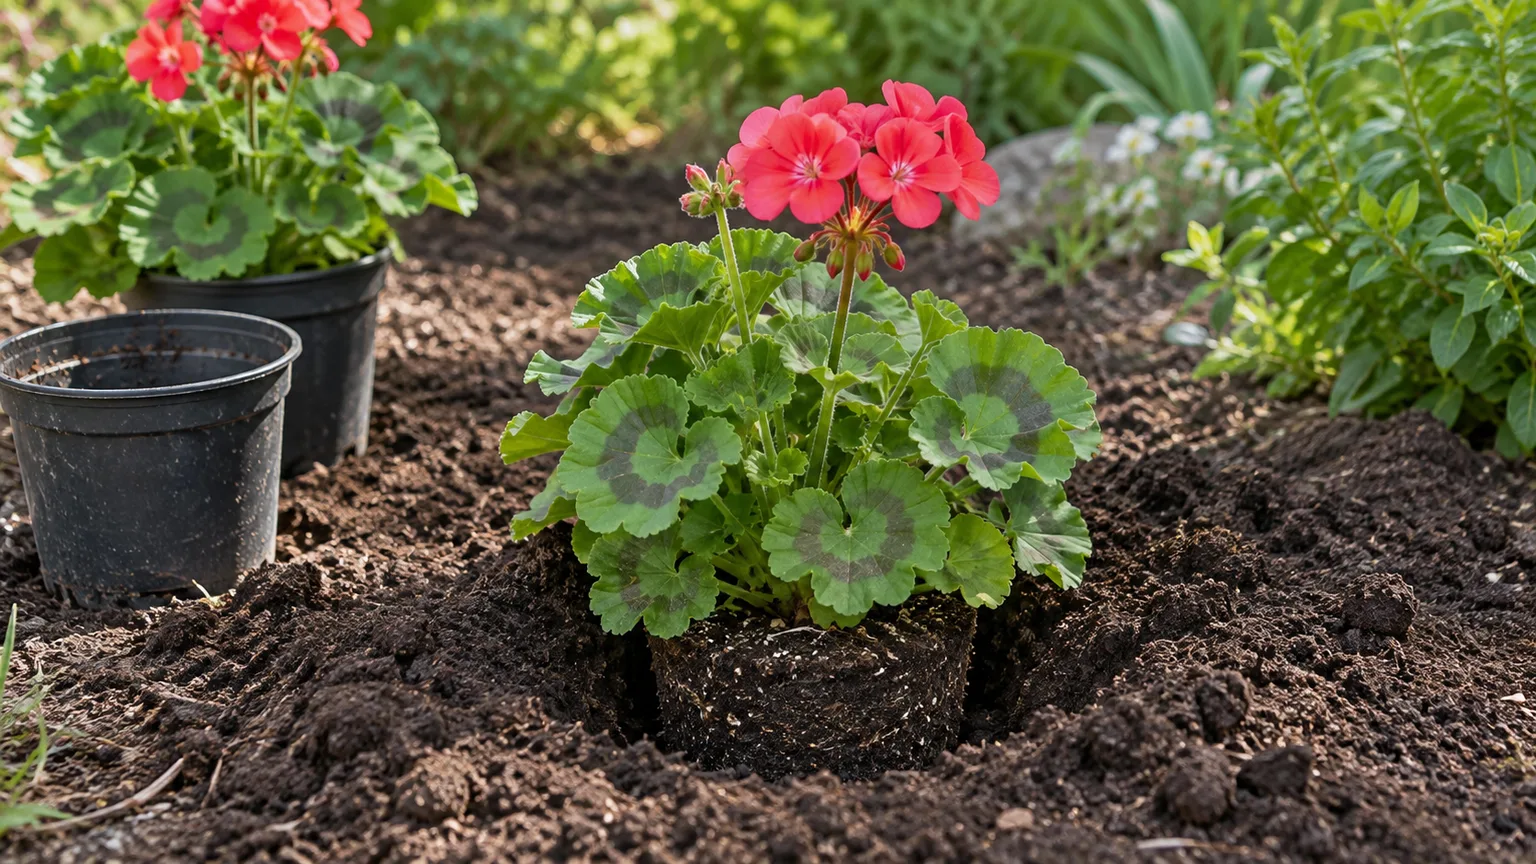
Spring gardening goes better when you resist the urge to do everything on the first warm weekend. The most useful early jobs are often quiet ones: walking the site, checking soil, finding winter damage, and matching your planting plans to local weather. Those checks help you avoid the two common spring losses—compacting wet soil and putting tender plants outside before conditions suit them.
Use the calendar as a reminder, not a command. Spring arrives at different times across a region, and a sunny wall, a low frost pocket, a raised bed, and a heavy clay plot can all behave differently on the same day. The sequence below gives you a starting plan; local frost guidance and the actual condition of your garden decide when each step is ready.
1. Start with a slow walk, not a shopping trip
Before you buy seedlings, fertilizer, or new tools, take a notebook around the yard and look at what winter changed. Note where water still pools, which beds receive morning or afternoon sun, whether paths are muddy, where snow or roof runoff collects, and which plants are already emerging. Check fences, trellises, stakes, hose connections, containers, and raised-bed boards for damage while they are easy to reach.
Make a short list in three groups: fix now, monitor, and leave alone. A broken branch over a path is a fix-now item; a perennial clump with no visible shoots may simply be slow; a patch of leaf litter in a sheltered bed may be useful habitat. This first pass keeps an attractive plant display or a sale rack from dictating the whole season before you know what the garden actually needs.
2. Set the right order for your season
A reliable order is: assess the site, clear hazards and diseased material, test soil, refresh beds, prune plants that are ready, then sow or plant by crop and weather. This order reduces wasted work. There is little value in spreading fertilizer before a soil test, preparing a bed while it is saturated, or buying heat-loving seedlings before you know when they can safely go outside.
If your spring window is short, prioritize tasks by consequence rather than appearance. Drainage problems, broken supports, and crowded access can block planting. Cosmetic edging can wait. In a warm climate, the first planting window may already be open while a colder region is still thawing; gardeners in the Southern Hemisphere should shift the same logic to their local spring rather than follow North American month names.
3. Clean up selectively and leave useful habitat
Start by removing trash, broken stakes, fallen branches that block access, and plant debris that is clearly diseased. Pull weeds before they flower or set seed, and remove matted leaves that are smothering emerging shoots or trapping water against crowns. Healthy leaves can be shredded and composted or left as a light layer in places where they will not bury small plants.
A tidy bed does not need to be bare. Hollow or pithy stems can shelter native bees, and leaf litter can cover overwintering insects. NC State Extension researchers sampled nearly 3,000 perennial stems and found that stems were not occupied in their first winter, while bees moved into suitable older stems in spring; their advice shows why timing and which stems you cut matter (NC State Extension). If you missed a winter cutback, leave sound, upright stems for now and remove only broken, diseased, or obstructive material. Do not keep diseased foliage just for habitat; dispose of it according to local guidance rather than putting suspect material into a cool backyard compost pile.
4. Check whether your soil is ready to work
The surface can look dry while the root zone remains wet. Before digging, walking repeatedly through beds, or turning soil, check a handful from a few inches down. If it is glossy, sticky, or smears into a dense ribbon, wait. Working saturated soil squeezes pore spaces shut and can leave hard clods that persist after the surface dries.
A damp, crumbly soil is easier to work with and less likely to compact. Sandy soil drains sooner than clay, so use your own bed as the reference rather than copying a neighbor’s timing. If standing water is a recurring problem, record where it sits and how long it lasts; that is a drainage issue to solve, not a reason to keep digging the same wet bed.
The squeeze test is a stop-or-go cue
Take a small handful and squeeze it firmly. If the soil stays in a slick, tight ball and your fingers leave a shiny smear, stop and wait for it to dry. If the clump breaks apart with a light poke into crumbs, the soil is usually in better condition for planting or shallow bed work.
The test is a cue, not a laboratory measurement, and it varies with texture. Clay forms a ball more readily than sandy loam, so combine the squeeze test with the smear test and with what happens underfoot. If your boots sink or leave deep prints, stay out of the bed even if the top looks dry. Raised beds can warm and drain earlier, but they still need this check after prolonged rain.
5. Test the soil before you add fertilizer or lime
A soil test tells you which nutrients and pH adjustments are actually needed. Without one, adding a bag of fertilizer because spring has arrived can supply nutrients the plants do not need, fail to address the real limitation, or push the soil away from a suitable pH. The test is especially useful when establishing a new bed, growing vegetables repeatedly in one place, or troubleshooting plants that have struggled for more than one season.
For a representative garden sample, separate areas that differ in plant type, drainage, or performance instead of mixing them into one bucket. The University of Georgia Cooperative Extension recommends collecting multiple samples from each area, sampling garden soil to about six inches, and using clean tools so fertilizer residue does not distort the result; it also advises sampling early enough to act on the report (UGA Cooperative Extension). Follow your local lab’s instructions because sample depth, forms, fees, and recommended amendments vary by region. Apply lime, nutrients, or other amendments only at the rate and timing on the report.
6. Refresh beds with compost and repair access
Once soil is workable, remove weeds and smooth only what needs smoothing. In an established bed, spread a modest layer of finished compost over the surface and let rain, worms, and normal planting work it in. You rarely need to double-dig or pulverize soil every spring. A fork can loosen a compacted planting area without flipping every layer, and a broadfork or no-till approach can preserve soil structure when the bed is healthy.

Raised beds need a quick inspection too. Tighten loose corners, replace rotted boards if they affect stability, clear blocked drainage openings, and top up settled soil with a similar growing mix rather than filling the bed with dense topsoil alone. Keep a narrow route for stepping or kneeling so you do not repeatedly walk across the growing area. A defined path protects soil structure and makes sowing, weeding, and watering easier later.
7. Prune, divide, and transplant at the plant’s pace
Do not treat spring as a universal pruning season. Remove dead, broken, or rubbing branches when you can identify them, but check the plant’s flowering habit before cutting healthy growth. Shrubs that flower on old wood may lose this year’s blooms if pruned before flowering; many plants that flower on new growth can be pruned later, but exact timing depends on species and climate.

Perennials can be divided when their growth cycle and local conditions support recovery, not simply because the bed looks crowded. If shoots are just emerging, mark the clump and wait until you can see its size. When you do divide or move a plant, prepare the new planting spot first, preserve as much root mass as practical, and water it in. A cloudy, calm day can reduce stress for a transplant, while hot sun or drying wind makes the move harder.
8. Map the garden and make a planting calendar
A planting plan does not need to be elaborate. Write down the crops and flowers you want, their mature spacing, and whether they are direct-sown or transplanted. Then compare their timing with your average last frost, current soil conditions, seed-packet instructions, and regional extension calendars. An average last frost date describes a probability, not a promise that frost cannot happen after that date.
Separate plans into early, middle, and warm-weather groups. Cool-season vegetables such as peas, spinach, radishes, and many lettuces can often be started before frost-sensitive crops. Tomatoes, peppers, basil, beans, and squash generally need warmer conditions; buying them early does not make the bed warm enough. Check soil temperature when a seed packet specifies it, especially for crops that rot or germinate poorly in cold ground.
Put sun, water, and paths on the map
A rough sketch can prevent several avoidable mistakes. Mark where the sun reaches the bed in the morning and afternoon, where shade from trees or buildings shifts as leaves emerge, and which spots dry quickly or stay soggy. Place tall crops where they will not shade smaller plants, and keep frequently harvested crops close to a path or water source.
Include access in the plan, not as an afterthought. Leave enough space to reach the center of a bed without stepping on soil, and plan supports before vines need them. In a small garden, succession planting can make better use of space: sow a quick crop early, then use that same area for a heat-loving crop after the first harvest.
9. Start seeds indoors only when the timing works
Seed starting is useful when it gives a crop a head start, offers varieties that are hard to find as transplants, or fits a short growing season. It can also become extra work when seedlings outgrow their containers before outdoor conditions are ready. Use the packet’s indoor-starting window and count backward from the planting-out time for your region; do not sow every crop on the first weekend that feels like spring.
Label every tray with the crop and sowing date, use a clean container with drainage, and give emerging seedlings strong light close enough to prevent weak, stretched growth. Water the growing mix evenly rather than leaving cells waterlogged. If you do not have enough light or a way to protect seedlings from cold, direct sowing later or buying a few sturdy transplants may give you a better result than managing crowded, leggy plants indoors for weeks.

10. Harden off seedlings before planting out
Seedlings raised indoors have not experienced full sun, wind, or wide temperature swings. Move them outdoors gradually, beginning in a sheltered, shaded spot for a short period and increasing their exposure over several days. Bring them back in if conditions turn sharply cold or windy, and avoid leaving tender seedlings in strong midday sun before they are acclimated.
Fine Gardening’s transplanting guidance likewise emphasizes gradual exposure, preparing planting holes before seedlings leave their containers, and handling roots gently (Fine Gardening). Water the root ball before planting, set seedlings at the depth appropriate for that crop, and firm the surrounding soil without crushing it. Keep newly planted seedlings evenly moist while roots reconnect with the bed, but do not keep the soil saturated.
11. Plant cool-season crops before tender crops
Early spring planting is a sequence, not a single event. Cool-season crops tolerate cooler soil and air better than heat-loving vegetables, so peas, spinach, radishes, and some greens are often among the first sowings. Use a local planting calendar for exact windows and thin seedlings to the spacing on the packet; overcrowded early beds often produce weak plants and poor airflow.
Wait on frost-sensitive vegetables and annual flowers until nights and soil are warm enough for them to grow steadily. Tomatoes and peppers may survive a brief cool spell under protection, but repeated cold stress can stall them, and a frost can kill them. Keep row cover or another suitable frost-protection method available if your forecast changes, and remove or vent covers when temperatures rise so plants do not overheat. A forecast is more useful than a calendar date, but a forecast is still uncertain; have a backup plan for valuable transplants.
12. Reapply mulch and set up water
Check mulch before adding more. Pull it back from crowns and emerging shoots where it is smothering growth, then replenish thin areas after the soil has begun to warm. Keep mulch from touching stems or trunks, and do not pile a thick blanket over cold, wet soil to make it look finished. In dry climates or exposed beds, a surface layer can reduce evaporation; in cool, damp beds, a lighter layer may be more appropriate until warmer weather settles in.
Check hoses, timers, drip lines, and rain barrels before the first dry stretch, then water according to the root zone rather than the calendar. Newly sown beds need more frequent attention near the surface, while established plants usually benefit from a deeper soak and a chance to dry between waterings. If rain is expected, postpone irrigation and recheck the soil later. A simple moisture check with a finger or trowel is more reliable than assuming the surface tells the whole story.
13. Bring the lawn and containers back gently
If your garden includes a lawn, wait until the grass is growing and the ground is firm enough to walk on without leaving ruts. For the first few cuts, set the mower high and remove only a modest amount of growth; scalping a lawn can expose weak or bare areas. BBC Gardeners’ World Magazine recommends a light first mow and a higher blade setting in spring, while also noting that moss is not automatically a problem in a shady or damp lawn (BBC Gardeners’ World Magazine). Decide whether you want a conventional grass lawn before treating every patch of moss or clover as a defect.
For containers, empty standing winter water, check drainage holes, clean pots that held diseased plants, and replace depleted mix where the plant needs fresh growing medium. Do not assume every container plant needs a complete repot. If roots are healthy and the mix drains well, a small top-up or a measured feed based on the plant’s needs may be enough. Move frost-sensitive pots to protection until nights are reliably suitable for them.
14. Monitor pests and disease without overreacting
As new growth appears, inspect the undersides of leaves, stems, and soil line once or twice a week. Early identification is more useful than spraying on a schedule. Look for repeated patterns—chewed leaves, sticky residue, distorted tips, or a spreading spot—then identify the likely cause before choosing a response. Many small populations of insects can be tolerated or managed by removing affected leaves, rinsing plants, or protecting seedlings with a barrier.
Use clean tools when moving between plants with suspected disease, and do not compost material that your local extension service advises destroying. Avoid broad-spectrum treatments around flowers where pollinators are active. If damage is minor and the plant is growing well, monitor before intervening; if a problem is spreading quickly, take a clear photo, note the plant and conditions, and ask a local Cooperative Extension office for a diagnosis.
15. Use this first-weekend sequence
A productive first weekend does not require finishing the whole garden. Start with a dry walk-through and list drainage, access, breakage, and overwintering plants. Then clear paths and remove only obvious hazards or diseased debris. Mark the stems and leaves you are leaving for habitat so they do not get swept up during a later cleanup.
Next, collect soil samples according to your local lab’s directions and wait for a suitable moisture level before bed work. While the soil dries or the lab processes samples, repair a trellis, clean pots, test irrigation, draw your planting map, and check seed packets. When the soil is workable, add only the amendments your report supports, sow crops suited to current conditions, and reserve the rest of the bed for later. This order turns waiting time into useful preparation without forcing planting ahead of the weather.
Conclusion
Getting a garden ready for spring is mostly a matter of doing the right work in the right order. Observe first, keep wet soil undisturbed, test before feeding, clean up selectively, and let local frost and soil conditions set the planting pace. Then start with crops that suit the season and move tender plants outdoors gradually.
Some gardens will be ready to plant early; others need more time for water to drain or temperatures to rise. A flexible plan lets you use warm days well without sacrificing soil structure, bloom, or wildlife habitat. If you finish the first week with a clear map, a soil sample on its way, sound paths and supports, and a realistic sowing schedule, your garden is ready for spring’s next step.



