21 Front Yard Landscaping Ideas With Rocks to Copy
Explore 21 front yard landscaping ideas with rocks for paths, beds, slopes, and small spaces, with practical tips on plants, edging, and maintenance.

Rocks can make a front yard feel crisp, natural, or deliberately sculptural, but the best-looking examples are planned around how people move through the space and where rainwater goes. Before you order stone, decide whether it is meant to create a stable path, mark a bed, hold a slope, or simply add a focal point; each job calls for a different size and installation.
The ideas below range from a narrow pebble border to a gravel-forward yard. Use them as starting points, then match the material and plants to your climate, soil, sun, and day-to-day traffic. A rock landscape can reduce some recurring chores, but it is not automatically maintenance-free.
Start With the Job, Not the Stone
First, divide the yard into working zones. A front walk needs a surface that stays stable under shoes, strollers, and delivery carts; a foundation bed needs room for roots and water; a slope may need erosion control; and an open corner may only need a visual anchor. You can use one family of stone throughout the yard, but you do not have to use the same size or construction in every zone.
Sketch the route from sidewalk or driveway to the door, then mark planted beds, downspouts, mature tree roots, and places where people cut across the lawn. This quick map reveals where loose gravel would spill, where a paver landing is more useful than a decorative rock bed, and whether a proposed dry creek has somewhere safe to send water.
Good rock gardens feel related to the house and site. Garden Design recommends evaluating light, scale, style, and plant conditions before choosing stone, while Gardenia’s gravel-and-rock garden guide emphasizes adapting the design to local soil and climate. Use both ideas in a front yard, where a boulder that suits a hillside may overwhelm a narrow entry.
Choose Rock by Use and Foot Traffic
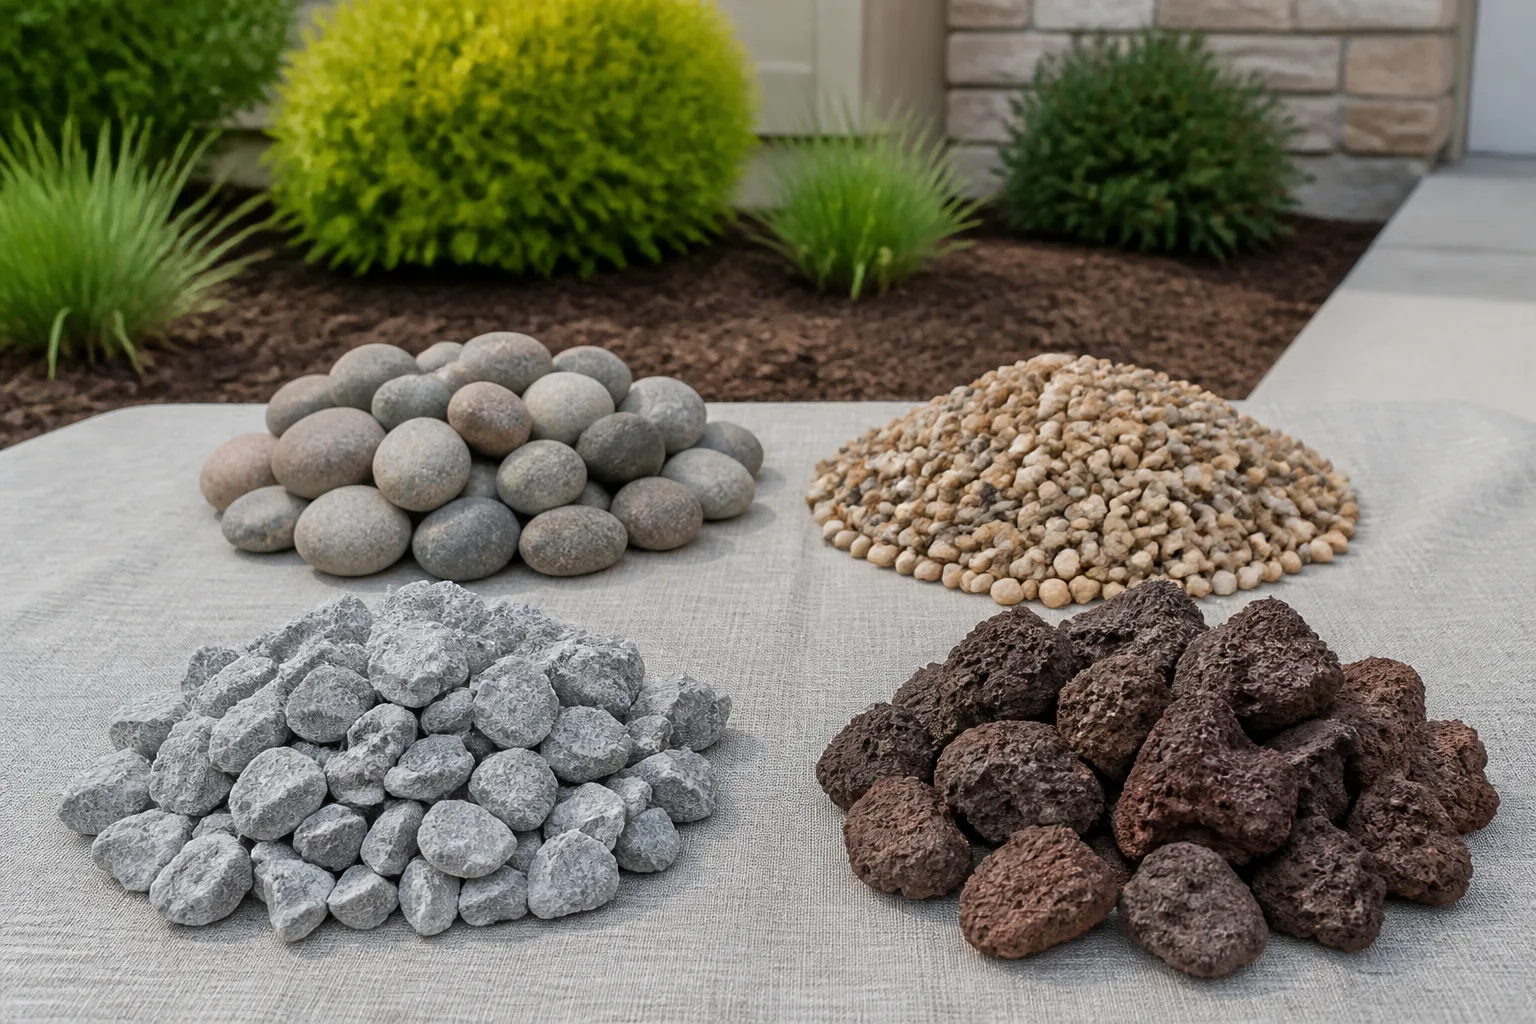
“Landscaping rock” covers materials that behave very differently. Rounded pea gravel and river rock roll underfoot, while angular crushed stone tends to lock together; flat flagstone makes a defined step, and large boulders are better as anchors than as a loose surface. The RHS gravel garden guidance notes that medium grades, especially angular gravel, are easier to walk on than fine rounded gravel or large cobbles.
| Material | Best fit | Main trade-off |
|---|---|---|
| Pea gravel | Decorative beds and lightly used sitting areas | Comfortable but shifts under wheels and on slopes |
| Angular crushed stone | Paths, narrow side strips, and some driveway edges | More stable than round gravel but rougher underfoot |
| River rock | Borders, dry creek accents, and drainage features | Rounded stones can roll and do not make a firm path |
| Flagstone or flat steppers | Front-door landings and short walking routes | Needs careful leveling for a stable, even surface |
| Boulders and fieldstone | Focal points, rock gardens, and low landscape structure | Heavy to move; large pieces need safe placement |
Color matters, but start by looking at stone beside the house and any existing masonry. A small sample spread on the ground in daylight will show whether the rock reads warm or cool and how it changes beside siding, brick, and evergreen foliage. The [RHS] also notes that local gravel is often the least expensive option, so ask nearby suppliers what is quarried in your area before paying to ship an imported color.
21 Front Yard Landscaping Ideas With Rocks
Choose one or two ideas that solve a real problem in your yard, then repeat their materials so the finished space feels intentional. The ideas are grouped by where they work best.
Paths and Entry Zones
1. Set pavers into a gravel path. Large concrete or stone pads with gravel joints create a clean route without turning the entire approach into pavement. Keep the walking pads level and wide enough for a comfortable stride, and select angular infill if you want the joints to stay neater under regular use.
2. Add a narrow gravel ribbon beside the main walk. A band of small stone can visually widen a straight walkway and separate it from lawn or planting. Edge both sides clearly; without a firm boundary, gravel will creep into the grass and become a nuisance for mowing.
3. Use a pebble border to sharpen a curved bed. A single narrow strip of smooth stones makes a sweeping planting-bed edge easier to see from the curb. Keep the curve broad rather than wavy, and choose stones large enough that rain and leaf blowing will not scatter them.
4. Frame the entry with an off-center boulder group. Place one substantial stone with two smaller companions near—but not blocking—the porch approach. Bury each piece partly so it looks settled into the landscape; Colorado State University Extension advises setting rocks at least one-third into the ground in a rock garden.
5. Make a stepping-stone route across a tight side approach. Large flat stones separated by gravel can guide visitors from a driveway or gate to the front porch when a full-width path will not fit. Use stones with even bearing and minimal wobble, and avoid placing the route where roof runoff will wash out the joints.
6. Create a small gravel landing for a porch-less entry. A compact pad beside the front door can hold a bench or a pair of chairs when there is no porch. Set pavers beneath chair legs and at the door, with gravel around them; that gives the area a usable floor instead of a loose surface that ruts.
Beds and Focal Points
7. Anchor a foundation bed with a boulder cluster. Use a few stones of the same general type and vary their size, then soften the group with low grasses or shrubs suited to the site. Avoid a straight line of identical rocks; a loose cluster creates a focal point without looking like a border assembled from leftover pieces.
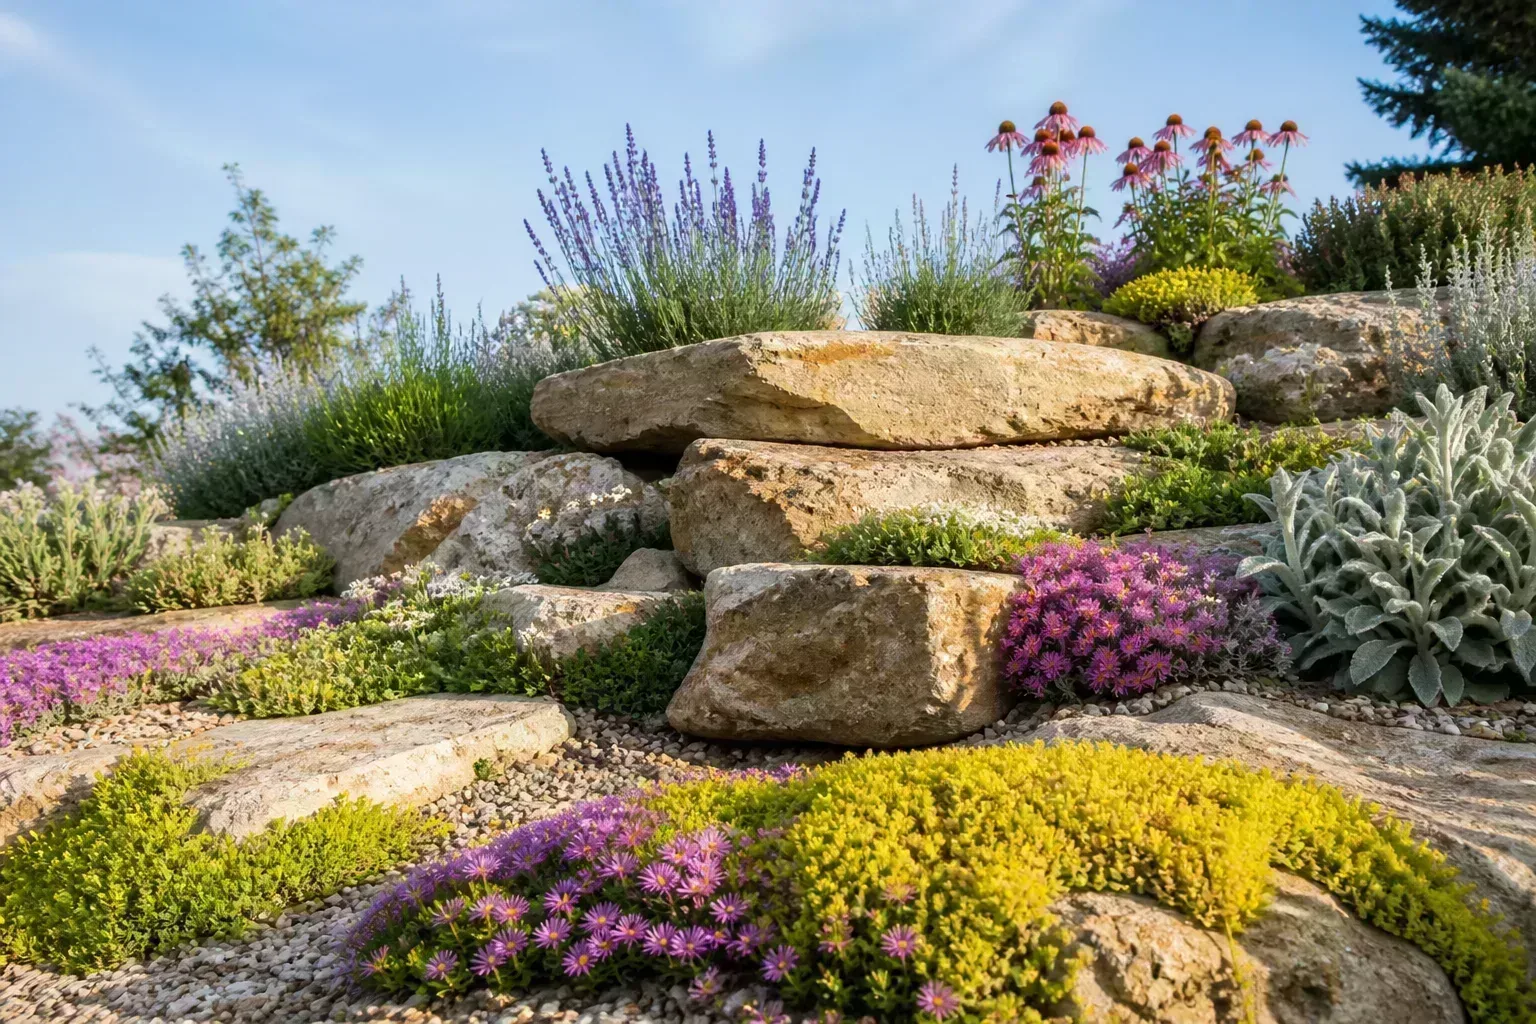
8. Build a pocket rock garden on a naturally dry rise. A sunny bank or raised area can hold compact plants between stones, with gravel as a top dressing. Colorado State University Extension notes that many rock-garden plants need well-drained soil, so test the site before using this idea on heavy, waterlogged ground.
9. Ring a tree bed with stone, but keep the interior root-friendly. Larger edging rocks can separate a broad tree bed from lawn, while organic mulch inside protects the soil and makes leaf cleanup easier. Keep stones away from the trunk and never pile rock or mulch against the root flare.
10. Turn the mailbox base into a small stone garden. A low ring of local cobbles around a mailbox can tidy the edge of a narrow street-side bed. Keep the planting low enough to preserve the driver’s sightline, and leave access to the post so it can be repaired without dismantling a large hardscape.
11. Repeat the same stone color in two front beds. A matching gravel band or a few repeated boulders can connect foundation beds on either side of the entry, even when the plantings differ. Repetition is often calmer than mixing many unrelated stone colors and sizes across a small yard.
Slopes and Water
12. Tuck boulders into a mild slope as visual anchors. Partly buried stones break up an uninterrupted bank and create planting pockets between them. Treat them as accents unless they are designed to retain soil; if the grade is steep, unstable, or washing out, decorative boulders alone are not a retaining system.
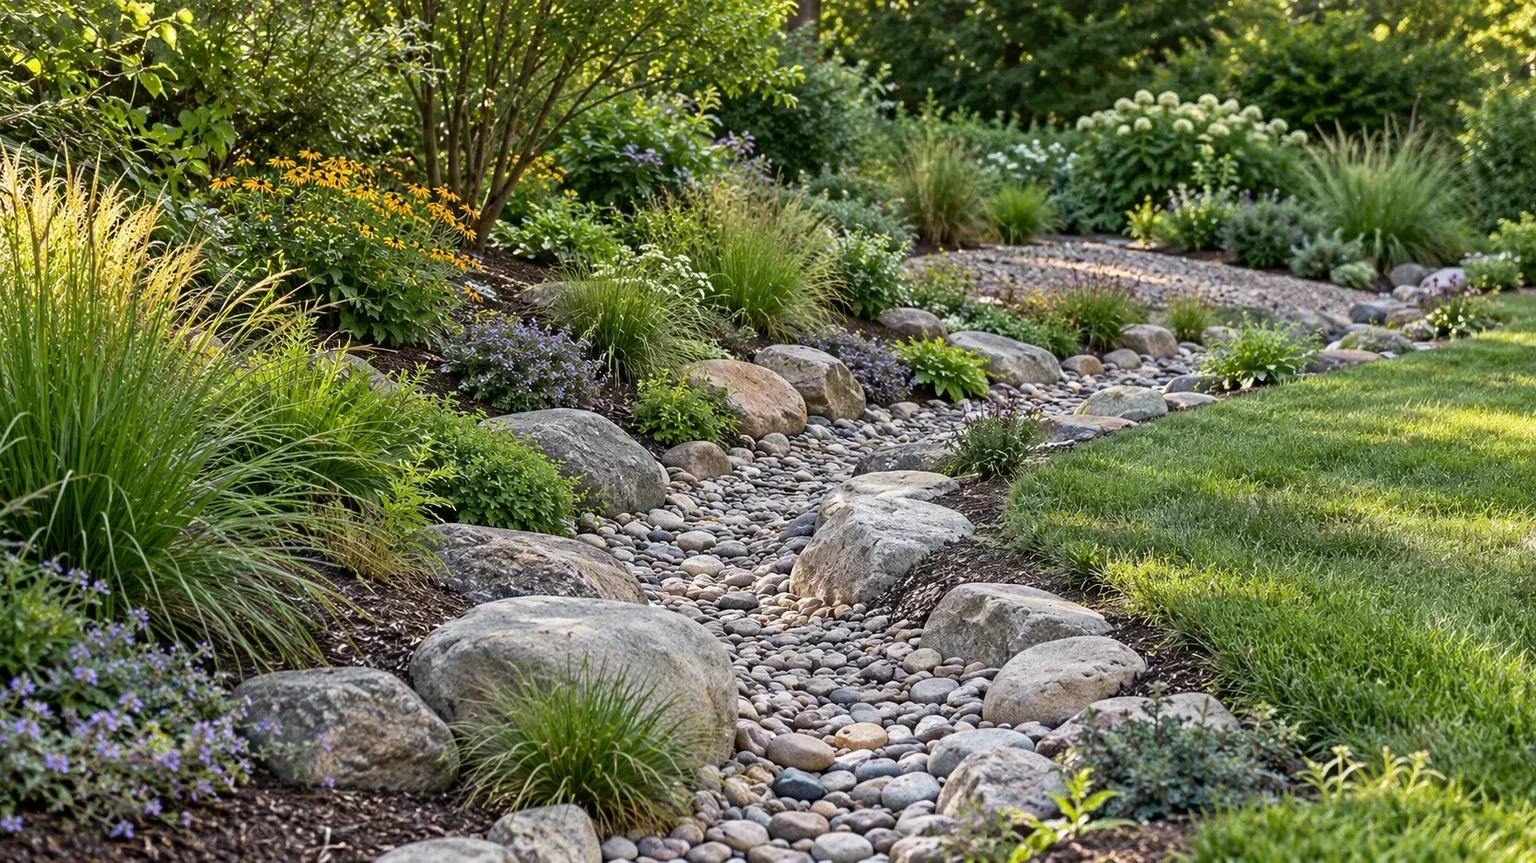
13. Shape a dry creek where runoff already travels. A shallow, gently curved ribbon of mixed-size stones can make an existing drainage route look deliberate. It should follow the actual flow toward a safe outlet, not direct water toward a foundation or neighboring lot; major grading changes may need local drainage advice.
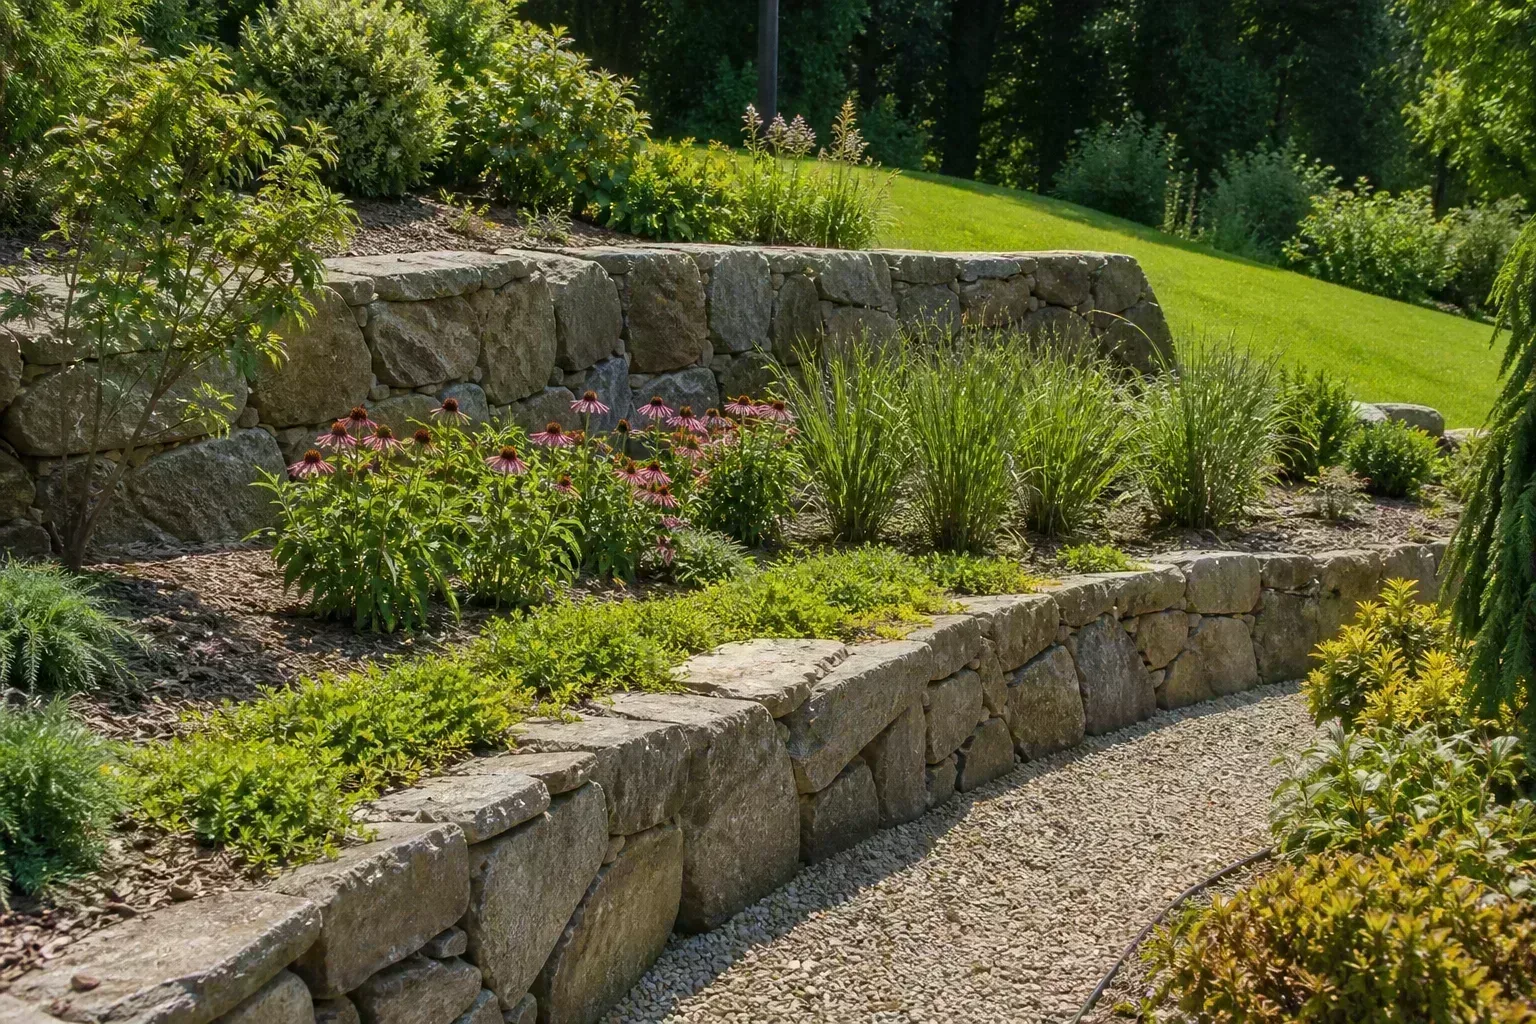
14. Terrace a slope with low stone edges. Short planted shelves reduce the visual length of a bank and make planting easier to reach. Keep each terrace modest and stable; taller retaining walls, walls that carry a driveway, or walls on a property line may require an engineered design and local approval.
15. Protect the base of a downspout with a stone splash apron. A small fan of rounded stone can reduce soil splashing where water exits a downspout, provided the ground still carries water away from the house. The apron is a surface detail, not a substitute for a properly extended outlet or a drainage plan.
16. Set broad stone steps into a front-yard grade. Flat stones can create a natural-looking route across a modest slope and pair well with gravel or low groundcover. Each tread needs a firm, even base; loose round rock on a walking step can shift and become a trip hazard.
Small and Low-Water Yards
17. Replace a difficult parking strip with gravel and planting pockets. The narrow space between sidewalk and curb is often hard to mow and compacted by foot traffic. Use a stable stone surface with tough, regionally suitable plants only where they will not obstruct sightlines, snow storage, utility access, or street maintenance.
18. Swap a tiny lawn patch for one gravel garden island. A small, awkward piece of turf can become a simple gravel bed with a few clumps of adapted grasses or groundcovers. Leave a practical green or paved route where people actually walk; covering every open patch can make a small front yard feel barren.
19. Pair one specimen plant with a restrained gravel palette. In a modern entry, a single small tree or sculptural shrub can carry the planting while a consistent gravel color keeps the design quiet. Give the plant an adequately sized soil bed rather than confining its roots to a tiny hole in compacted stone.
20. Use stones to make a shaded woodland edge. In a porch-side or tree-shaded bed, a few natural rocks can frame ferns and locally suitable shade plants. Unlike a sunny gravel garden, this design should retain enough organic soil and moisture for the chosen plants instead of copying a desert palette.
21. Build a low stone planter as a raised focal point. A short dry-stacked border can lift a compact bed and echo stonework on the house. Fill it with soil suited to the selected plants, check that excess water can escape, and keep the top low enough that it does not block windows or dominate the façade.

Map the Site Before Ordering
Take a few measurements and watch the yard after rain before choosing an idea. Note where the sun falls in the morning and afternoon, where water stands or runs, where people cut across the lawn, and where tree roots or buried services limit digging. Photograph the front from the street and doorway; the two views reveal whether a proposed focal stone will balance the house or disappear from the curb.
Check Sun, Grade, Water, and Roots
Match the planting to the actual site, not the photo that inspired it. Many Mediterranean-style gravel gardens favor sunny, well-drained ground, but gravel alone will not correct a wet clay site or make a shade-loving plant tolerate reflected heat. The RHS advises that sunny, well-drained sites suit most Mediterranean gravel plants and that heavy, damp ground can make them a poor fit.
Before placing rocks, identify runoff routes. A rock bed is not a drainage fix if it sits in a low spot without an outlet, and a dry creek only functions if its grade and destination are right. Colorado State University Extension’s mulching guidance notes that small gravel used as mulch can support infiltration in some settings, while larger rocks may increase runoff; choose stone for the specific job rather than assuming all rock surfaces behave alike.
Build Rock Features That Stay Put
Mark the whole outline with a hose or rope, then view it from the street and the front door. Adjust the shape before delivery, when it is cheap to revise; once a truckload of stone is on the ground, every change adds handling. Check the supplier’s coverage estimate and order by the depth recommended for the chosen stone and use.
To estimate volume, multiply the area by the planned depth: square feet × depth in feet = cubic feet. Divide by 27 for cubic yards, then allow a modest amount for settling and uneven ground; for example, 60 square feet covered 2 inches deep takes about 10 cubic feet, or 0.37 cubic yard before any allowance. Treat that as a planning estimate, since rock size, shape, and supplier measurement affect actual coverage.
Edge Beds and Prepare Paths Differently
For a decorative bed, remove established weeds and grass, shape the surface, and install an edge before spreading stone. Lay gravel only deep enough to create the intended finish; a thick layer over an active planting bed can make later division and replanting harder. In a path or sitting pad, prepare a compacted base and use a firm edge so the walking surface does not spread.
Landscape fabric is not a universal weed guarantee. The RHS recommends fabric in some gravel-garden layouts, with openings sized for planting, while Colorado State University Extension cautions that plastic and woven barriers can interfere with water and air movement as they clog and may allow weeds to root above them. Decide based on whether the area will be planted, what weeds are present, and whether you can maintain the top surface.
Place Large Stones Safely
Plan boulder placement before delivery and set the biggest stones first. A boulder should appear to emerge from the ground, not sit on top like a loose decoration; burying part of it also helps it look visually grounded. Colorado State University Extension’s rock-garden guidance recommends using rocks of one geological type and positioning them to create soil pockets and control erosion.
Do not try to roll or lift a large boulder alone. Use an experienced landscape contractor or suitable equipment, keep people clear of the travel path, and check for utilities before digging or placing heavy material. If a wall or grade must hold back soil, get site-specific advice instead of treating a decorative stone arrangement as structural work.
Plant Through Gravel Without Smothering Roots
Install plants before the finished gravel layer, and leave enough clear soil around each root ball for water to reach it. Set the plant at the correct depth, firm soil around its roots, and spread gravel as a surface dressing without burying the crown or stems. Small plants can disappear under stone, so raise them slightly if the planned gravel surface would otherwise cover their foliage.
Choose plants by sun, drainage, winter conditions, and local availability. The Colorado State University Extension rock-garden guide favors low-growing, clumping plants for many rock gardens and recommends well-drained soil for most of the species it discusses. For a real front yard, ask a local extension office or native-plant group for choices adapted to your region; a plant that thrives in a dry western rockery may struggle in a humid, wet-winter climate.
Stone does not mean no watering. Newly planted shrubs and perennials still need establishment care, and a hot south-facing wall may make shallow soil dry faster than a shaded bed. The designers quoted by Garden Design note that sunny rock gardens can dry plants quickly; use irrigation at the root zone when needed and avoid selecting moisture-loving plants for a site that bakes.
Keep a Rock Landscape Manageable
The first growing seasons usually require the most attention. Pull small weeds before they root into leaf litter on top of the stone, sweep or blow leaves out of gravel before they decompose, and check edging after heavy rain. The RHS notes that weeding is most intensive during the first years of establishment, after which larger plants can suppress some weeds.
Every year, inspect paths for low spots and loose steps, rake displaced gravel back into place, and check whether a dry creek still directs water as intended. Top up a bed only when the layer has thinned; adding stone without checking the depth can bury plants and narrow planting pockets. Let a few self-seeding flowers remain only if they are welcome and suitable for the region.
Common Mistakes That Make Rock Yards Harder
- Choosing smooth, rounded gravel for a steep path or a route used by strollers and carts.
- Covering every bed with thick rock even though shrubs need soil access, organic matter, or seasonal division.
- Assuming fabric will permanently stop weeds instead of planning to remove weeds and leaf litter at the surface.
- Setting boulders on top of grade so they look unstable or can shift.
- Piling gravel against trunks, siding, vents, or the house foundation.
- Making a dry creek that has no safe outflow, or that sends water toward a building or neighboring property.
- Mixing many stone types and colors in a small frontage without repeating them elsewhere.
If the yard is a high-traffic entrance, prioritize a stable surface over a purely decorative material. If a proposed feature changes runoff, supports a slope, or crowds a mature tree’s root zone, simplify the design or get qualified local advice before installation.
When Mulch Is the Better Choice
Use rock where its lasting structure is an advantage: a path, a defined border, a dry-climate garden with plants adapted to the site, or a focal accent that will not need frequent rearranging. Use organic mulch in beds where the goal is to protect soil, retain moisture, moderate temperature swings, and gradually add organic matter. You can also combine them: let stone define the path or edge, then keep the planted bed itself mulched.
The trade-off is more nuanced than “rocks are hot” or “rocks are weed-proof.” Colorado State University Extension explains in its rock-mulch guidance that gravel mulch can help with water infiltration and weed suppression in some dry-climate landscapes, while gravel also transfers more heat to soil than wood-chip mulch. Dark rock beside heat-sensitive plants, glass, or a sun-baked wall deserves extra care, and loose stone over plants that need cool, rich soil may be the wrong choice.
If both materials appeal to you, keep the transition crisp. A narrow metal, stone, or brick edge can separate gravel from bark mulch and make later maintenance easier. A dedicated front yard landscaping guide to rocks and mulch can help you plan a mixed-material layout around the same practical choices.
Conclusion
The strongest front-yard rock designs do more than add texture: they give paths a stable edge, make a slope easier to read, or create a dry planting bed suited to the climate. Start with the yard’s traffic and water, choose stone that behaves well in that spot, and keep plant roots, grade, and upkeep in the plan. Then borrow one or two of these 21 ideas and repeat the material thoughtfully so the result looks like part of the home, not a pile of decorative rock.



