15 Free Beehive Plans: Which Hive Fits Your Yard?
Compare 15 free Langstroth, top-bar, and Warré beehive plans. Check dimensions, tools, frame compatibility, and inspection access before you build.
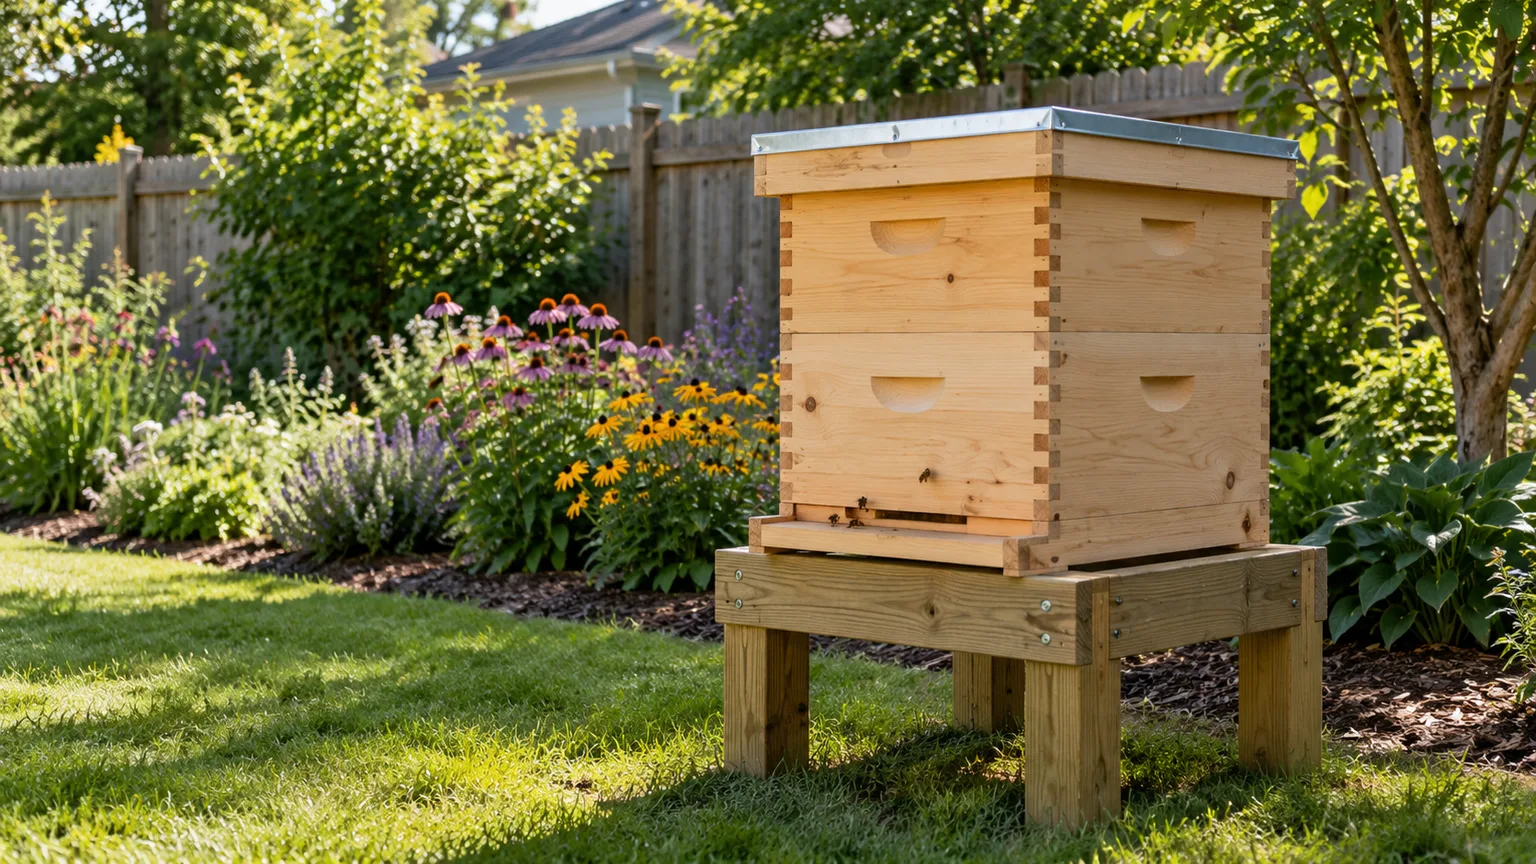
Building a hive can save you from buying a ready-made box, but the lowest-cost plan is not automatically the best fit. A hive is working equipment: frames must lift out cleanly, boxes must stay square as they weather, and the design has to match the way you plan to inspect and manage a colony.
The 15 options below cover three common systems: Langstroth, horizontal top-bar, and Warré. Use the links as starting points, then check the dimensions against equipment you can actually source in your area. Before you cut wood, decide whether standardized parts, easy lifting, or a frame-free design matters most to you.
Before You Choose a Hive Plan, Decide How You’ll Keep Bees
Start with the bees and your own schedule, not the saw. A hive plan does not teach colony management by itself, and keeping honey bees involves inspections, seasonal decisions, pest monitoring, and local rules. Penn State Extension recommends planning the apiary site, equipment, time commitment, local and state requirements, and a Varroa and disease-control approach before purchasing bees. Check the rules with your municipality, state or provincial agriculture office, and local beekeeping association; registration and setback requirements vary by location.
Next, ask a nearby beekeeper which hive equipment is common locally. That answer affects whether you can borrow frames, buy replacement parts, get hands-on instruction, or move a colony into a different box if the first design proves awkward. A locally uncommon hive can still be a thoughtful choice, but it makes self-sufficiency and consistent dimensions more important.
Finally, be honest about lifting and access. A full honey super can be heavy, and adding boxes vertically means repeatedly lifting at shoulder or waist height. A horizontal hive avoids stacked-box lifts but requires room to open the lid and reach along the full length. Neither shape removes the need for regular hands-on inspection.
What the Drawings Must Get Right
A pretty rendering is not a complete plan. Before choosing one, look for a measured drawing, lumber thickness, cut list, joinery or fastening instructions, entrance and cover details, and enough information to make the frames or bars fit the body. Check that the plan is intended for the hive system you want, not merely a decorative observation box or a swarm trap.
Bee space and parts compatibility
Bee space is the narrow working clearance bees use between combs and nearby hive surfaces. If the gap is too small, bees may fill it with propolis; if it is too wide, they may build extra comb across it. The Ontario Beekeepers’ Association hosts a government construction manual that specifies 8 millimeters (5/16 inch) for the particular Langstroth equipment covered there and emphasizes standard dimensions for interchangeable parts. Some sources and equipment standards use slightly different values, so follow the chosen system’s plan consistently rather than combining measurements from two designs.
For a Langstroth build, decide up front whether you are making eight-frame or ten-frame equipment and which frame depth you intend to use. “Langstroth” does not mean every body from every supplier is a perfect match: frame rests, inside width, wall thickness, and the clearance above and below frames all matter. The Ontario manual’s point is practical: standard dimensions make inspections and interchange easier; custom dimensions can limit flexibility later.
Top-bar and Warré plans require their own consistency. Top-bar bodies are not governed by one universal standard, so bar length, spacing, and side geometry should stay consistent if you want to move comb or follower boards between your own hives. A Warré body may look like a stack of simple boxes, but internal dimensions and the top-bar support details define the system. Don’t resize a component casually and expect the rest to fit.
Lumber, weather protection, and interior surfaces
Choose straight, dry, sound wood without rot, heavy checking, or loose knots at fasteners and handholds. Untreated pine and cedar are common choices in hive construction references, but reclaimed lumber is only a reasonable candidate when you know it has not been painted with unknown coatings, pressure-treated, contaminated, or exposed to oils and chemicals. A cheap board that twists as it dries can turn a square box into a leaky one.
Protect the exterior from rain and sun with a finish intended for outdoor wood, following its label and keeping it off comb-contact surfaces. The Ontario construction guide describes painting or staining the outside while leaving the inside of supers unpainted. Let finishes cure fully before bees are introduced, and don’t use interior coatings or preservatives simply because they are advertised as durable; the interior is not a place to experiment with unknown products.
Seven Langstroth Beehive Plans
Langstroth equipment uses removable frames inside stacked boxes. Its major advantage is an established supply chain: if you keep to the local standard, frames, replacement boxes, and mentoring are usually easier to find. The tradeoff is that expansion means adding boxes, and the full boxes can become cumbersome to lift. These seven references range from a standard equipment manual to modified and budget-oriented builds.
-
Ontario Beekeepers’ Association’s Beehive Construction manual is the best starting point for anyone who wants a dimensioned reference rather than a quick project post. It covers standard supers, covers, bottom boards, frames, and assembly details; use it to understand the parts before deciding whether to make every component yourself.
-
Long Langstroth hive plans arrange standard deep frames horizontally in one long body, so you can inspect without lifting a stack of supers. The plan includes a material and tool list and describes a substantial woodworking project; confirm that the exact frame pattern matches equipment available nearby before committing to its long footprint.
-
The eight-frame Langstroth guide is relevant if a lighter, narrower box appeals to you. Compare its frame count and dimensions with your supplier’s standard before building, since an eight-frame body does not accept ten-frame equipment merely because both are Langstroth hives.
-
City Boy Hens’ honey-super build focuses on making the boxes and uses screwed-on handles instead of relying on router-cut handholds. That can simplify one part of a home workshop build, but handle position still needs to leave room for the lid and neighboring equipment and provide a secure grip with gloves.
-
BeeKeepClub’s Langstroth build guide walks through more than a single box, including brood chambers, supers, frames, and hive parts. It is useful if you want to understand the whole assembly sequence; compare its measurements with the same standard you choose for your frames, rather than mixing parts from multiple drawings.
-
Family Handyman’s beehive project presents a project-style build with a cut list, diagrams, and staged directions. It can help a woodworker visualize construction, but treat the material list as one design’s specification and verify that the finished interior dimensions suit the frames you intend to use.
-
Montana Homesteader’s ten-frame Langstroth build documents a low-cost approach to a ten-frame body. Its appeal is using a straightforward build to get compatible equipment; budget builds still need square boxes, durable joints, weather protection, and correctly sized frame rests.
Four Top-Bar Hive Plans
A horizontal top-bar hive holds bars across the top of a long cavity. Bees draw comb from the bars, so you avoid buying and assembling conventional frames, but the comb itself needs careful handling during inspections. Many top-bar designs are relatively simple to cut; simplicity of woodworking does not guarantee simplicity of beekeeping. A Bee Culture construction article notes there is no single top-bar standard, which makes consistent dimensions especially important if you plan to build more than one. The four guides below offer different construction approaches and materials.
-
Hobby Farms’ top-bar hive build is a practical entry point because it lays out tools, materials, and a photo-supported sequence. As you follow it, pay particular attention to consistent bar spacing and the way the comb guide encourages straight comb that can be lifted for inspection.
-
Remove and Replace’s cedar top-bar hive shows a cedar-based design with photos, diagrams, and video support. Cedar can suit an outdoor box, but wood choice does not replace sound joinery or a weather-shedding lid; verify every measurement against the tools and board dimensions you have.
-
Keeping Backyard Bees’ top-bar build emphasizes a simple, low-material construction path. Use it if you value a modest shop project, while still checking its bar geometry, follower-board fit, entrance protection, and the management approach you will use for unsupported comb.
-
Jon Peters’ poplar top-bar hive project pairs a poplar build with video instruction. Video is helpful for seeing assembly order, but pause to record the dimensions and make a written cut list; a camera angle cannot substitute for measurements when you need multiple bars to fit closely and evenly.
Four Warré Hive Plans
A Warré, sometimes called the People’s Hive, is a vertical stack of smaller boxes with top bars rather than standard Langstroth frames. Its compact square bodies and quilt-and-roof arrangement make it a distinct system, not just a short Langstroth stack. Some Warré methods add new boxes underneath as colonies expand, which can be awkward if you have limited lifting strength or cannot safely support the hive while manipulating its base.
-
The Bee Space’s Warré construction guide explains a box-by-box build and its dimensions. It is a useful example of how wall thickness and inside measurements interact; compare it with the traditional metric specification before cutting, because similar-looking Warré boxes can differ.
-
The original Warré hive plans present drawings based on the design in Beekeeping for All, with metric and imperial plan files and a windowed variation. Use the original dimensions as a coherent system, especially if you expect to add boxes or use accessories made to that pattern.
-
The downloadable Warré construction plan PDF provides a printable metric drawing set for making the hive components. It is the better route if you want a compact, measured document in the workshop; take care with scale when printing and verify a calibration dimension before treating a printout as a full-size template.
-
BeeKeepClub’s Warré build guide covers the body, top bars, floorboard, quilt box, roof, and legs. Its component-by-component treatment helps you spot what a basic “box plan” may omit, but you should choose one set of internal dimensions and keep every box and cover compatible with it.
Which Hive Style Fits Your Routine?
| Style | Best fit | Main tradeoff | Check before building |
|---|---|---|---|
| Langstroth | Standard frames, local support, flexible expansion | Stacked boxes and frame assembly | Local frame count, depth, and bee-space dimensions |
| Top-bar | Horizontal access and no conventional frames | Comb needs careful handling; dimensions vary | Bar width and length, side angle, follower-board fit |
| Warré | Compact vertical boxes and a top-bar system | Less interchangeability; under-box work may be heavy | Internal body dimensions and the exact management method |
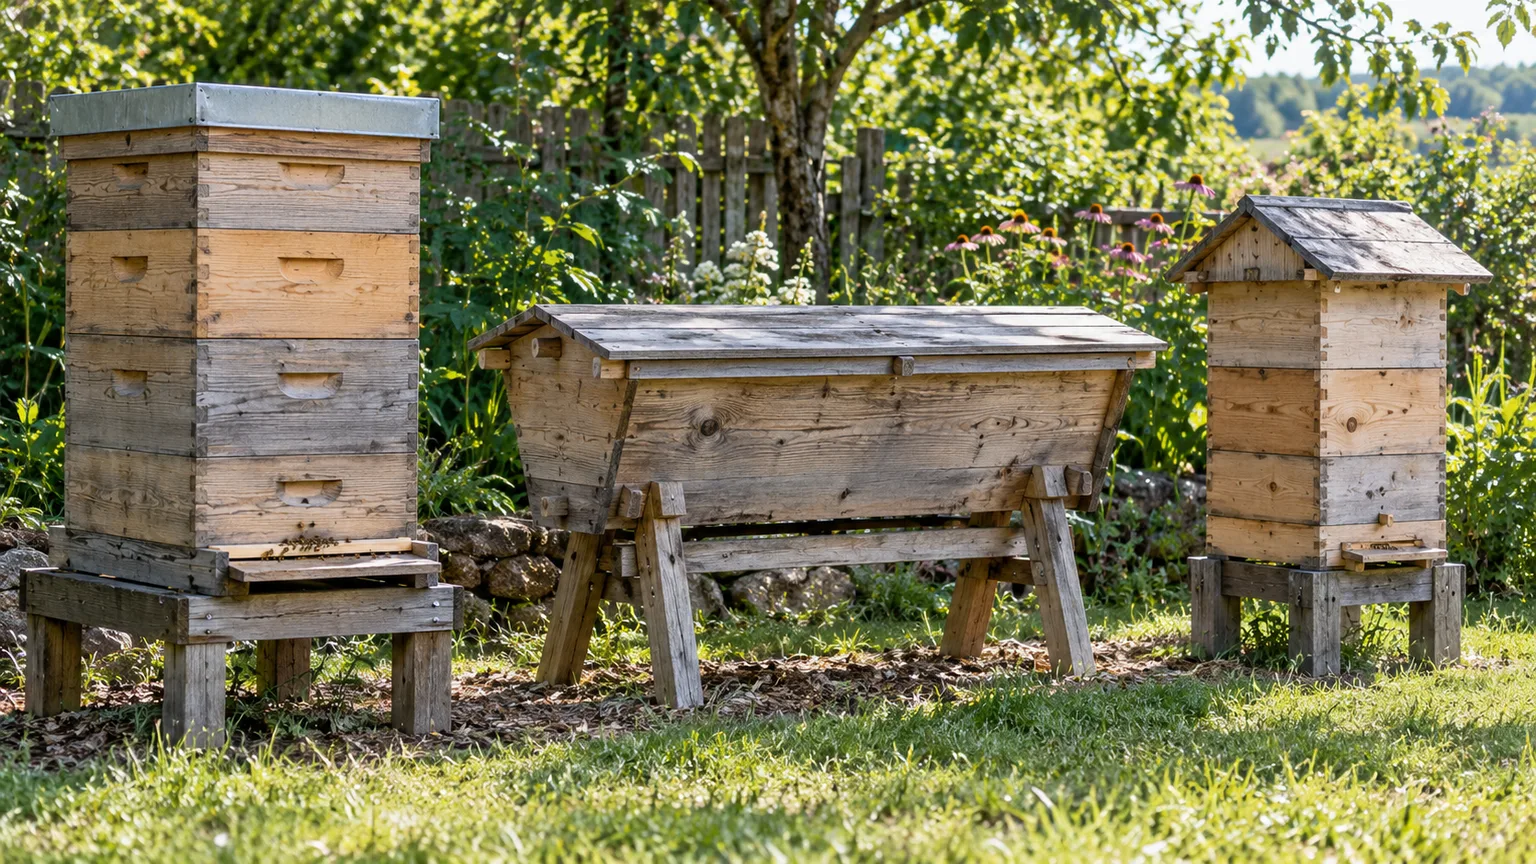
Choose Langstroth for standard frames and flexibility
Choose Langstroth if you want to learn alongside nearby keepers, use common equipment, or preserve options to expand, split, and replace parts. It is often the least surprising system for someone who is still learning because advice and components are widely organized around movable frames. If heavy lifting is a concern, plan for smaller boxes, a long-frame variant, a suitable stand, or help before adopting a tall stack.
The cost of that flexibility is precision. A home-built body that is just a little too wide or too shallow can make frames bind or create irregular bee space. If you are new to woodworking, buy standard frames and build the body to fit those specific frames, using the supplier’s measurement sheet and a physical frame as a gauge.
Choose top-bar for horizontal access and simple woodworking
Choose a top-bar hive when you prefer one long work surface, want to avoid lifting supers, and are prepared to inspect individual combs carefully. A top-bar box can be a forgiving carpentry project because it has fewer frame components, yet moving a heavy or fragile comb out of the hive is a skill that takes practice. A comb can break if it is handled roughly, especially when warm, heavy, or not fully supported.
Because no single top-bar dimension governs every design, consistency is your responsibility. Keep bar length, spacing, and hive geometry the same across any additional bodies you build. Add a comb guide and use follower boards to confine the colony’s active space as appropriate to the plan and season; these choices make it easier to keep comb aligned and inspectable.
Choose Warré for compact, vertical equipment
Choose Warré only after reading how the hive is managed, not just how it is assembled. A box may be easy to make, but the system’s seasonal practices, smaller unframed combs, and stacking method can be unfamiliar to a beekeeper trained on Langstroth frames. The compact footprint is useful where width is limited; it does not mean the hive is light once boxes are full.
A traditional Warré is a coherent design with its own dimensions and components. Decide whether you are following the traditional approach or a modified design with windows or frames, then keep that choice consistent. Ask a local association whether you can see one in use before committing, especially if instruction and nearby replacement equipment matter to you.
Prepare Before You Build
Turn the plan into a build sheet before switching on a saw. Write down the exact outside and inside dimensions, lumber thickness, board widths after milling, quantity and length of each piece, fasteners, and the orientation of parts. Note which dimensions depend on actual dressed lumber, since nominal “one-by” and “two-by” labels do not equal the finished size.
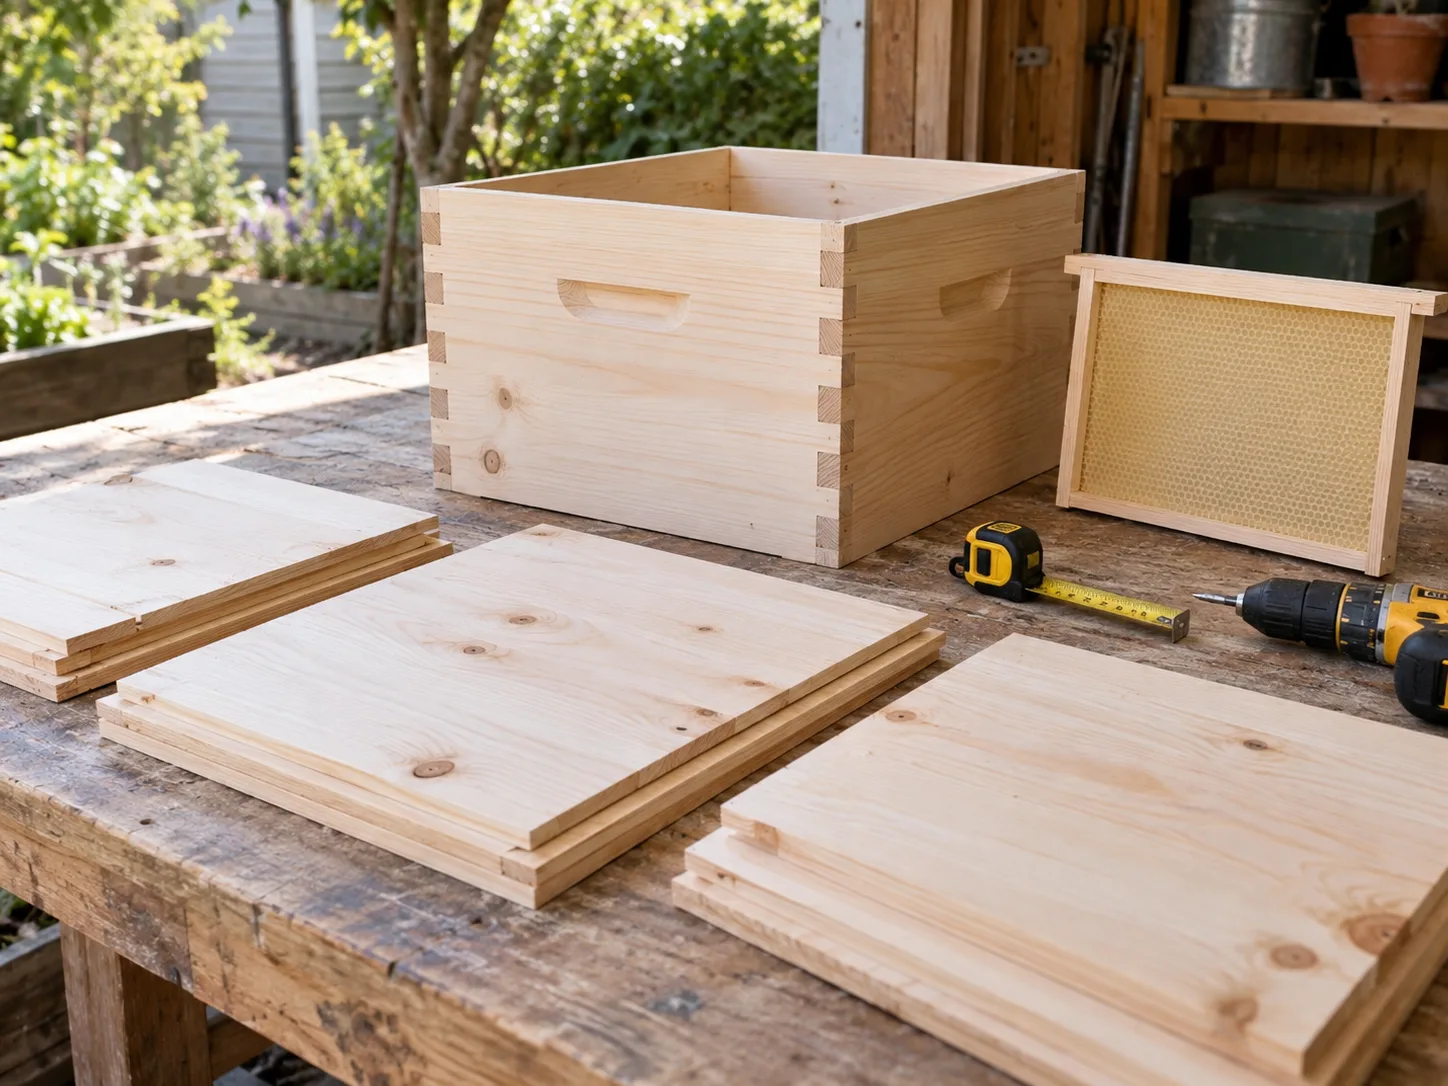
Make a full-size dry fit
Use one purchased frame or one accurately made bar as a physical gauge. Assemble the box without glue, set the frame or bars in place, and check that they sit level, lift out without rubbing, and leave the clearances the design intends. Measure both diagonals to confirm the body is square; a box can have correct side lengths and still rack into a parallelogram.
Make a cardboard or scrap-wood template for repeated parts such as Warré box ends or top-bar hive sides. If the plan is in metric units, stay in metric through the build instead of rounding each measurement into a fraction of an inch. Small conversion errors multiply across several parts. If you print a PDF plan, measure a known reference dimension on the printout first to catch “fit to page” scaling.
Also test how the finished object will be moved and opened. Mark where your hands will grip it, how the lid will come off, and how a smoker or hive tool can reach the entrance and frames. Put a mock-up on a stand at the intended yard location; check that you can work at both ends and that vegetation, fences, and walls will not block the flight path or inspection space.
Choose sound lumber and a bee-safe finish
Use dry, untreated lumber for the hive interior and structural pieces. Reject boards that are badly cupped, twisted, split, or soft, and avoid fasteners that protrude into the comb area. Pre-drill near board ends to reduce splitting, use exterior-rated fasteners where rain can reach them, and choose joints that can be tightened or repaired rather than relying on a fragile decorative fit.
Paint or seal exposed exterior wood with a product intended for outdoor use, following the label and allowing full curing time. Keep paint, stain, preservative, and adhesive off interior surfaces and comb-contact parts unless the plan and a trusted beekeeping authority explicitly call for a bee-compatible material. A window should be sealed against rain and fitted so it does not create a sharp interior edge or a warm, drafty gap.
Design for inspection, feeding, and treatment
The hive is not complete if you cannot inspect the colony. Frames or comb must be removable in the system’s intended manner, the top must open without dangerous prying, and the entrance should be accessible for seasonal adjustment. Leave enough working room around the stand to set down a lid or a frame without blocking the entrance or placing it on wet ground.
Plan for feeding access and colony-health management before assembly. Penn State Extension’s seasonal guide describes Varroa mites as a major honey-bee challenge; monitoring and any treatment should follow current local extension guidance and product labels. Do not add screened bottoms, entrances, or treatment openings from a second plan unless you understand how they affect the body dimensions and your management method.
Common Mistakes in Homemade Hive Builds
The first mistake is combining plans because each one seems to offer a useful feature. A Langstroth cover from one standard may not sit correctly on a body from another; a top-bar length from one design may not fit its follower board; a Warré roof may not shed water on a box with different outside dimensions. Pick one system and one dimensional reference, then document deliberate modifications.
The second is prioritizing appearance over inspection. A hidden window, a decorative roof, or a complex joint can be satisfying, but none compensates for frames that stick or comb that cannot be lifted safely. Build the functional body first, test it with the actual bars or frames, and only add optional features that do not compromise the colony’s weather seal or your access.
The third is assuming homemade means low-maintenance or “natural.” Honey bees still need appropriate space, food, ventilation and weather protection, monitoring for pests and disease, and timely management. Penn State Extension’s seasonal guidance stresses monitoring Varroa populations; a hive design cannot replace those routine decisions. Before bringing a colony home, enroll in local training or find an experienced mentor and learn the current management recommendations for your region.
Conclusion
The best free beehive plan is the one that matches your local equipment, your comfort with lifting, and the way you are prepared to manage bees. Langstroth offers the widest path to standard frames and interchangeable parts; top-bar offers horizontal access but requires careful comb handling; Warré keeps a compact vertical footprint while asking you to follow a more specialized system.
Choose one design, verify every critical dimension against a physical frame or bar, and build a dry-fit before applying glue or finish. Then make sure you understand local rules and colony care before ordering bees. A square, weatherproof hive that you can inspect is worth more than a decorative plan that only looks simple on paper.



