How to Clean a Clogged Faucet Aerator
Diagnose a weak faucet stream with a simple sequence: compare fixtures, briefly bypass the aerator, then check valves, supply lines, and household pressure.

Before you reach for vinegar or pliers, work out whether the aerator is actually restricting the faucet. A weak stream can come from the mesh at the spout, but it can also come from a partly closed shutoff valve, a kinked hose, a faucet cartridge, sediment, or a water-supply problem affecting several fixtures.
The fastest way to narrow it down is to compare the affected faucet with nearby fixtures, compare hot with cold, and briefly test the faucet with its aerator removed. That sequence keeps you from replacing a cartridge when the trouble is a screen—or cleaning an aerator repeatedly when water is restricted farther upstream.
Start with the symptom pattern
Notice what changed and where. Is the stream weak at one sink, or are showers and other faucets slow too? Did the problem begin suddenly after a plumbing repair, water-main work, or a period when the faucet was unused? Does it affect both temperatures or only hot or cold water?
Write down those observations before turning valves or taking anything apart. A sudden change isolated to one spout often points to the fixture; a gradual decline at several fixtures suggests a broader supply or plumbing issue. A splattery or sideways spray can indicate debris at the outlet, but appearance alone does not prove the aerator is clogged.
Compare the faucet with other fixtures
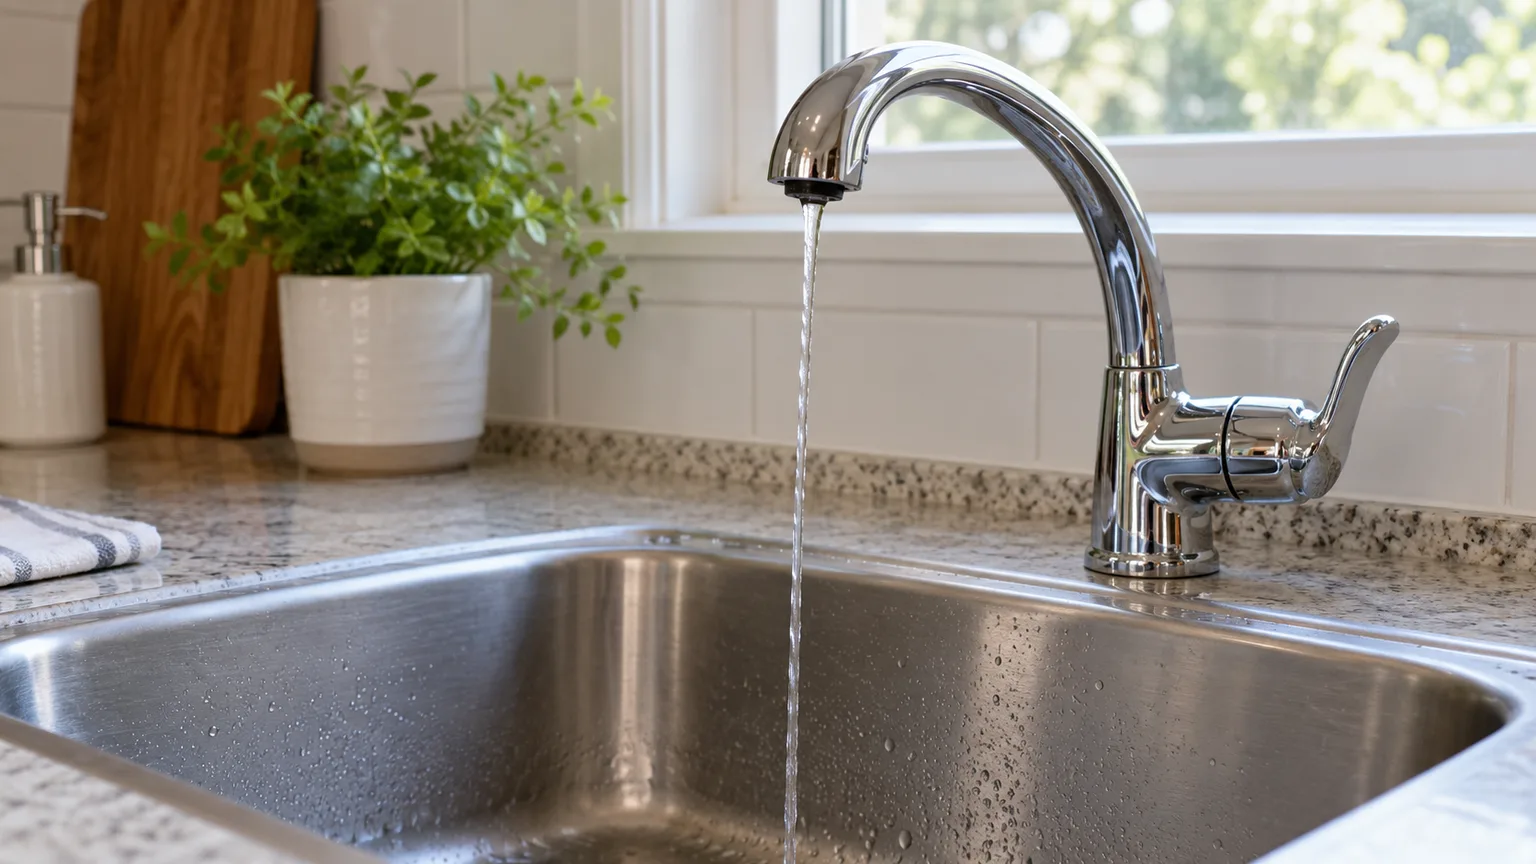
Run a second sink and, if practical, a shower on the same floor. You do not need a pressure gauge for this first comparison; you are looking for a pattern, not a precise measurement. If those fixtures have their usual flow while one faucet is weak, start with that faucet’s outlet and local supply. If several are weak at once, cleaning a single aerator is unlikely to solve the underlying problem.
Also compare the same fixture at different times and under similar conditions. A brief dip while a washer, irrigation system, or shower is drawing water may not mean the faucet has a blockage. A persistent change that appears across multiple fixtures deserves a house-supply check, utility or building inquiry, or professional assessment rather than a series of aerator cleanings.
Test hot and cold separately
On a single-handle faucet, move the handle toward cold and then toward hot, allowing the stream to settle at each position. On a two-handle model, open each side separately. Keep the water at a comfortable temperature; do not put your hands under hot water just to compare it. If hot and cold are both similarly weak, a shared outlet restriction is plausible. If one side is much weaker, investigate that side’s shutoff, supply path, or cartridge before blaming the common aerator.
That pattern is a clue, not a diagnosis. Faucet designs differ, and some models have internal screens or flow-control parts in addition to the aerator. Manufacturer troubleshooting for Moen bathroom faucets separates temperature-specific reduction from overall low flow and recommends checking the faucet’s supply shutoffs before moving to model-specific cartridge or filter work (Moen low-flow troubleshooting).
Know what the aerator can and cannot cause
The aerator sits at the outlet and usually serves the mixed stream after hot and cold water meet inside the faucet. A screen packed with grit or mineral scale can reduce the amount of water leaving the spout, distort the spray, or make it uneven. That restriction can feel like weak pressure even when the home’s supply pressure is normal.
The aerator cannot explain every symptom. It is a less convincing cause when only the hot side is weak, when the stream remains poor after a brief bypass test, when other fixtures changed at the same time, or when the faucet drips or leaks around its handle. Those clues move attention toward a supply valve, hose, cartridge, diverter, or wider water-system issue.
Run a brief aerator-bypass test
If the aerator is accessible and can be removed without force, it can help isolate the outlet. First clear the sink and cover the drain so a small part cannot disappear. Remove the aerator according to the faucet maker’s directions; hidden or recessed models may need a specific key, and stuck parts should not be forced with pliers.
With the aerator off, open the faucet only a little for a few seconds, keeping your face and hands away from the outlet. Water may leave as an unconditioned stream and splash more than usual. Close the faucet, then compare that short flow with the original symptom. If the aerator resists, the finish is delicate, or the faucet is unfamiliar, stop and use the step-by-step faucet aerator removal and cleaning guide instead of escalating force.
Read the bypass result
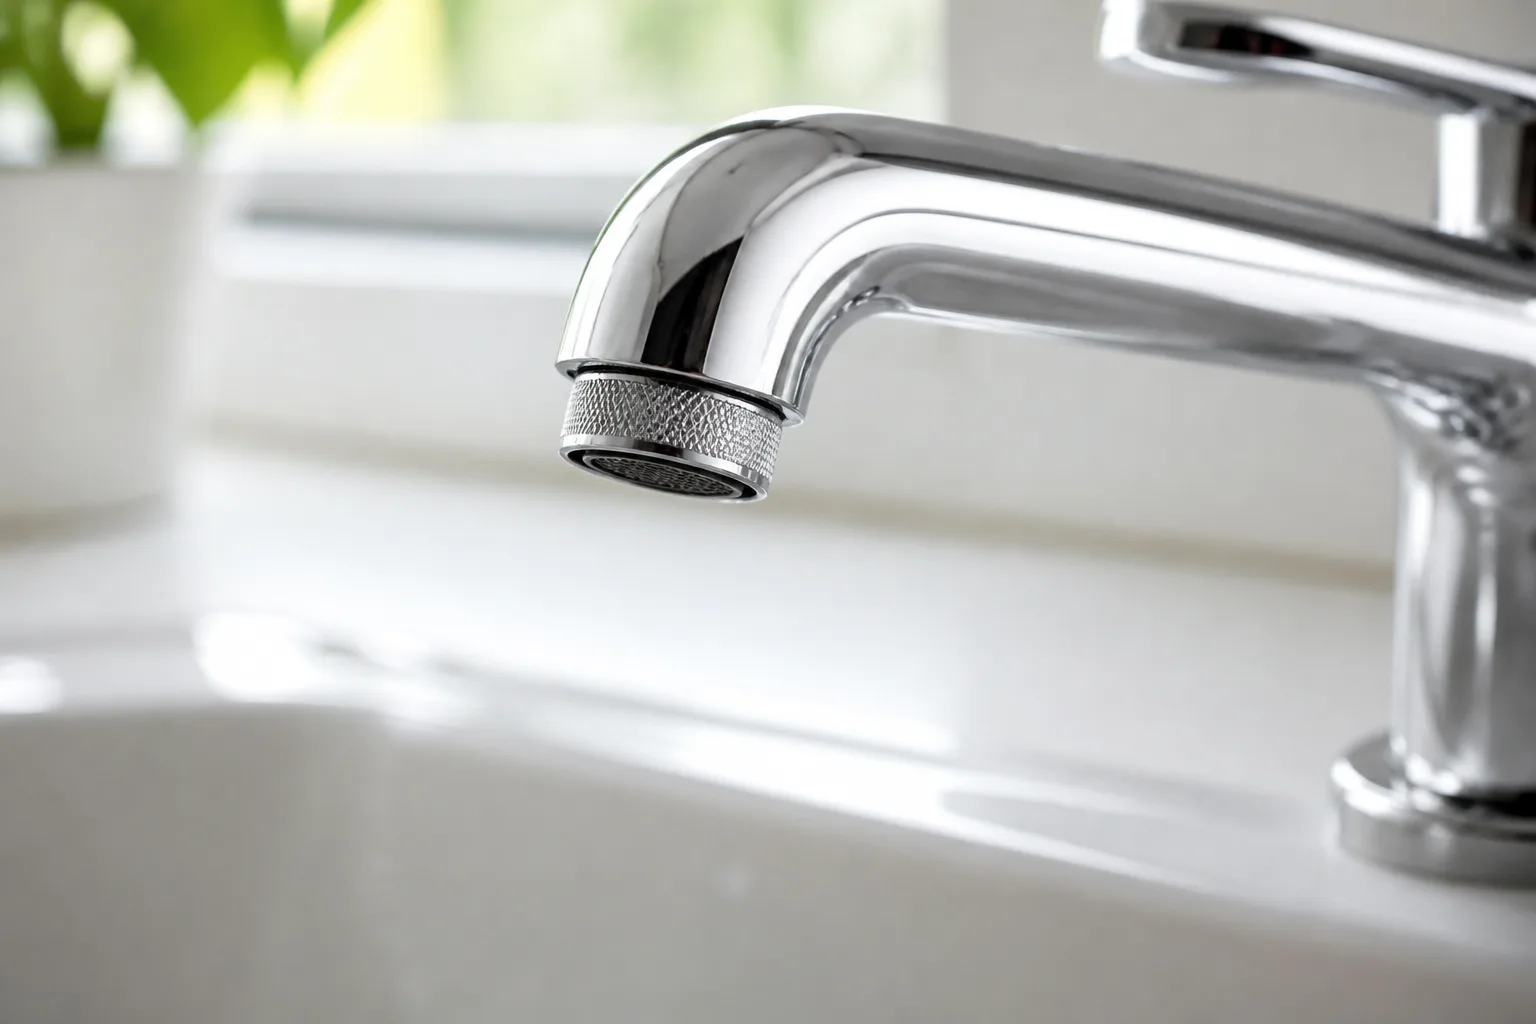
If flow improves substantially with the aerator removed, the restriction is likely at the aerator assembly or the immediate outlet. Debris in the screen, a damaged flow insert, or a misassembled component can all produce that result. It does not identify which piece is at fault, and a temporary increase does not automatically mean the faucet should run without its aerator; the aerator shapes the stream and may be part of the faucet’s intended water use.
If flow remains weak with the aerator off, stop repeating vinegar soaks. The restriction is more likely upstream of the spout opening: a local shutoff, supply line, faucet inlet screen, cartridge, or water supply. Moen’s troubleshooting also lists cartridge debris and shutoff supply as possible causes when both hot and cold flow are low, so a bypass result should guide the next check rather than trigger an automatic part replacement (Moen sink-faucet flow troubleshooting).
Clean the aerator only when the test points there
When the bypass restores flow, inspect the screen for grit, scale, or visible damage. A simple rinse may clear loose sediment. If deposits remain, a compatible soak and gentle brushing may help, but aerator materials and coatings vary; avoid sharp tools that can tear mesh or enlarge openings. Keep any small washers and inserts in order so the parts go back as designed. If the screen is torn or an insert is damaged, identify the faucet model before replacing anything; manufacturers list different aerators for kitchen and bathroom models, as Delta’s low-flow aerator parts catalog illustrates.
This is only a brief direction, not a substitute for a complete cleaning procedure. The faucet aerator removal guide covers standard and hidden aerators, safe removal, cleaning, the in-place vinegar option, and reinstallation. After cleaning and reinstalling, run the faucet and check for an even stream and leakage at the threads. If the test did not improve flow, move on instead of repeating the same cleaning.
Check the faucet’s local shutoffs and supply lines
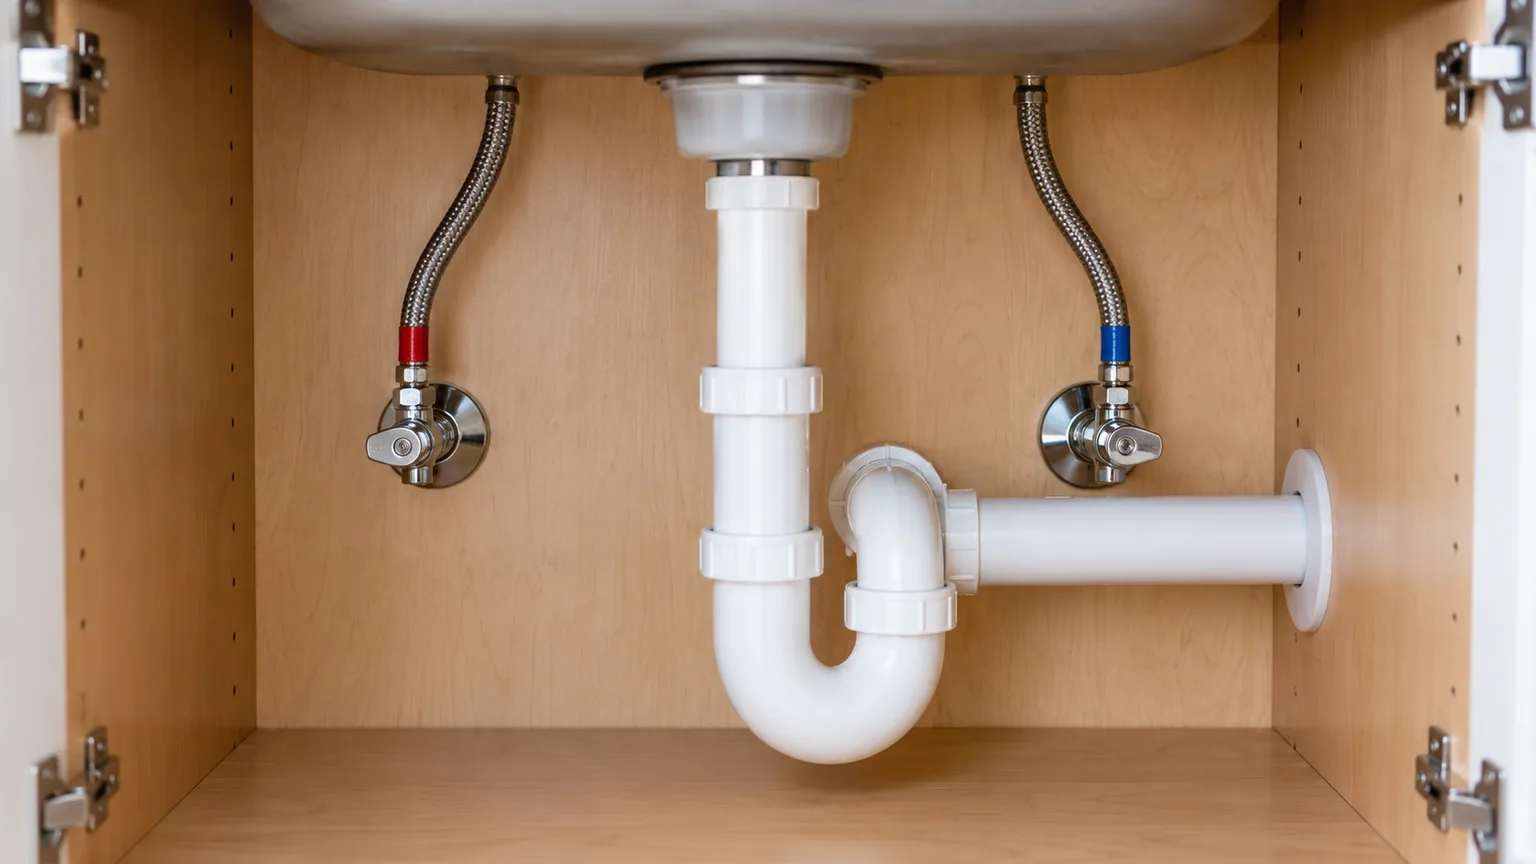
Look under the sink for one hot and one cold shutoff valve, then check whether either appears closed or was recently moved. Many quarter-turn handles sit parallel to the pipe when open, but valve designs vary, so do not rely on handle position alone. If a valve is stiff, corroded, damp, or begins to leak, do not force it; an old stop valve can fail when moved.
Inspect the visible flexible supply hoses for a sharp bend, compression behind stored items, twisting, or moisture. A kink can restrict one side, while a leak can damage the cabinet and may need immediate attention. Family Handyman’s plumber-reviewed troubleshooting likewise treats closed supply valves, kinked or leaky lines, and cartridge issues as distinct possibilities, which is why a low-flow diagnosis should proceed by location rather than assuming every faucet problem is an aerator problem (Family Handyman’s sink troubleshooting guide).
Look for a kink, leak, or valve that will not move
If the water is off at a valve, only adjust it if it moves easily and you know how it operates. Do not use a wrench to force a stuck handle or turn a multi-turn stop until it feels “tight.” If you suspect the valve is blocked, or if the faucet’s integral supply hoses are not designed to disconnect at the valve, use the manufacturer’s service instructions or call a plumber.
Disconnecting a pressurized supply hose is a different level of work from checking a screen. Anyone who proceeds must know how to shut off both hot and cold supplies, relieve pressure, catch water, and reconnect the correct fittings without cross-threading. If either shutoff will not close completely, the fitting is corroded, or a leak appears, stop and get professional help.
Consider the cartridge or an inlet screen
If the aerator bypass does not help and the valves and hoses look normal, the faucet’s cartridge or an internal inlet filter becomes a reasonable next suspect. Cartridges regulate flow and temperature, but designs are not interchangeable; the handle style and brand alone may not identify the exact part. Use the faucet’s model number and manufacturer instructions before buying anything or opening the valve body.
A hot-only or cold-only reduction points more strongly toward the affected supply path or temperature-control component than a common outlet screen. If both sides are weak, an internal obstruction is still possible, but so is a restricted shared inlet or debris in the faucet body. Moen cautions through its model-specific troubleshooting that low flow can involve the aerator, cartridge, filters, or supply; that range is a reason to test in sequence, not to replace every component at once.
Cartridge service usually requires shutting off water, protecting the drain, and correctly reassembling parts that control temperature and sealing. If the model is unknown, a component is seized, or you cannot shut off the faucet securely, leave the cartridge closed and contact a plumber. Guessing at a cartridge can turn a low-flow nuisance into a leak or a faucet that will not mix hot and cold properly.
Check pull-down and pull-out faucets separately
Kitchen faucets with a pull-down or pull-out spray head add screens and a diverter to the diagnosis. Compare the stream in the regular spout mode with the spray mode, if the model offers both. If the spray head is weak but the hose connection or main spout behaves differently, the obstruction may be in the wand screen or spray assembly; if all modes are weak, a shared cartridge or supply issue becomes more plausible.
Do not pull the hose apart based on a generic diagram. Some models have special connectors, weights, screens, or diverters, and a manufacturer may specify a different test. Moen’s kitchen-faucet guidance distinguishes pull-down models from fixed-spout faucets and uses the hose and wand screen as part of its troubleshooting path (Moen kitchen faucet flow guidance). Follow the exact instructions for the model before disconnecting a wand or hose.
Look for sediment after plumbing work
If the weak stream appeared just after a water-main repair, plumbing work, a shutoff, or a period of service interruption, sediment may have been stirred up and trapped at a small screen. One affected faucet can catch debris first even when the rest of the home seems normal. If several fixtures changed together, the sediment may be farther upstream or the work may still be affecting the building supply.
Ask building management or the water utility whether work or flushing occurred, especially if water is discolored or other homes report a change. Do not assume every particle is harmless or that a household filter is the correct repair. If discoloration persists, the flow drops across the home, or you see a leak, follow local utility advice and get the plumbing system assessed.
When several fixtures have low flow
Compare more than one sink and at least one other type of fixture, such as a shower. If the change affects many fixtures, inspect only obvious, accessible conditions: whether a main valve was recently shut for repairs, whether there is a visible leak, and whether building maintenance or the utility has posted an outage. A main-supply problem is different from a clogged faucet aerator and usually cannot be fixed at the spout.
Ask a neighbor or building manager whether they have the same issue. Similar timing across nearby homes points toward utility work or a neighborhood supply problem; similar timing across a condo building may indicate a shared building system. Comparing notes with neighbors is also a useful first screen in Bob Vila’s low-pressure troubleshooting guidance. A household pressure gauge can help a plumber distinguish supply pressure from a fixture restriction, but one reading does not identify the exact fault or prove that a faucet needs a particular replacement.
Municipal water and private wells need different checks
For municipal water, contact the utility if several fixtures lose flow at once, nearby homes are affected, or the timing matches street work. The utility can confirm known service interruptions and advise on what to do after repairs. If you rent or live in a multi-unit building, report the change to maintenance because shutoffs, filters, and pressure equipment may be shared.
For a home on a private well, a house-wide change can involve the pump, pressure tank, filter, or well supply. Do not adjust a pressure switch or open electrical equipment as a first response. If a faucet change coincides with pump cycling, unusual noises, or low flow at multiple fixtures, contact a well professional rather than trying to increase pressure at one faucet.
Pressure and flow are related, not identical
Pressure describes the force pushing water through the plumbing; flow is the volume that actually exits a faucet over time. A clogged screen can restrict flow at the tip even while the supply pressure remains normal. Conversely, low supply pressure can affect several outlets even when every aerator is clean.
A quick bucket or container test can compare the same faucet before and after a repair, provided you keep the handle position and timing consistent. It measures collected volume over time, not pressure, and there is no single flow result that applies to every faucet model and local requirement. A gauge at an appropriate hose connection measures system pressure at that point; it does not tell you whether a single faucet cartridge or screen is obstructed.
A symptom-to-next-check table
| What you notice | More likely direction | Next useful check |
|---|---|---|
| One faucet weak; other fixtures normal; both temperatures similar | Outlet screen or a local fixture restriction | Briefly test with the aerator off |
| Stream improves with aerator removed | Aerator assembly or outlet debris | Clean and reinstall using the full removal guide |
| Stream remains weak with aerator removed | Shutoff, hose, inlet screen, cartridge, or fixture body | Compare hot/cold, then visually check valves and hoses |
| Hot side weak but cold is normal, or vice versa | Side-specific supply or temperature-control path | Check the corresponding local valve and model instructions |
| Several fixtures weak at the same time | Main supply, utility, building system, well, or broad sediment issue | Check notices, ask neighbors or maintenance, and seek help if persistent |
| Flow worsened after plumbing work | Sediment at one or more screens is possible | Ask about the work and inspect the most affected outlet first |
| Water leaks, is discolored, or valves are stuck | Safety or system issue beyond an aerator clean | Stop and contact the utility, building maintenance, or a plumber |
Treat the table as a sorting tool, not a guarantee. Several faults can coexist—for example, a partly restricted shutoff and a debris-filled aerator—and the same symptom can have different causes on different faucet models. Change one thing at a time and note whether the flow changes; that makes the next diagnosis more reliable.
When to stop DIY troubleshooting
Call a licensed plumber if the main or local valve will not shut off, a hose or connection leaks, water appears in the cabinet, or the faucet body needs internal repair you are not equipped to do. Get help sooner if there is water damage, a sudden loss at multiple fixtures, persistent discolored water, a suspected hidden leak, or a well-system problem. These are not signs that another vinegar soak is needed.
If only one faucet remains weak after the aerator has been ruled out and the visible supply is normal, provide the plumber with the model number and your test results: which fixtures are affected, whether hot and cold differ, whether flow changed with the aerator removed, and when the problem began. That record narrows the job and reduces guesswork. For multi-fixture issues, share whether neighbors or other units have the same symptom and whether recent utility or plumbing work occurred.
Mistakes that waste time or cause damage
The most common mistake is treating every weak stream as proof of a clogged aerator. Cleaning is appropriate when a brief bypass test points to the outlet; it is not a universal fix for a weak hot side, a kinked line, or house-wide pressure change. Repeating the same cleaning without observing a change adds effort but no diagnostic information.
Do not crank an old shutoff valve, grip a hidden aerator with pliers, loosen supply fittings while water is on, or adjust a pressure regulator to compensate for one faucet. Avoid removing multiple components at once because you will not know which change mattered. Work from comparison to a short outlet test to visual checks, then use model-specific instructions or professional service for internal parts.
Conclusion
A clogged aerator is most plausible when one faucet has low flow, nearby fixtures are normal, hot and cold behave similarly, and a brief test without the aerator restores a stronger stream. That pattern localizes the problem to the outlet assembly; a careful cleaning may be all it needs. Use the separate removal guide for the complete cleaning and reinstallation steps.
When the bypass test does not help, or one temperature or several fixtures are affected, follow the symptom to the next likely part: shutoff valve, supply hose, inlet screen, cartridge, sediment, or house supply. Do not force valves or open components you cannot safely isolate. A few controlled comparisons can tell you when a simple screen clean is reasonable—and when the right next step is a model-specific repair or a plumber.