4 Ways to Winterize Geraniums for Spring Blooms
Learn how to winterize geraniums as whole plants, cuttings, cool-stored pots, or bare roots, with frost timing, winter care, and spring restart steps.
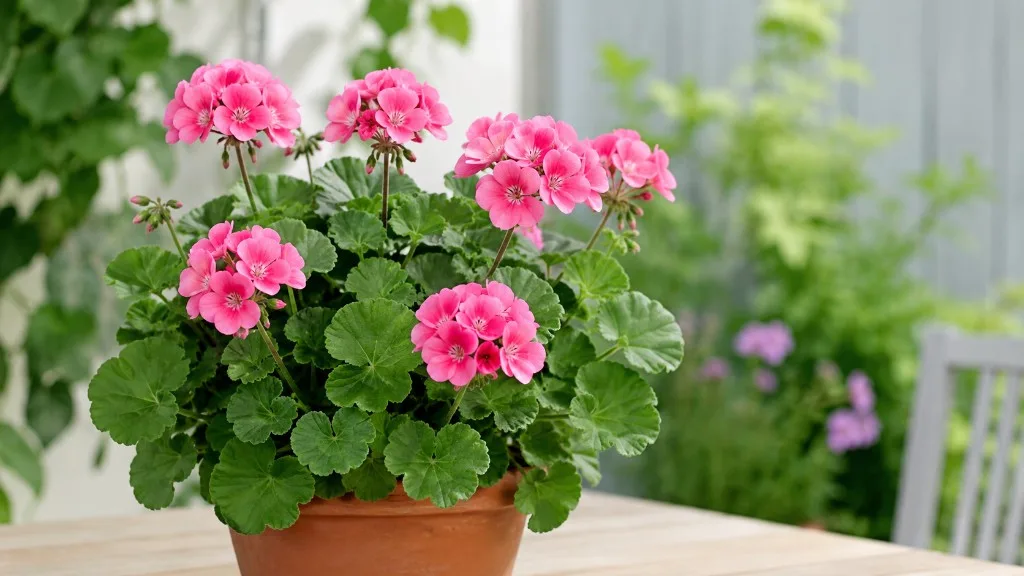
The “geraniums” sold in summer baskets and patio pots are usually Pelargonium, tender perennials that can live for years when protected from freezing weather. True hardy geraniums, or cranesbills, are a different genus and normally stay outdoors. This guide is about the tender Pelargoniums most gardeners grow as colorful annuals.
You have four workable ways to carry a favorite plant through winter: keep the whole plant growing indoors, let a cut-back plant rest in its pot, store it bare root, or root cuttings. The best method depends less on the calendar than on what you can actually provide—light, temperature, airflow, and a place that never freezes. The Royal Horticultural Society’s pelargonium guide confirms that these plants tolerate dry conditions but not frost, and recommends bringing them under cover or taking cuttings before cold weather.
Know which “geranium” you have before winterizing
Look at the plant tag or flower form before you decide how aggressively to store it. Zonal Pelargoniums have rounded leaves, upright stems, and often a darker band or “zone” on the foliage; ivy-leaved types trail from baskets; regal and angel types tend to have showier flowers and can be less forgiving of rough handling. These are all tender compared with hardy Geranium species, but their stems and growth habits are not identical.
The distinction matters because a hardy cranesbill does not need to be dug up and stored in a garage, while a tender Pelargonium can be killed by a single hard freeze. If the label is missing, the classic round-leaved bedding plant with succulent stems and flower clusters is almost certainly the tender kind. When in doubt, identify the botanical name before treating it as an outdoor perennial.
Choose the method by your winter and available space
Think of overwintering as preserving a living framework, not forcing a summer-sized plant to look perfect in January. A bright, cool room supports active growth; a cold, dark, frost-free spot supports dormancy; a small tray of cuttings uses the least space but needs attention while roots form.
Match the plant and your tolerance for loss
Bring in the whole plant when it is already potted, compact, healthy, and valuable enough to deserve a place in your home. This is the simplest route if you have a sunny window, grow light, or frost-free greenhouse and want a large head start next spring. It also keeps the established root system intact.
Choose cuttings when the parent is sprawling, growing in a bed, or too large for your windowsill. Cuttings clone the parent and fit into a small tray, making them a good option for a rare color or a plant you want to duplicate. They also give you insurance if the parent later succumbs to rot.
That two-track approach—take a few cuttings, then store the parent in a cool place—also makes sense when you have limited indoor space. CityRooted’s apartment-focused comparison reaches the same practical conclusion: separate the risks instead of asking one plant and one method to do all the work.
Use cool storage in a pot when you have a frost-free garage, cellar, shed, or unheated greenhouse and want a low-maintenance middle ground. The plant is cut back but stays in its container, so spring potting is less disruptive than bare-root storage.
Reserve bare-root storage for healthy plants with firm, woody stems and for gardeners who have several specimens or accept some losses. The RHS calls this the least reliable of its listed methods and limits it to tougher varieties. If you have one irreplaceable plant, take cuttings before testing bare-root storage.
Prepare geraniums before cold weather arrives
Start while the plant is still healthy and the weather forecast gives you time to work. Waiting until frost has blackened the foliage creates a recovery project rather than an overwintering project; frozen, water-soaked stems may not have living tissue left to save.
If the plant is in the ground, lift it before the first expected frost with as much of the root ball as practical. Pot it into a container with a drainage hole and fresh, fast-draining mix. Choose a pot only modestly larger than the roots so the new container does not stay wet for weeks after the plant’s water use drops.
Inspect, clean, and quarantine
Remove spent flowers, yellowing leaves, and any soft or damaged stems. Check leaf undersides, stem joints, new growth, and the soil surface for aphids, whiteflies, spider mites, scale, and fungus gnats. A plant that is mildly dusty or a little leggy can be cleaned up; one with spreading disease, mushy crown tissue, or a heavy infestation should not be brought into a crowded indoor collection.
Rinse foliage and stems with a gentle stream of water, wash the outside of the pot, and let the plant drain fully. Keep the incoming plant separate from houseplants for at least a couple of weeks while you watch for pests. Do not apply a pesticide merely because the plant is moving indoors; if a treatment is needed, use a product labeled for the plant and pest, follow its instructions, and allow the plant to dry before storage.
Prune, label, and check the pot
The right amount of pruning depends on the route. For a plant you will keep leafy indoors, shorten long stems by roughly one-third to one-half and retain several healthy nodes. For a cut-back dormant pot or bare-root plant, remove soft growth and leaves and leave a compact framework of firm stems; the RHS uses about 10 cm, or 4 inches, for woody stems before storage.
Make clean cuts just above a leaf node and remove anything hollow, black, cracked, or soft. Wipe or disinfect snips between plants, especially when you are working with a collection. Label flower color and cultivar before you cut—winter storage is a poor time to remember which anonymous stump was the coral one.
Method 1: Keep potted geraniums growing indoors
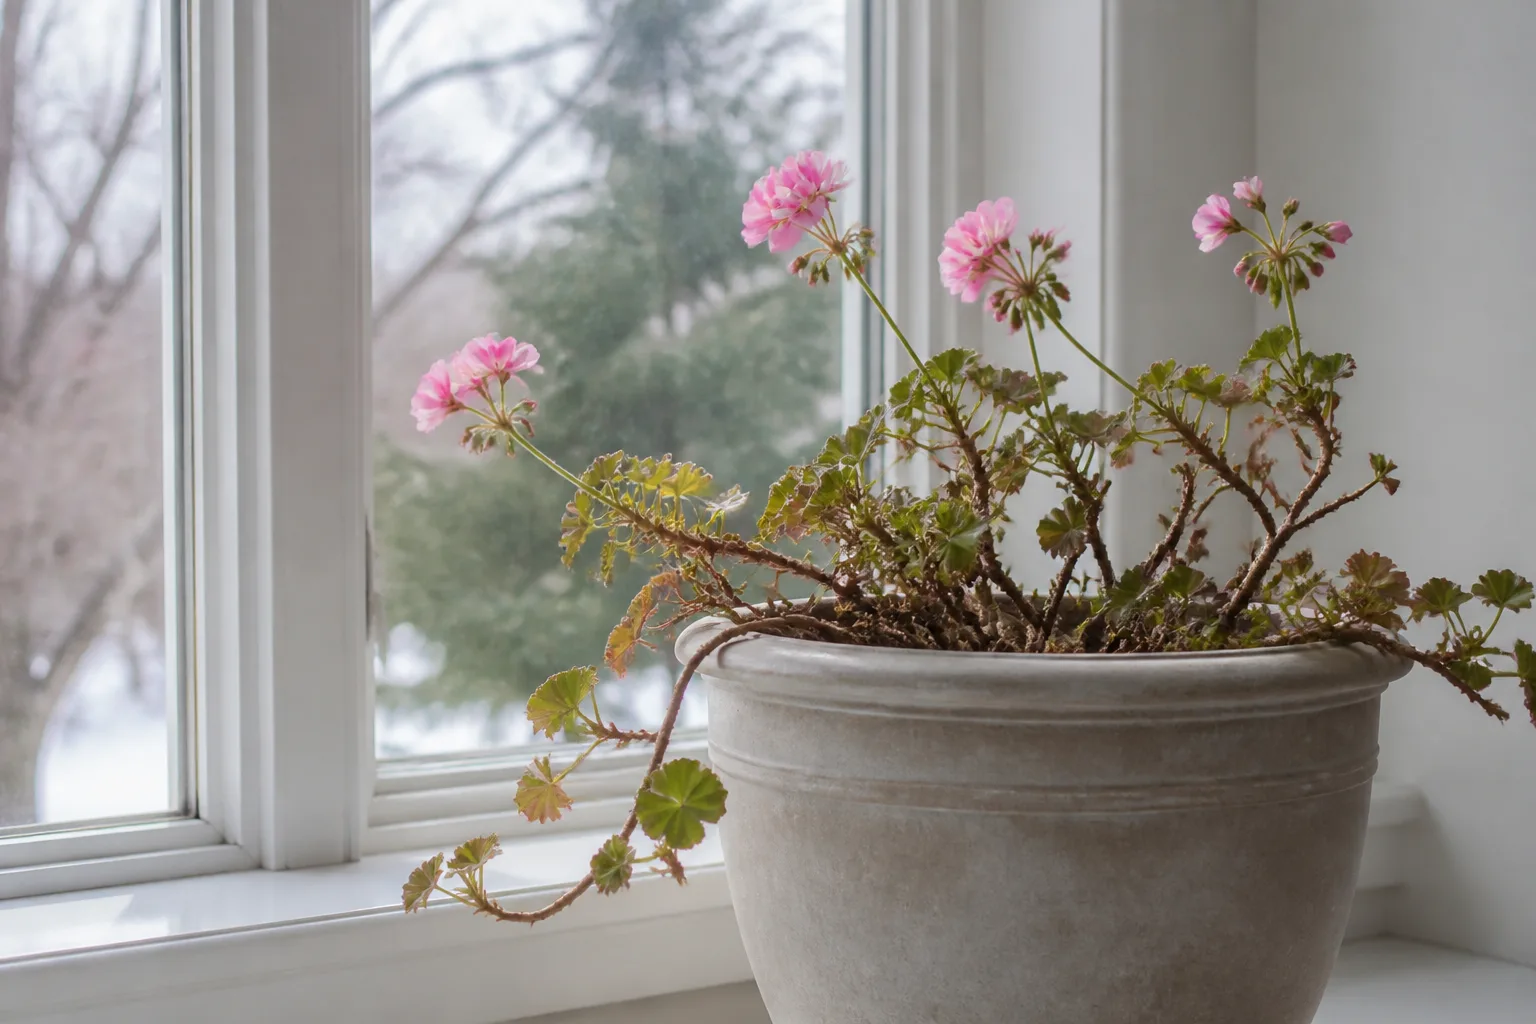
This route is best for a manageable container plant and a genuinely bright, frost-free location. Pelargoniums can grow slowly indoors and may continue to flower, but they are not ordinary low-light houseplants. The RHS recommends a light, airy, frost-free position and warns that winter compost should be allowed to dry between waterings.
Give active plants cool light and airflow
Set the plant near the brightest window you have without pressing leaves against cold glass. A south- or west-facing window can work if the plant is not scorched by hot midday sun; a grow light is useful when winter daylight is short or the window is shaded. Rotate the pot every week or two so new stems do not curve permanently toward the glass.
Temperature is a balancing act. A cool room around 55–65°F can slow growth without chilling the plant, while a frost-free greenhouse or conservatory may keep it alive at lower temperatures. The Empress of Dirt overwintering guide describes 55–65°F as a useful indoor range, while the RHS notes that some Pelargoniums can continue flowering in a bright, frost-free space around 45–50°F. In either case, avoid freezing drafts, hot radiators, and warm darkness.
Leave space between plants so air can move through the foliage. Poor airflow and damp conditions favor grey mold and other disease problems; the RHS specifically flags this combination in its pelargonium problem guidance. A small fan may help in a crowded greenhouse, but it should circulate air gently rather than blast the leaves.
Water and feed according to growth
Check the mix with a finger or lift the pot before watering. When the surface and upper layer have dried and the pot feels lighter, water thoroughly until a little drains from the bottom, then empty the saucer. A calendar schedule fails here because a warm, bright window may dry a pot quickly while a cool, dim room may leave it wet for much longer.
Reduce watering when growth slows, but do not confuse reduced watering with keeping the plant permanently damp or bone-dry. Fleshy stems hold some water, yet saturated mix can still cause root and stem rot. If leaves yellow while the mix remains wet, improve light and drainage before adding anything else.
Skip fertilizer during the move indoors and through the darkest period if the plant is barely growing. Resume a balanced liquid feed at the label rate—or weaker if the plant is still small—after you see clear new growth in late winter. Fertilizer cannot repair low-light stretching, and feeding wet, inactive roots adds stress rather than flowers.
Method 2: Store a cut-back plant in its pot
Potted dormancy is a good compromise when a full leafy plant would consume too much indoor space but you do not want to expose the roots. Dig or unpot only if necessary, clean the plant, cut it back to firm stems, and let the container drain before moving it to storage.
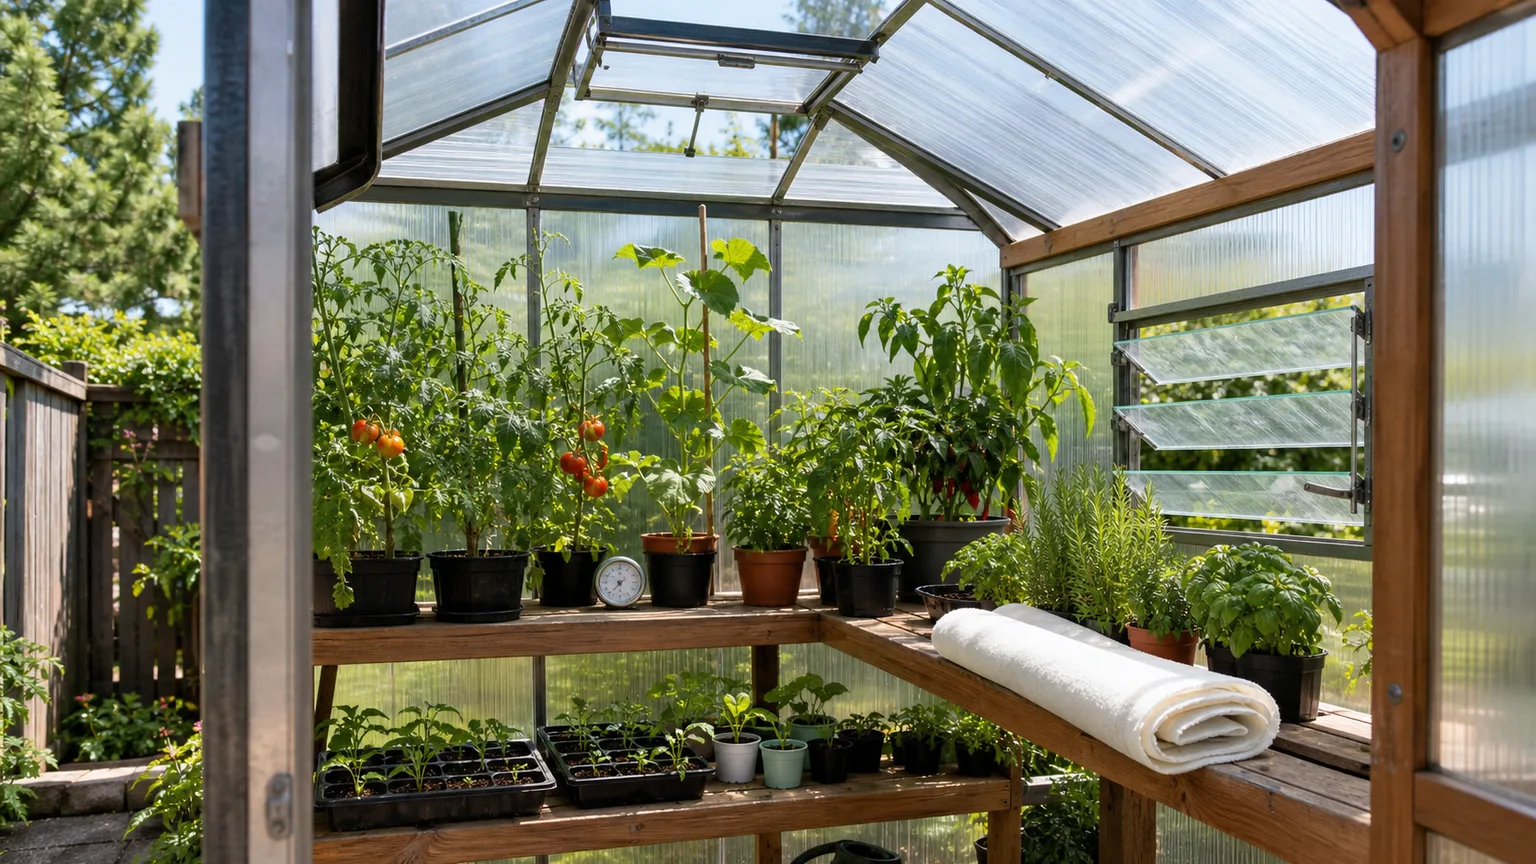
Choose a cool, dark or dim, frost-free location with some ventilation. An unheated garage, cellar, or greenhouse can work if temperatures stay above freezing and the pot is protected from sudden cold snaps. Darkness is not a problem once the plant has little or no foliage; the real danger is warmth combined with too little light.
Water deeply once the plant is prepared, then allow the mix to dry substantially. Check monthly rather than automatically watering every week. If the stems stay firm and the mix is not powder-dry, leave it alone; if the plant is beginning to shrivel, give a small drink and let the container drain completely.
Keep pots spaced apart and avoid wrapping the canopy in airtight plastic. Condensation trapped around dormant stems is an invitation to mold. Remove any soft tissue as soon as you find it, and do not return a rotten plant to the group.
Method 3: Store geraniums bare root
Bare-root storage removes most of the potting mix and lets a Pelargonium rest in a small paper bag, open box, or other breathable container. It can work well for tough, woody plants, but it is not a universal shortcut. The RHS describes this as the least reliable method and recommends it only for varieties with sturdy stems.
After lifting the plant before frost, shake off loose soil without scrubbing or tearing the roots. Remove leaves and flowers, shorten stems to firm wood, and let the plant surface-dry in a sheltered, airy place. You are trying to remove wet clumps of soil and foliage, not desiccate the roots for days in a heated room.
Pack for airflow and inspect through winter
Place the plant in a cool, dark, dry, frost-free spot—roughly 35–45°F is a useful target when you can achieve it. Use an open paper bag, cardboard box, or loose newspaper wrap, not a sealed plastic bag. The plant should not sit in condensation, and it should not share a damp corner with wet tools, leaking pots, or stored produce.
Inspect every week or two at first, then at least monthly once conditions are stable. Firm stems and roots are encouraging. Remove black, soft, moldy, or hollow material immediately; if rot has reached the crown, discard the plant rather than trying to propagate it. If the roots become papery and the stems lose firmness, a brief soak in room-temperature water can rehydrate the plant, but let it dry fully before returning it to storage.
In late winter, keep only plants that show firm tissue or viable buds. Soak the roots for a few hours, trim damaged or excessively long roots, and pot the plant into fresh, moist mix with the stem base at the correct depth. Do not flood it repeatedly while it has no leaves; the spring restart section below explains how to increase water as growth returns.
Method 4: Root cuttings for a compact backup
Cuttings are often the most practical way to preserve a favorite flower color when space is limited. They are also a smart backup for a plant you are overwintering another way: one parent plant can fail, but a few healthy cuttings may still carry the cultivar into spring.

Take and root healthy cuttings
Take cuttings in late summer or early fall while the parent is actively growing and before cold weather slows it down. Choose firm, non-flowering shoots with no pest damage, cut a 3–5-inch section just below a node, and remove the lower leaves and flower buds. The International Bulb Society’s zonal geranium guidance also emphasizes healthy stems, bright light, and a free-draining medium for propagation.
Let a freshly cut stem surface-dry for a few hours if your conditions are humid or the stem is especially succulent. This is not a cue to leave it unprotected for days; it is simply a way to reduce a wet cut end before planting. Rooting hormone is optional, not a substitute for clean material and airy mix.
Use a clean small pot filled with damp, free-draining seed-starting mix, perlite-rich mix, or another medium that holds a little moisture without becoming mud. Insert the lower node or two, firm the mix around the stem, and place the pot in bright indirect light. Keep the medium lightly moist, never saturated, and give the cuttings airflow; a sealed humidity dome can keep succulent stems too wet and encourage rot.
Do not tug on the cutting to test for roots. Watch for new growth or gentle resistance after several weeks, then move rooted cuttings into individual pots. Rooting time varies with temperature, light, cultivar, and stem maturity, so treat three to six weeks as a working range rather than a guarantee.
Once roots have formed, move the young plants to a cool, bright windowsill or under a grow light. They need less water than a full summer plant because the root system is small, but they should not be abandoned until the mix turns dusty and hydrophobic. Let the surface dry, then water enough to moisten the root zone and drain the excess.
Pinch only when the cutting is actively growing and has enough nodes to branch. A premature pinch removes the little leaf area it needs to establish. Feed lightly after new growth is obvious, then wait for spring light before asking the plant to produce a large canopy or many flower heads.
Wake overwintered geraniums in spring
Start the restart indoors several weeks before your local last-frost window, often in late winter or early spring. The exact date depends on your climate and whether the plant was active, potted-dormant, or bare root. The RHS recommends repotting overwintered container plants in spring and hardening them off before they return outdoors.
Move a dormant plant from storage into warmth and bright light. Give a potted plant one thorough watering to rehydrate the root ball, then wait for the mix to dry before watering again. For bare roots, soak first, pot into fresh mix, and keep the medium only lightly moist until you see new shoots.
Prune, repot, and resume feeding
Scratch a small section of stem with a clean fingernail if you are unsure whether it is alive. Green tissue under the bark is promising; a hollow, brown, soft stem is not. Cut back dead sections to firm tissue, but do not remove living green nodes just because the plant looks bare.
Repot when new shoots or leaves show that the roots are functioning. Use a container with a drainage hole and a well-draining mix, and move up only one pot size if the old container is still serviceable. Oversizing at the restart stage leaves too much wet mix around a small root system.
Begin feeding after growth is clearly underway, not while the plant is still a dormant stump. A balanced liquid fertilizer at the label rate, applied to already-moistened mix, supports new stems and leaves; later in the season, follow the product label if you switch to a bloom-focused, potassium-rich feed. More fertilizer will not replace the bright light and good drainage needed for flowers.
Harden off before returning outdoors
Indoor foliage is not ready for full outdoor sun in one afternoon. Begin by placing the plant outdoors in bright shade or a sheltered spot for a short period, then increase outdoor time and light over one to two weeks. Bring it back in if temperatures drop sharply, wind is strong, or the leaves show stress.
Return Pelargoniums to their summer location only after your local frost risk has passed and nights are consistently mild. A patio pot can go back outside earlier than a plant set into the ground only if you are willing to move it again during a cold snap. Once acclimated, restore the brighter light, regular moisture checks, deadheading, and feeding routine that support repeat bloom.
Troubleshoot winter losses before giving up
The plant is pale and leggy. It is growing faster than the available light can support. Move it to brighter light, lower the temperature if possible, and avoid responding with extra fertilizer or water; those usually make soft growth worse.
The plant has yellow leaves and wet soil. Start with the root zone, not a nutrient bottle. Let the mix dry, confirm the drainage hole is open, and inspect roots if the stem base is soft. Repeated wetness is a more likely immediate problem than a missing fertilizer dose.
There is gray mold or a soft stem in storage. Isolate the pot or bag, remove affected tissue with clean snips, and increase spacing and airflow. If the crown or most of the framework is soft, discard it rather than risking the rest of the collection; the RHS identifies damp, stagnant conditions as a disease risk for Pelargoniums.
A dormant plant has not sprouted. Give it warmth, bright light, and several weeks before deciding. Scratch-test a stem and inspect the crown. If tissue is green but there are no shoots, check that the root ball is not bone-dry; if every stem is brown, hollow, or soft after a month of suitable conditions, the plant is unlikely to recover.
Cuttings collapse at the base. The medium or air was too wet, the cutting was diseased, or the stem was buried too deeply. Remove failed cuttings, clean the pot, use a fresh airy medium, and start again with firm non-flowering tips. Taking several cuttings is sensible because not every one will root.
Pests appear after the move indoors. Isolate the plant and inspect neighboring plants, especially leaf undersides and new growth. Rinse what you can, then use an appropriately labeled treatment if needed. Do not return the plant to the main collection until you have seen no new pest activity for a reasonable observation period.
Conclusion: Preserve the plant, not the winter problem
For most gardeners, the reliable starting point is simple: protect the healthy Pelargonium before frost, inspect it carefully, and choose a winter method that matches the space you actually have. Keep a compact plant growing if you can provide bright light and cool, airy conditions; use a cut-back pot for low-maintenance dormancy; try bare roots only with sturdy plants; and take cuttings when you want a small, genetically identical backup.
Spring bloom begins with the decisions you make before winter. Keep roots from sitting wet, do not let warm low light create weak growth, restart gradually, and harden plants off before exposing them to outdoor sun. If you save both a parent and a few cuttings, a single winter loss becomes a setback—not the end of the flower color you wanted to keep.